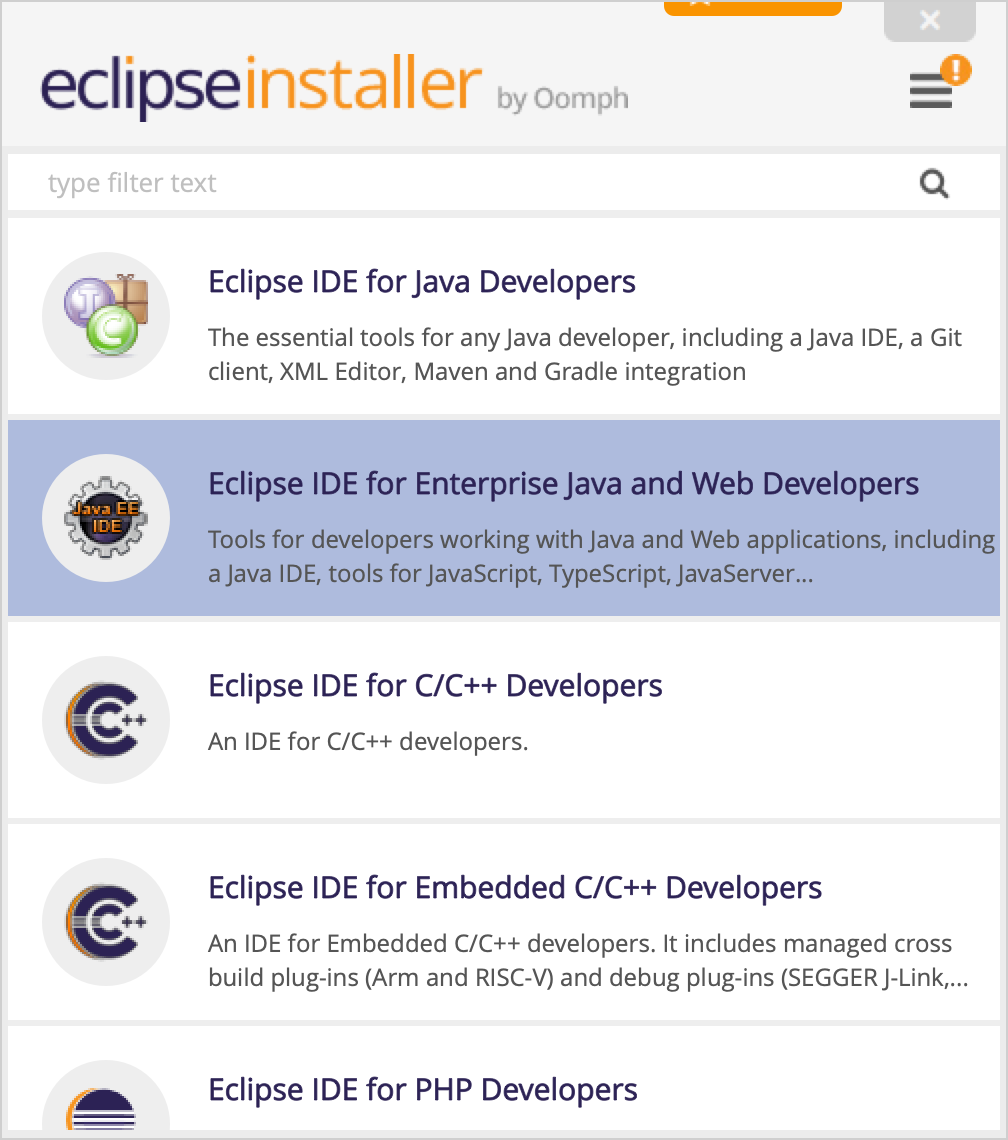
1) Download and install Eclipse IDE for Enterprise Java and Web Developers (Eclipse IDE 2022‑12), e.g., from eclipse.org/downloads using the Eclipse Installer
2) Create UniTime project
If you plan to make changes, you should consider forking the UniTime project first. See Fork A Repo for more details.
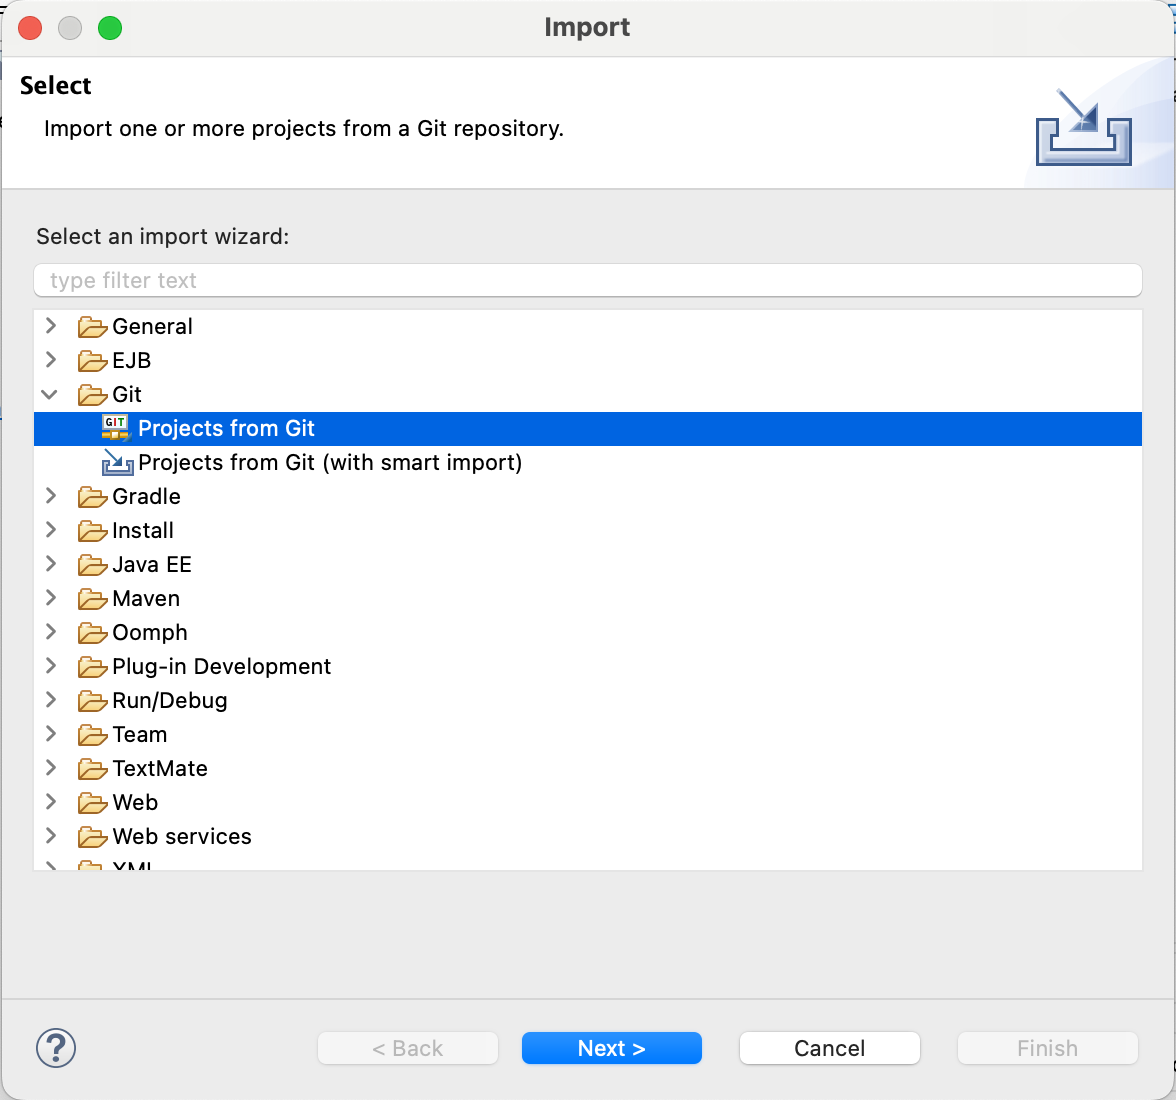
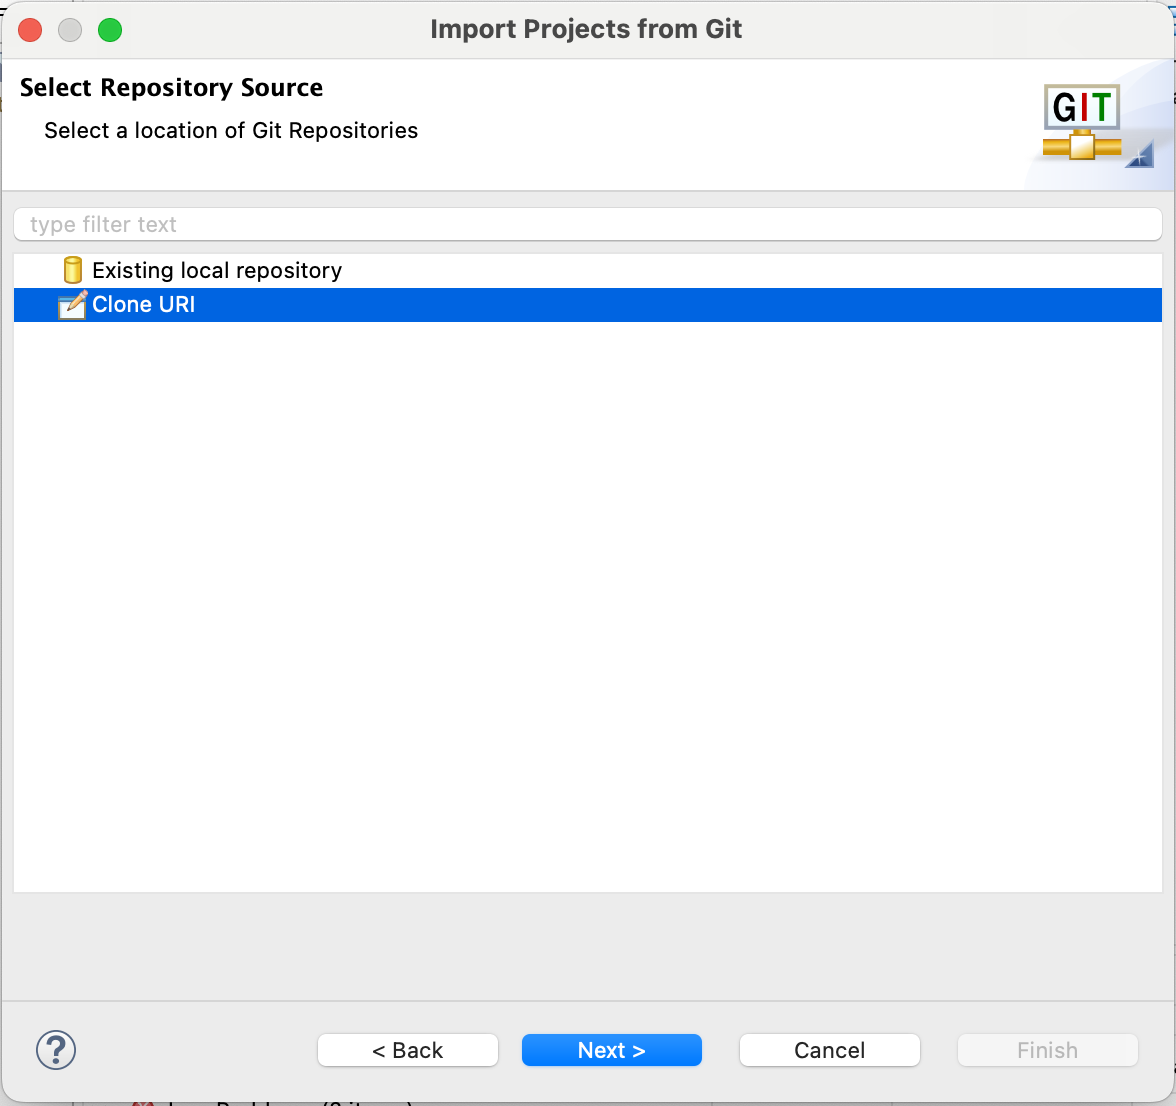
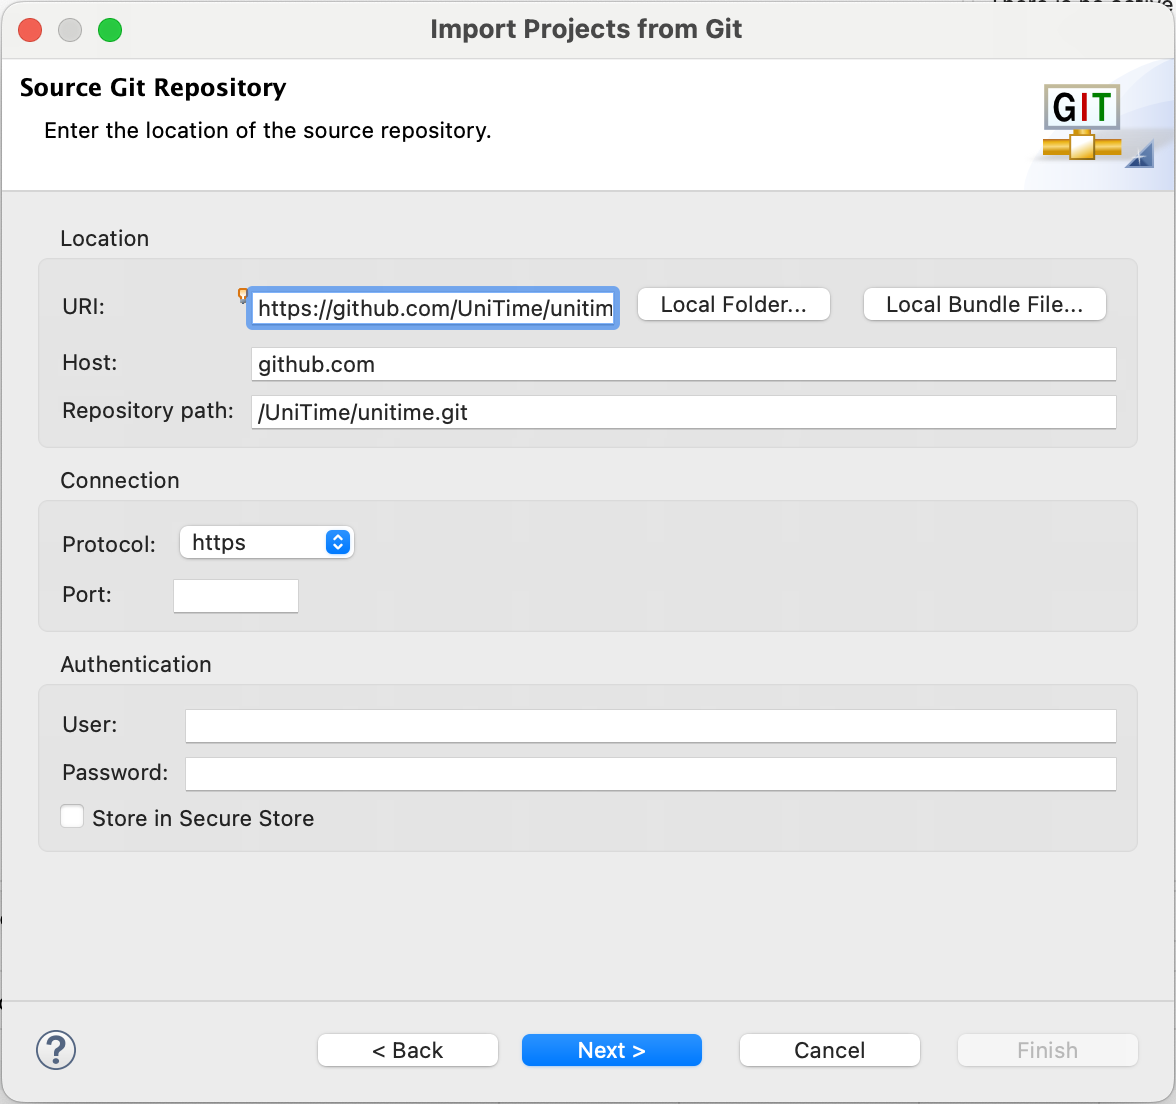
File > Import, select Git > Project from Git, Next
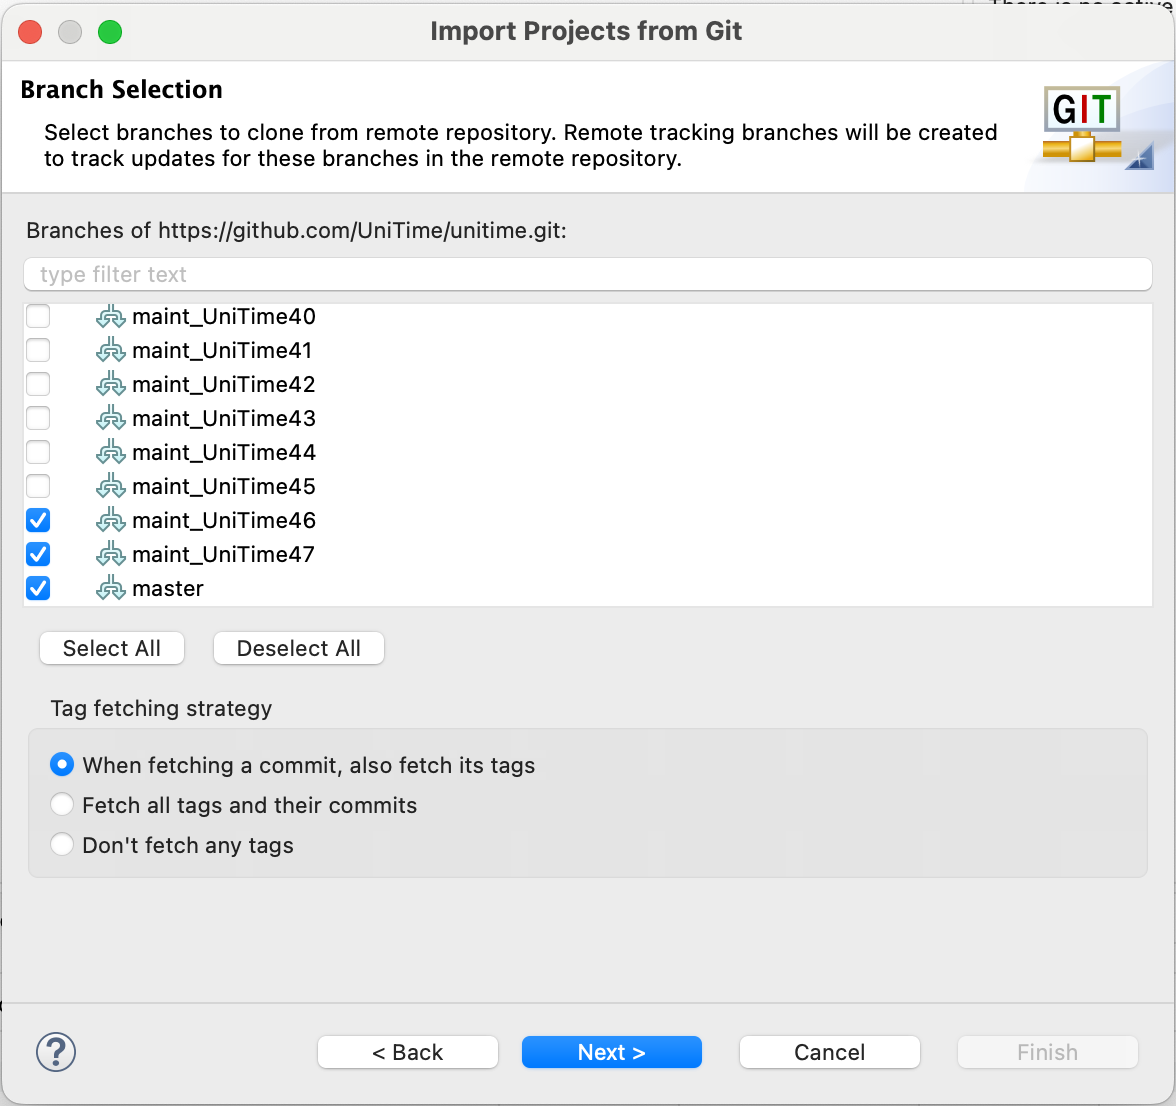
Click Deselect All and select the master and the maintenance branches you want/need (if any).
Click Next

3) Install GWT Eclipse Plugin
Help > Install New Software…
Click Add, Name: GWT Plugin, Location: https://plugins.gwtproject.org/eclipse/gwt-eclipse-plugin/4.0.0, OK
Select GWT Eclipse Plugin and GWT SDK
Follow the installation instructions, accept the license, and at the end, click Restart Eclipse

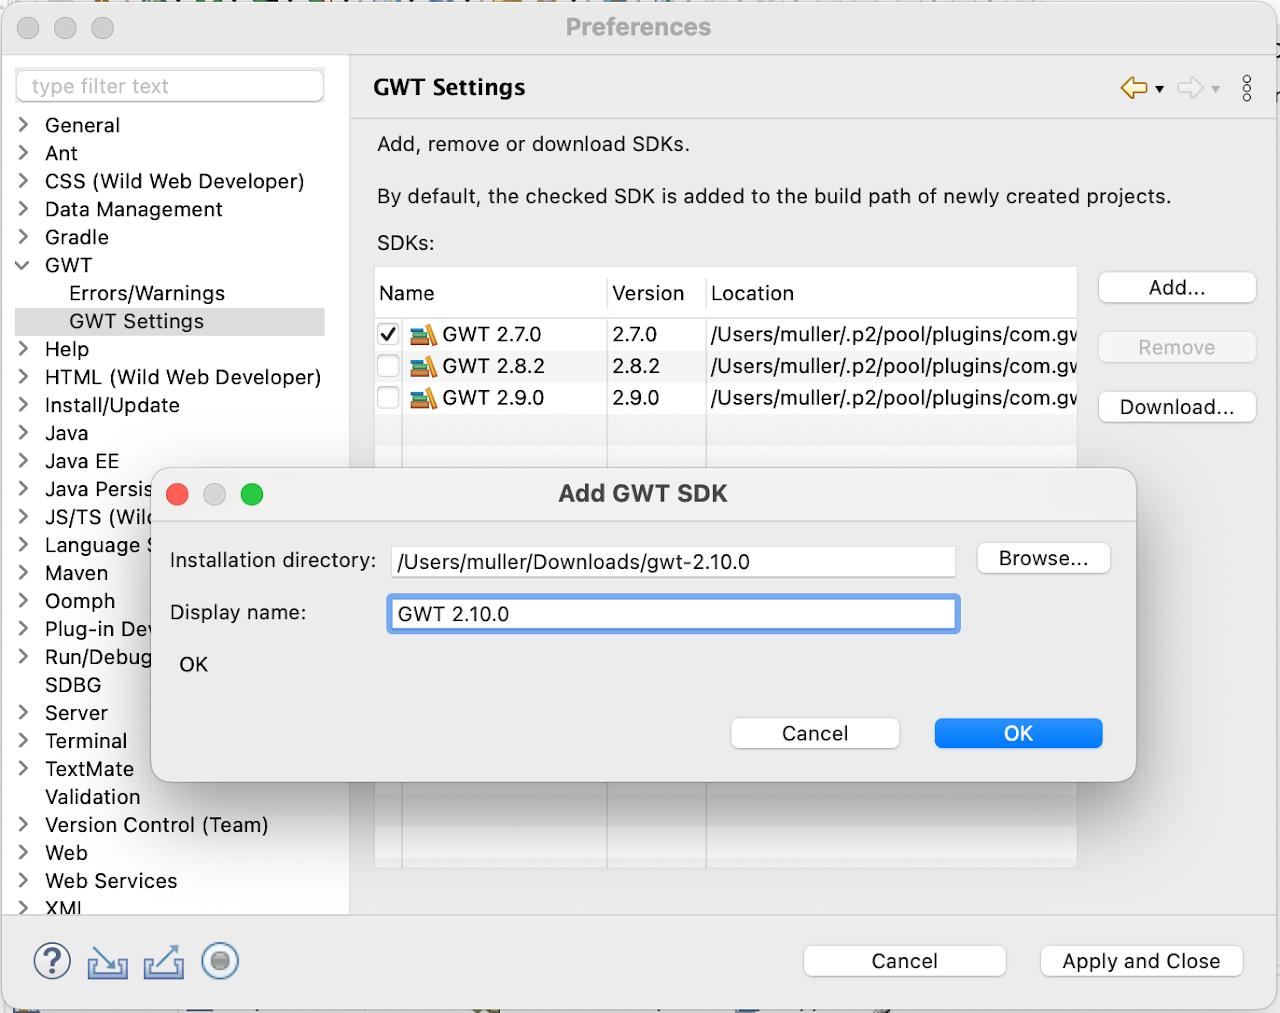
Download the latest GWT (e.g., GWT 2.10.0) from gwtproject.org/download.html and unzip it.
In Eclipse, open File > Properties, select GWT > GWT Settings, click Add
Select a directory that has an unzipped distribution of GWT 2.10.0, hit OK
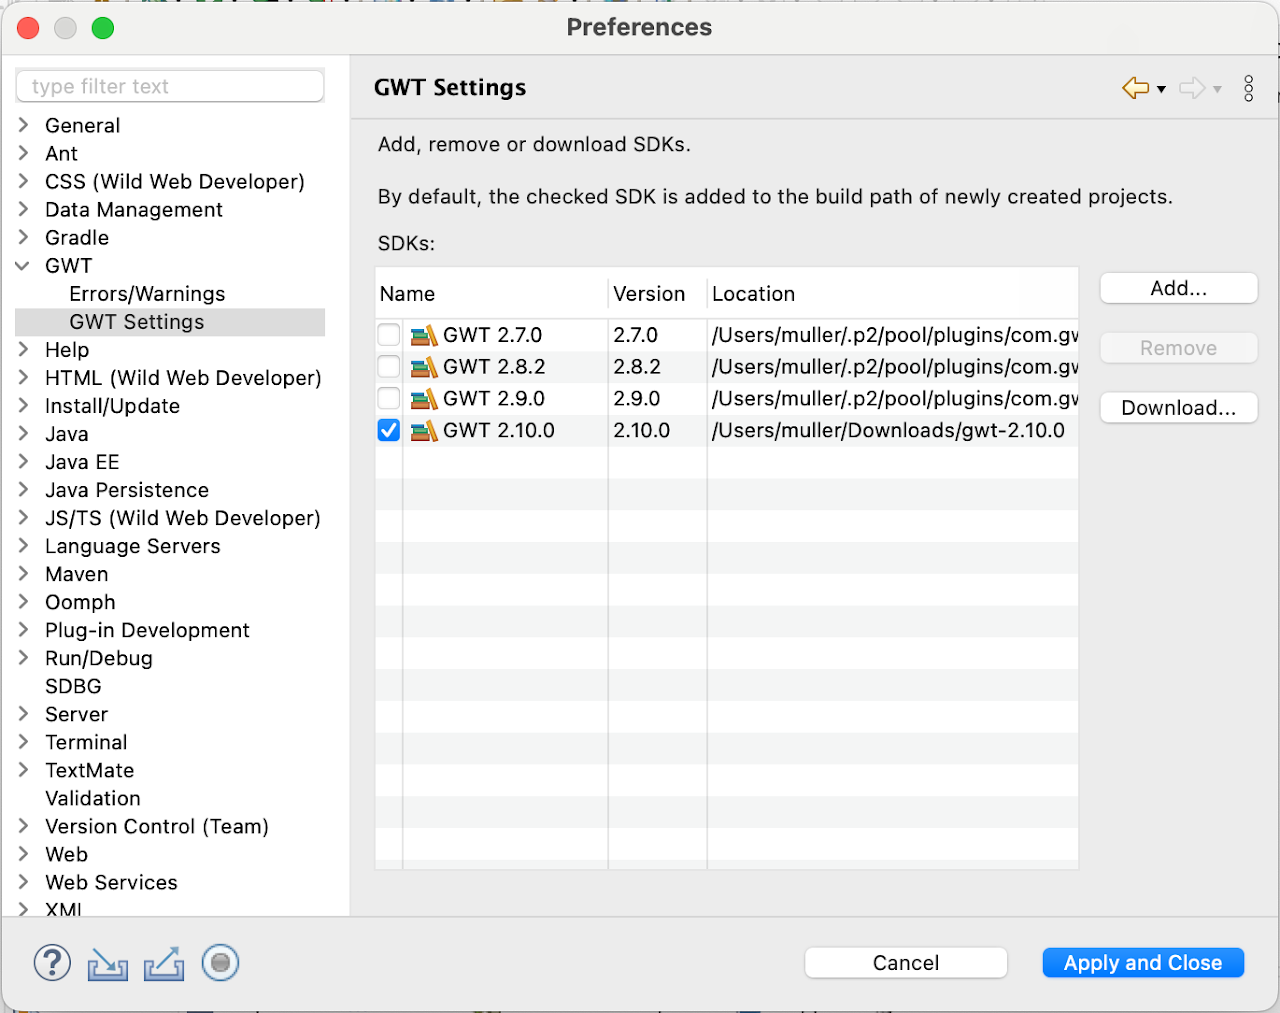
Select the newly added GWT 2.10.0 as the default, click OK
Additiona Configuration
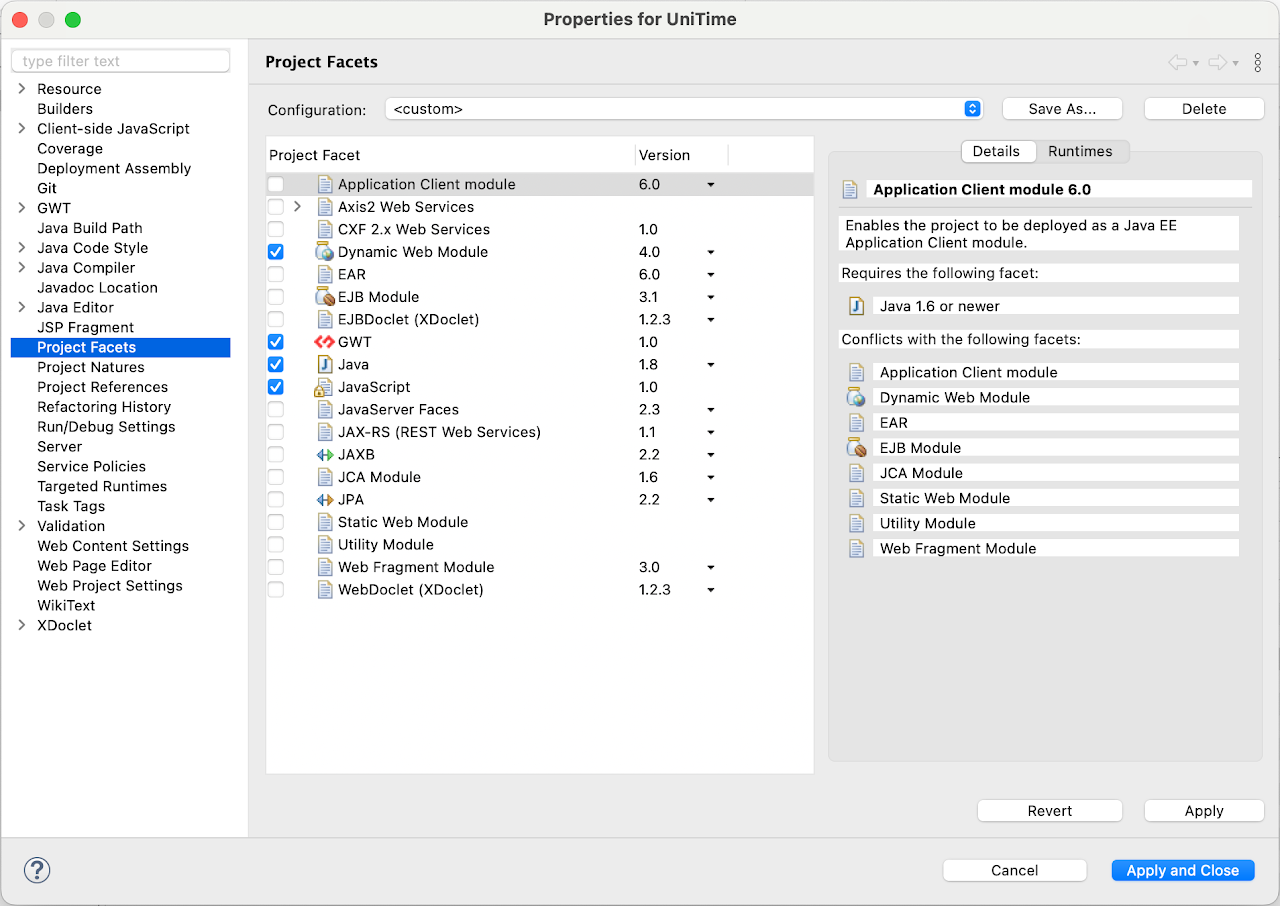
Right-click on the UniTime project, click Properties
Select Project Facets, make sure that Dynamic Web Module (version 4.0), GWT, and Java (version 1.8) are selected, click Apply

4) Setup Apache Tomcat
This guide expects that you already have the Apache Tomcat downloaded and installed somewhere.
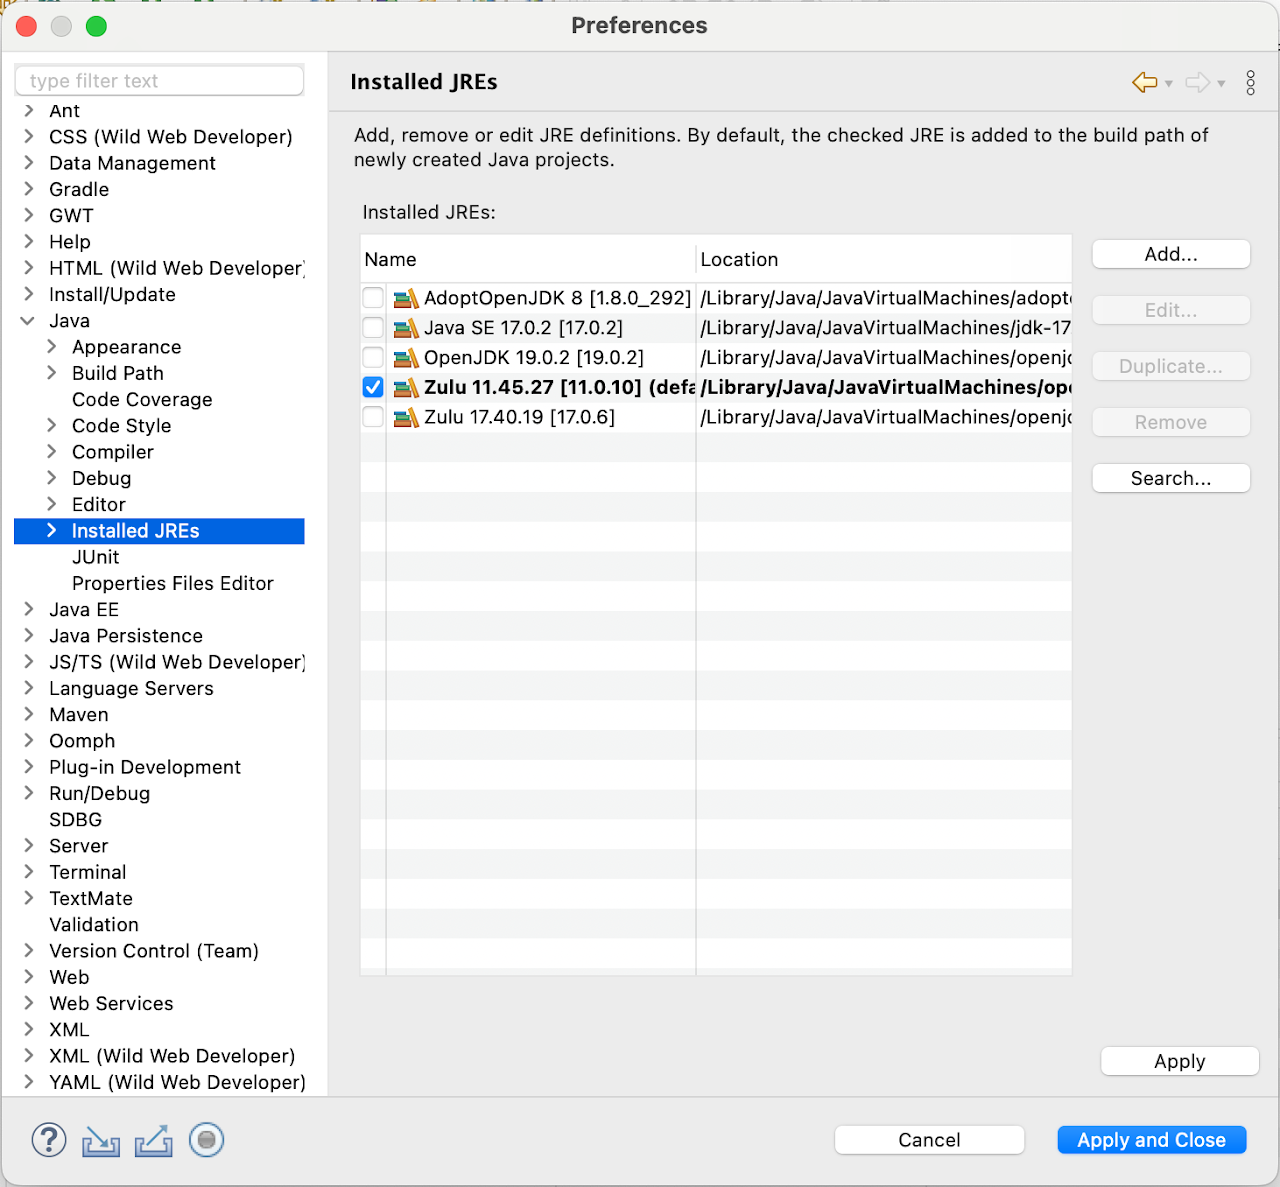
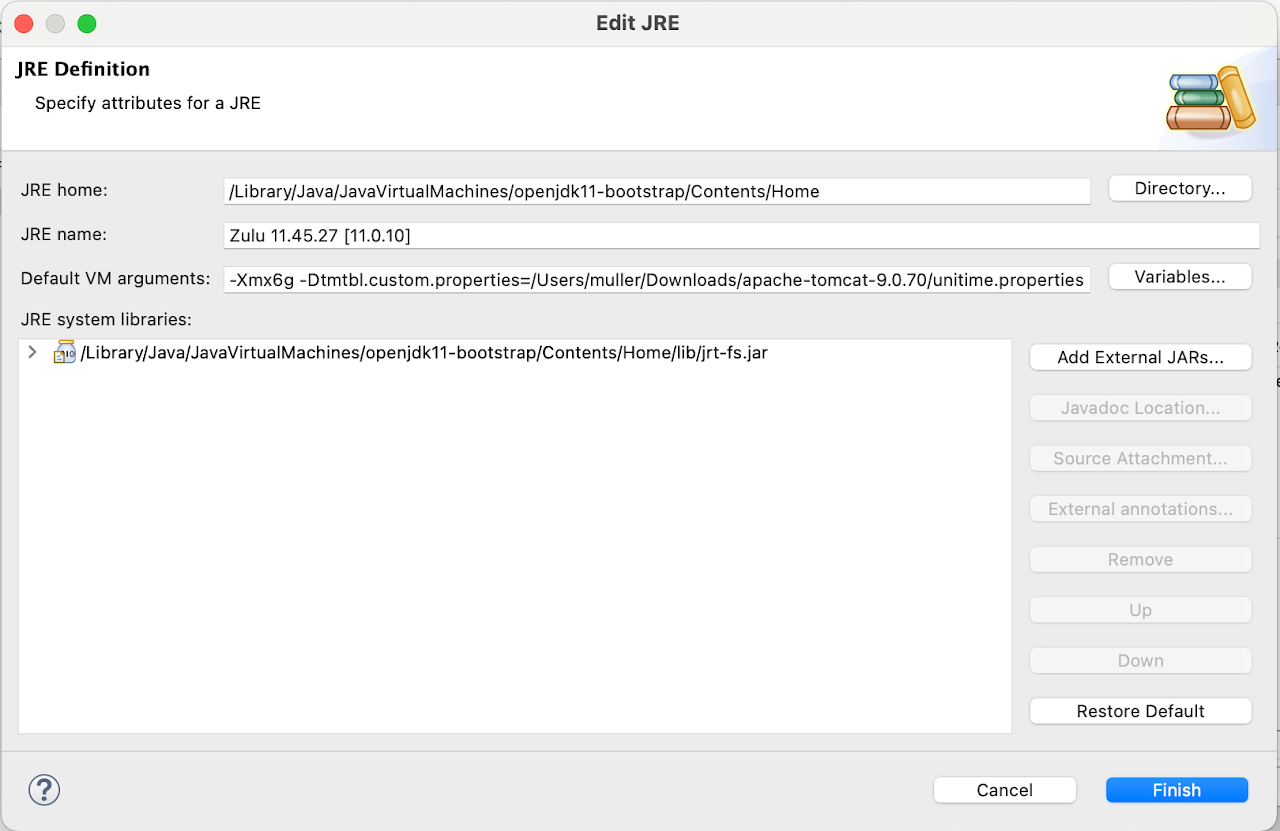
a) Setup JRE and its parameters
Open File > Properties, select Java > Installed JREs, click Edit
Put in the following Default VM arguments, hit Finish
-Xmx2g
-Dtmtbl.custom.properties=/path/to/custom.properties
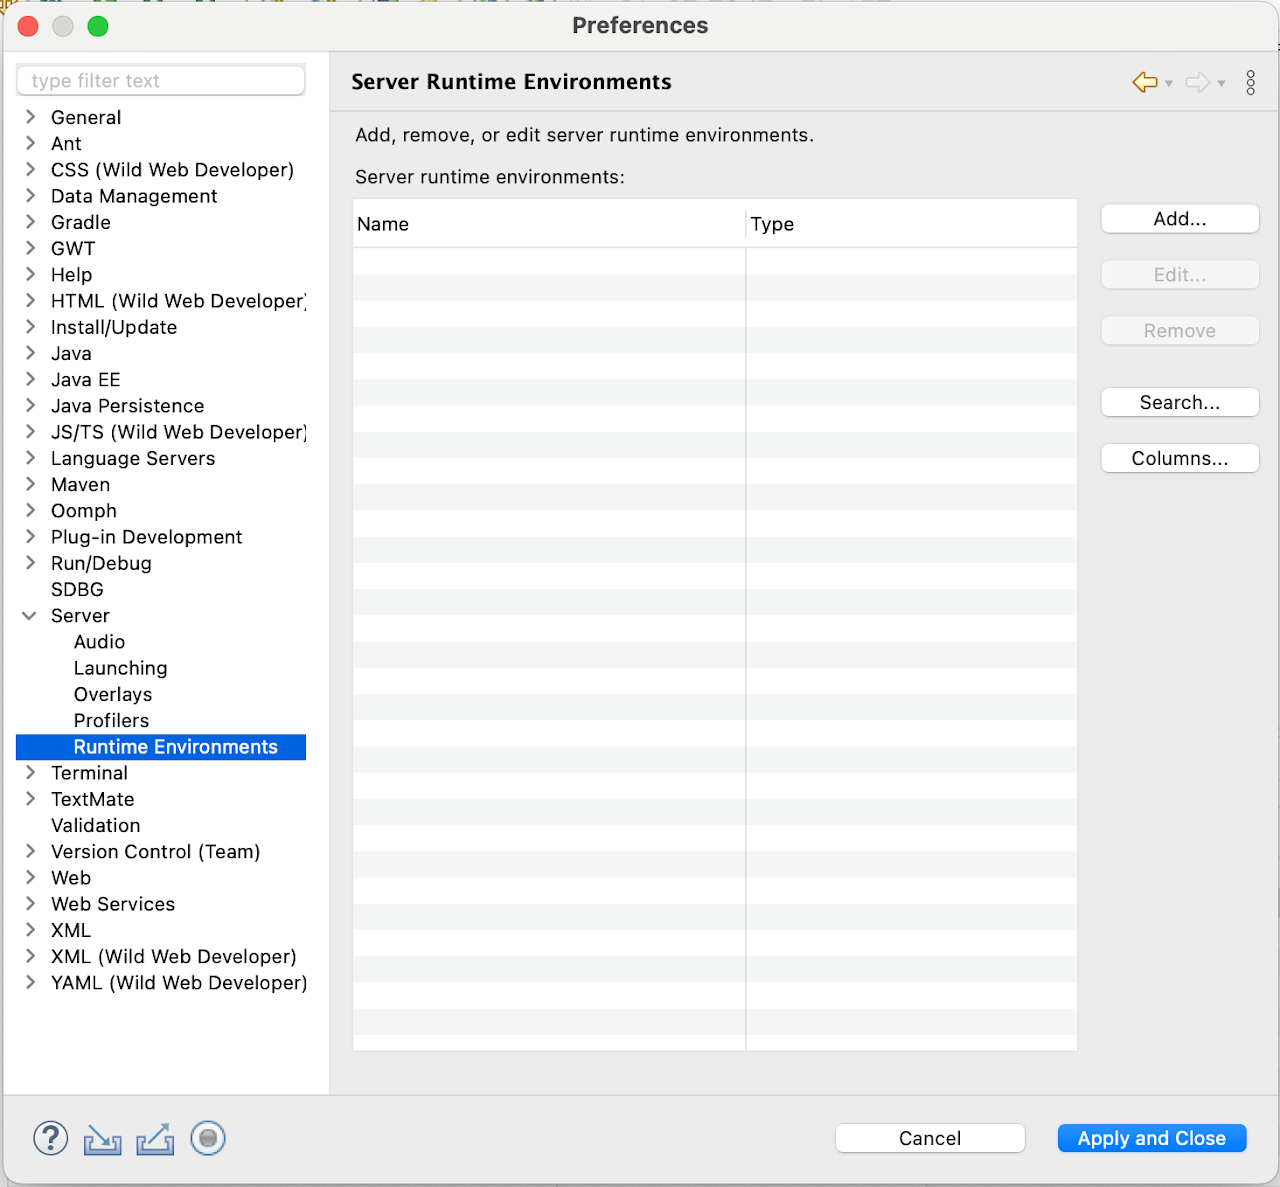
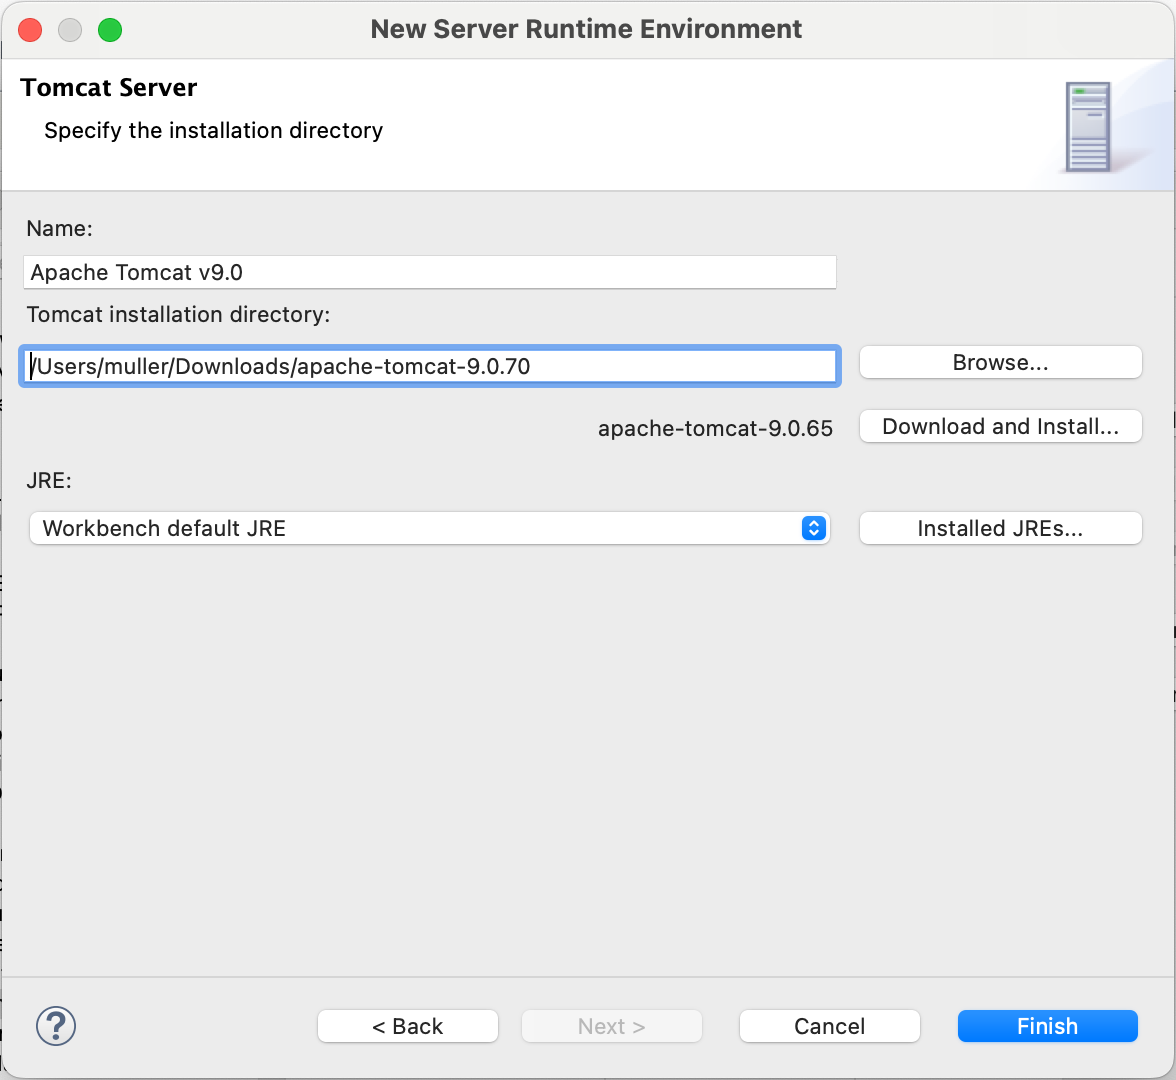
b) Create Apache Tomcat v.9.0 server configuration
Open File > Properties, select Server > Runtime Environments, click Add
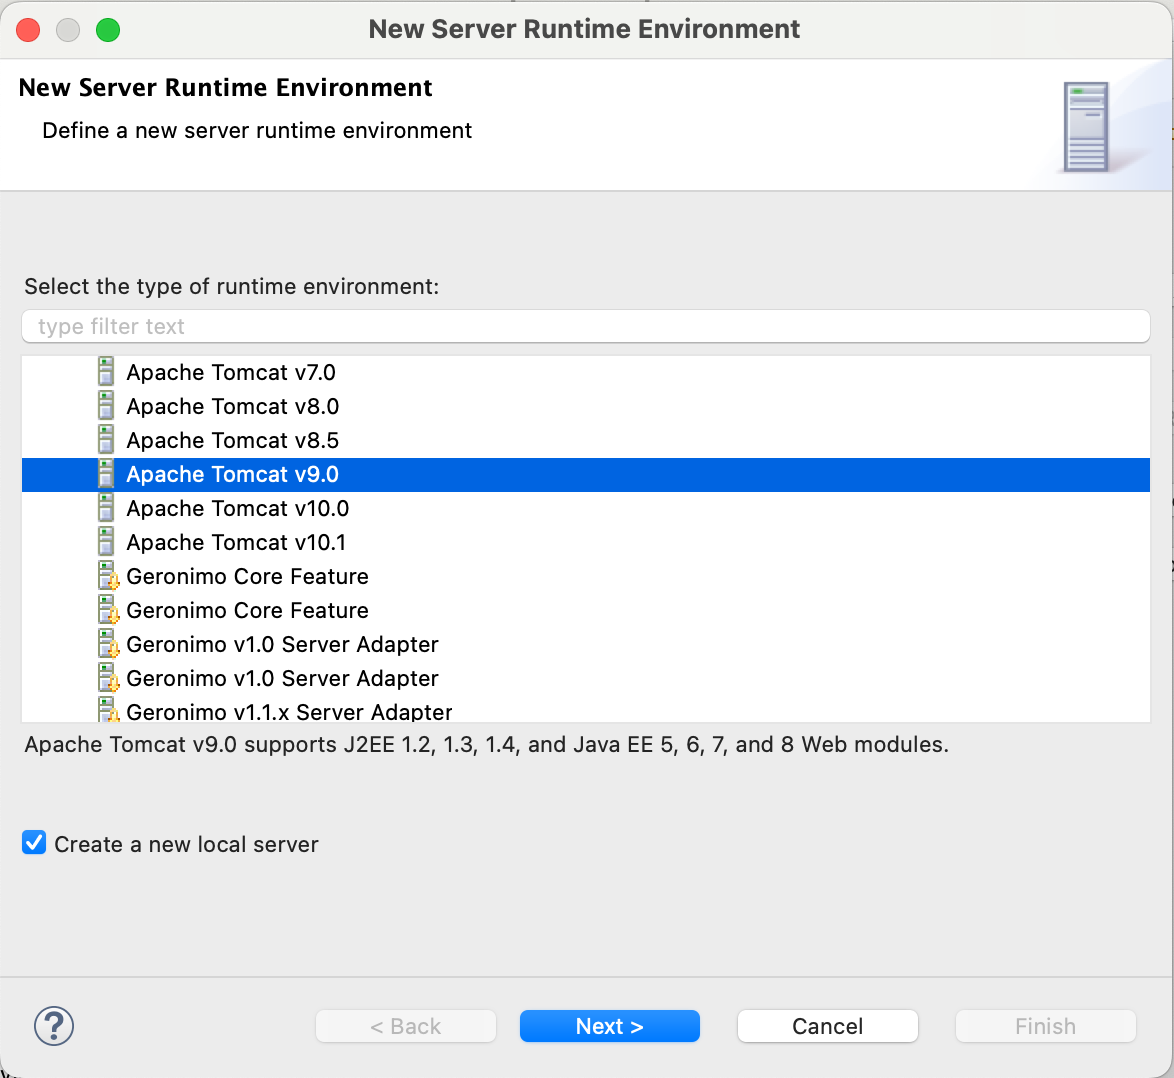
Select Apache Tomcat v9.0, check the “Create a new local server”, click Next
Select Tomcat installation directory, hit Finish
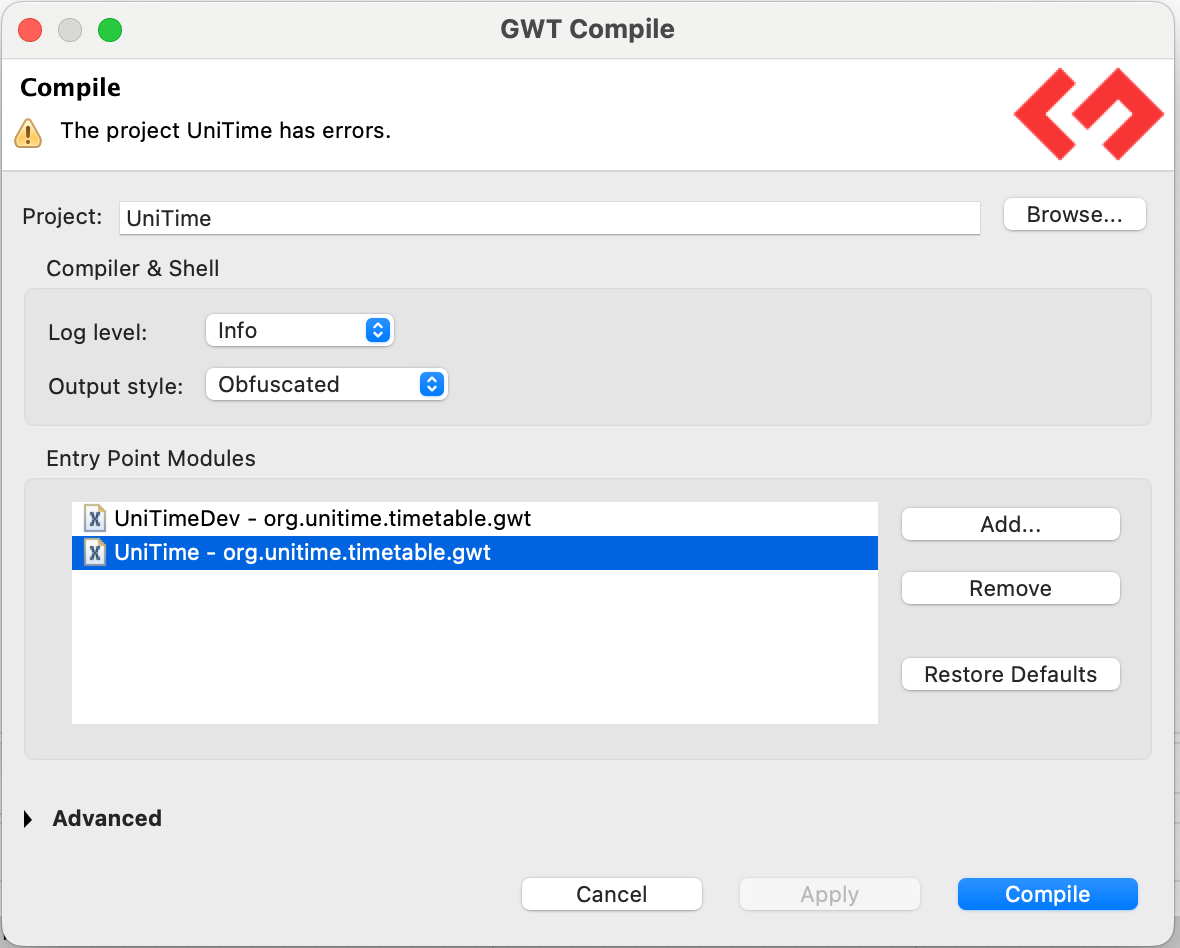
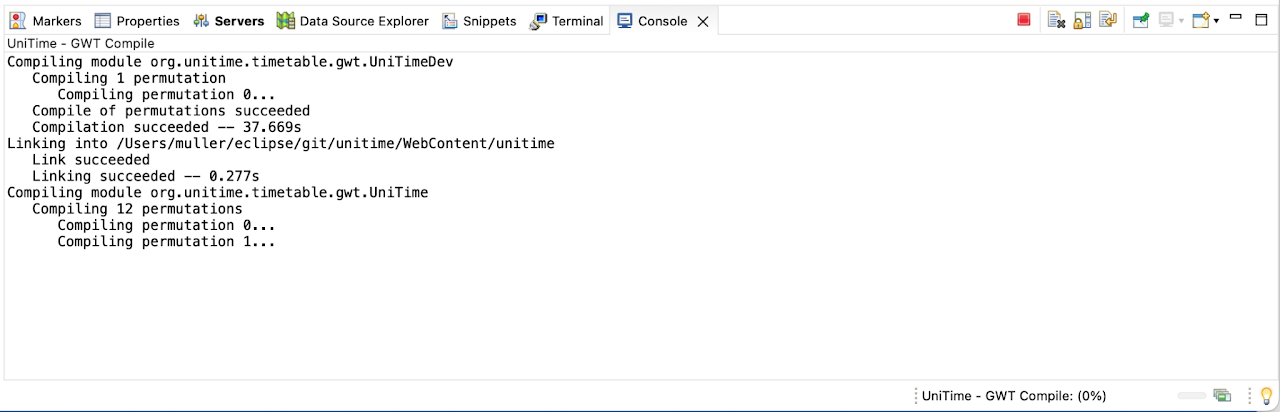
c) Compile GWT
Right click on the UniTime project, select GWT, click on Compile
Make sure that either UniTimeDev (fewer permutations) or UniTime (all permutations) but not both is on the Entry Point Modules list, click Compile
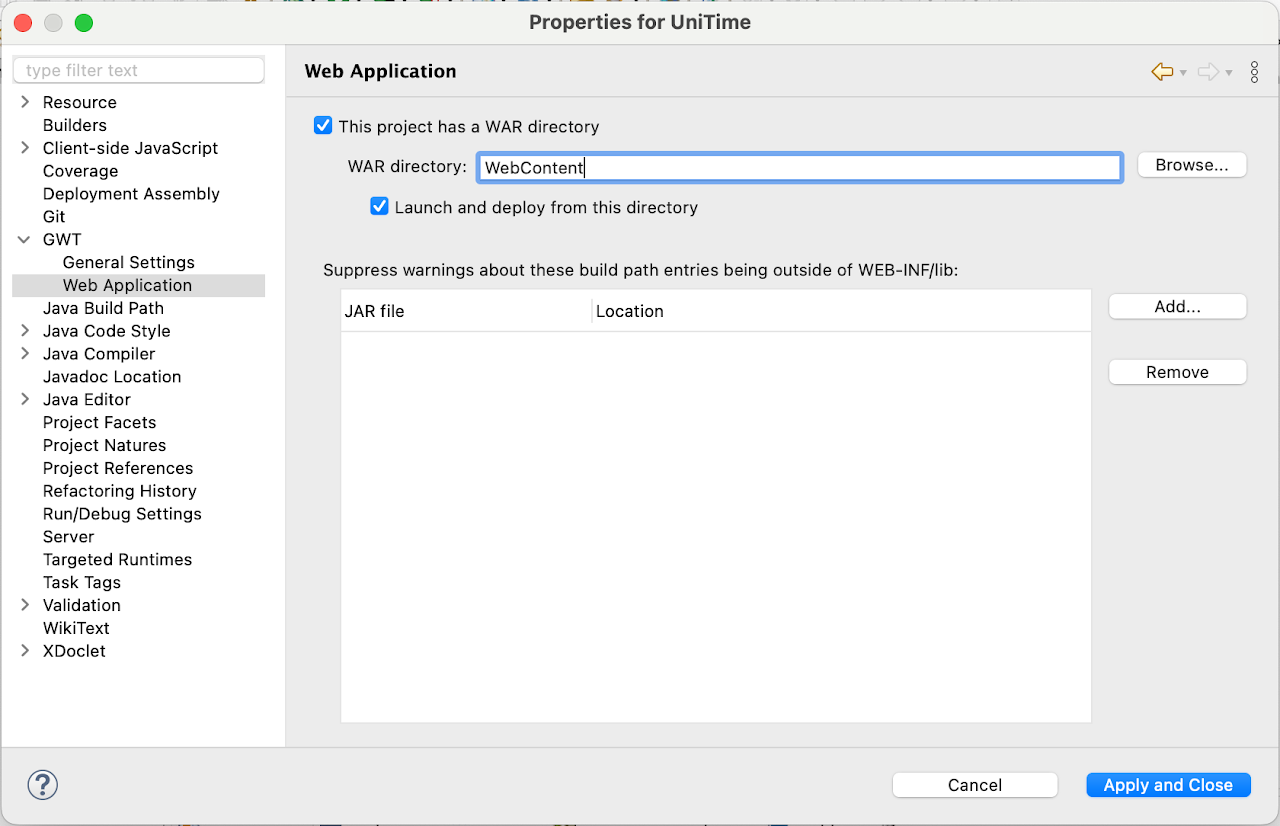
If asked, select WebContent as the WAR directory
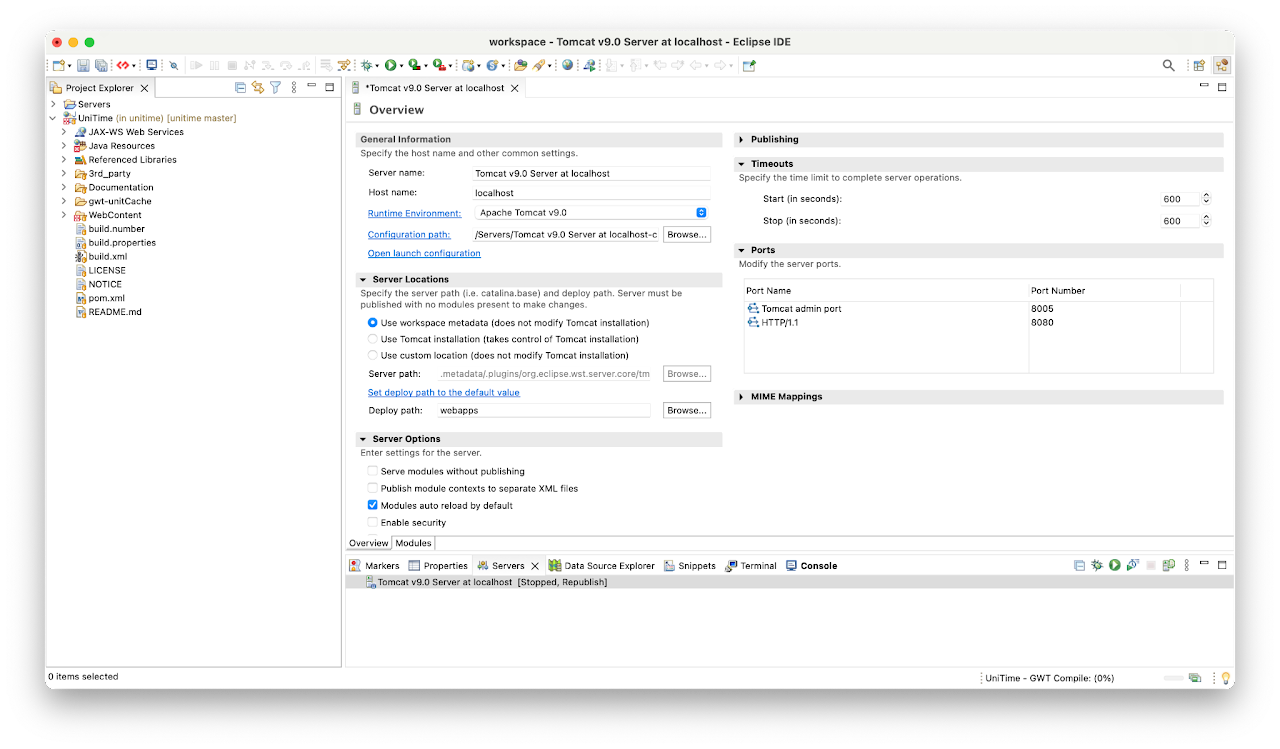
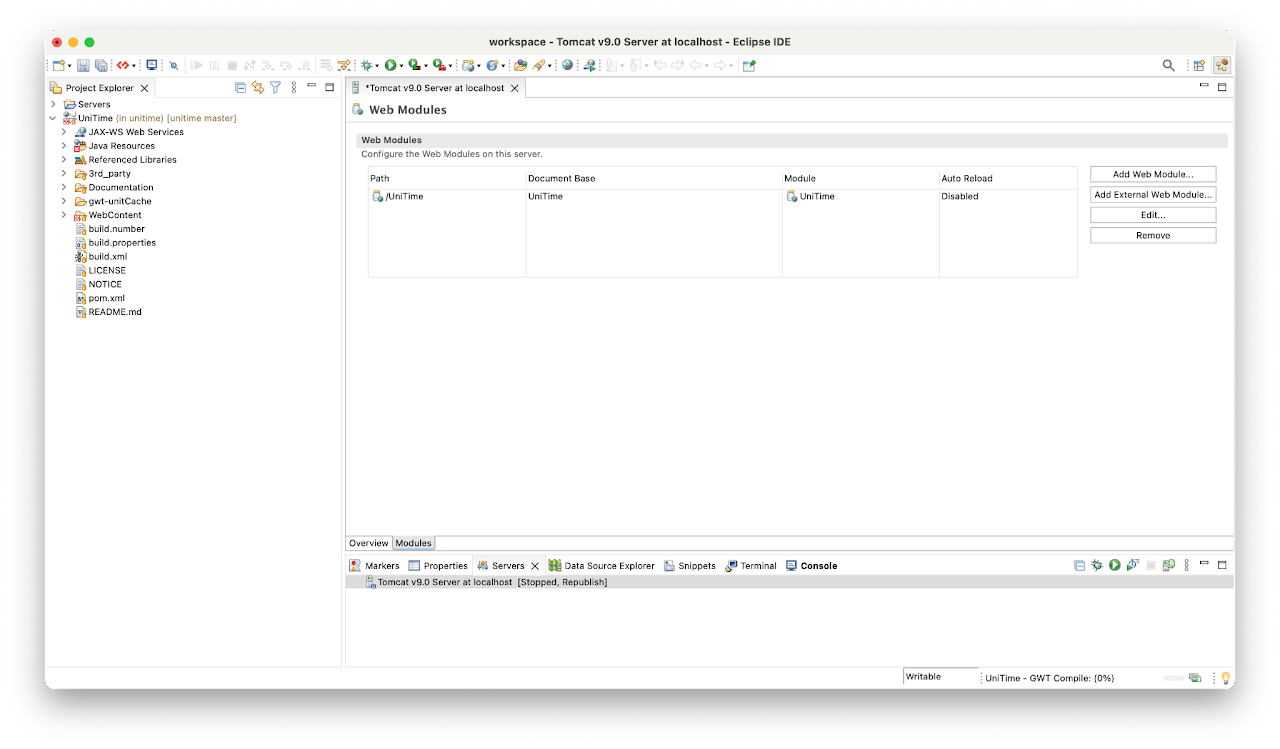
d) Deploy UniTime
On the Servers tab, double-click Tomcat v9.0 Server at localhost
On the Overview tab, set Deploy path to webapps and increase the start and stop Timeouts
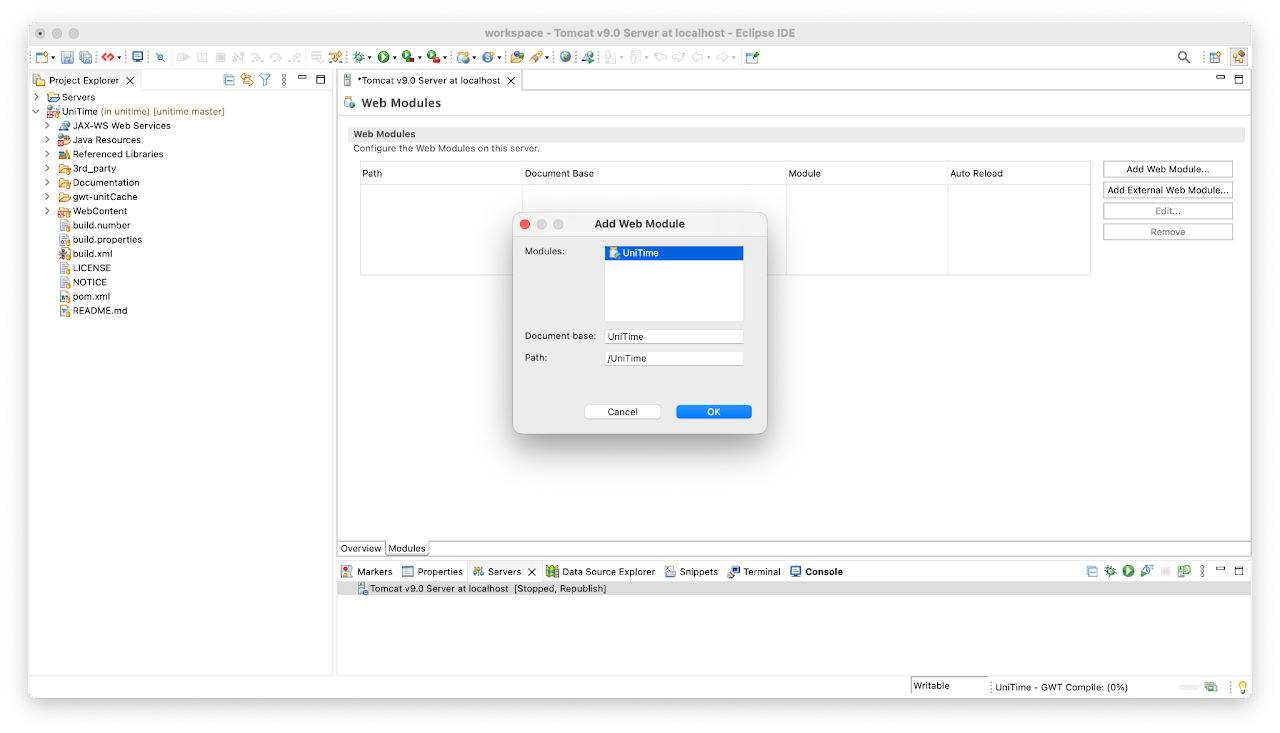
On the Modules tab, hit Add Web Module, select UniTime and hit OK
Save changes
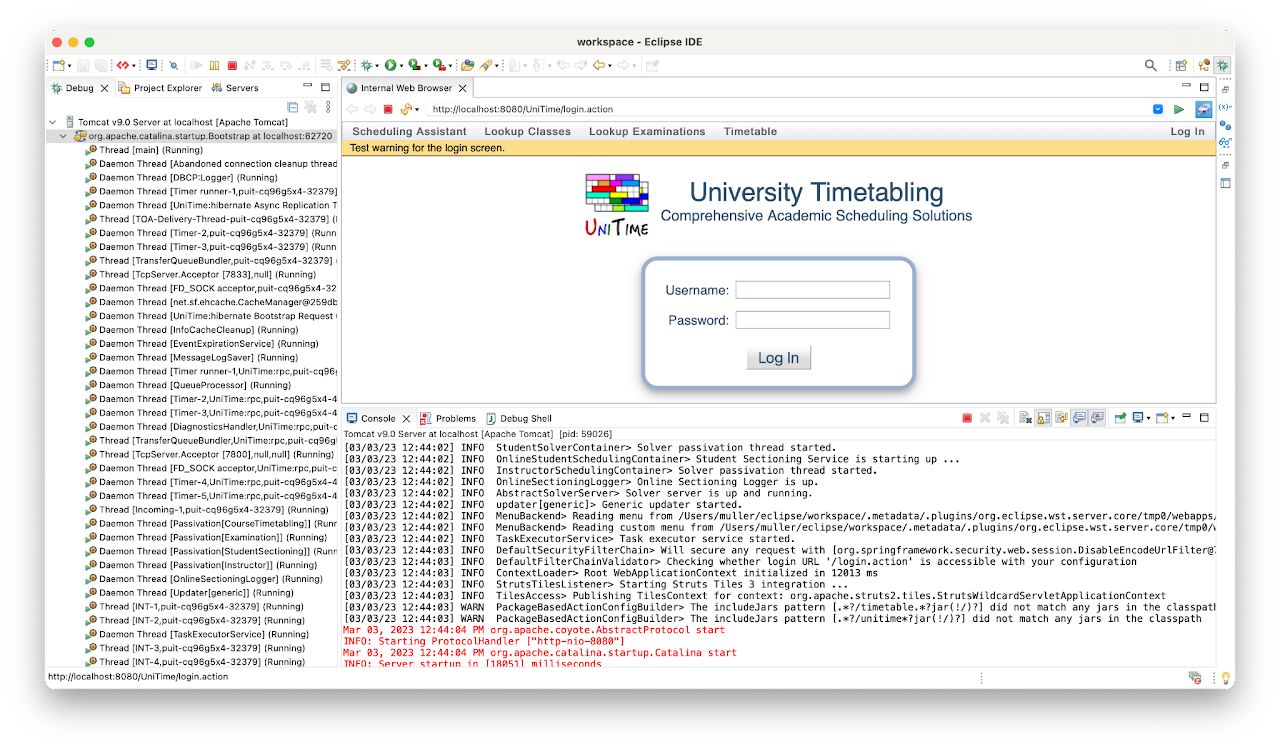
d) Start the Tomcat
On the Servers tab, select Tomcat v9.0 and click the debug (little green bug) or start (green round icon with a triangle in it)
Check the Console tab for any errors
| Back to UniTime Online Documentation | © UniTime 2026 | Content available under GNU Free Documentation License 1.3 |