Eclipse
Table of Contents
Install Eclipse IDE
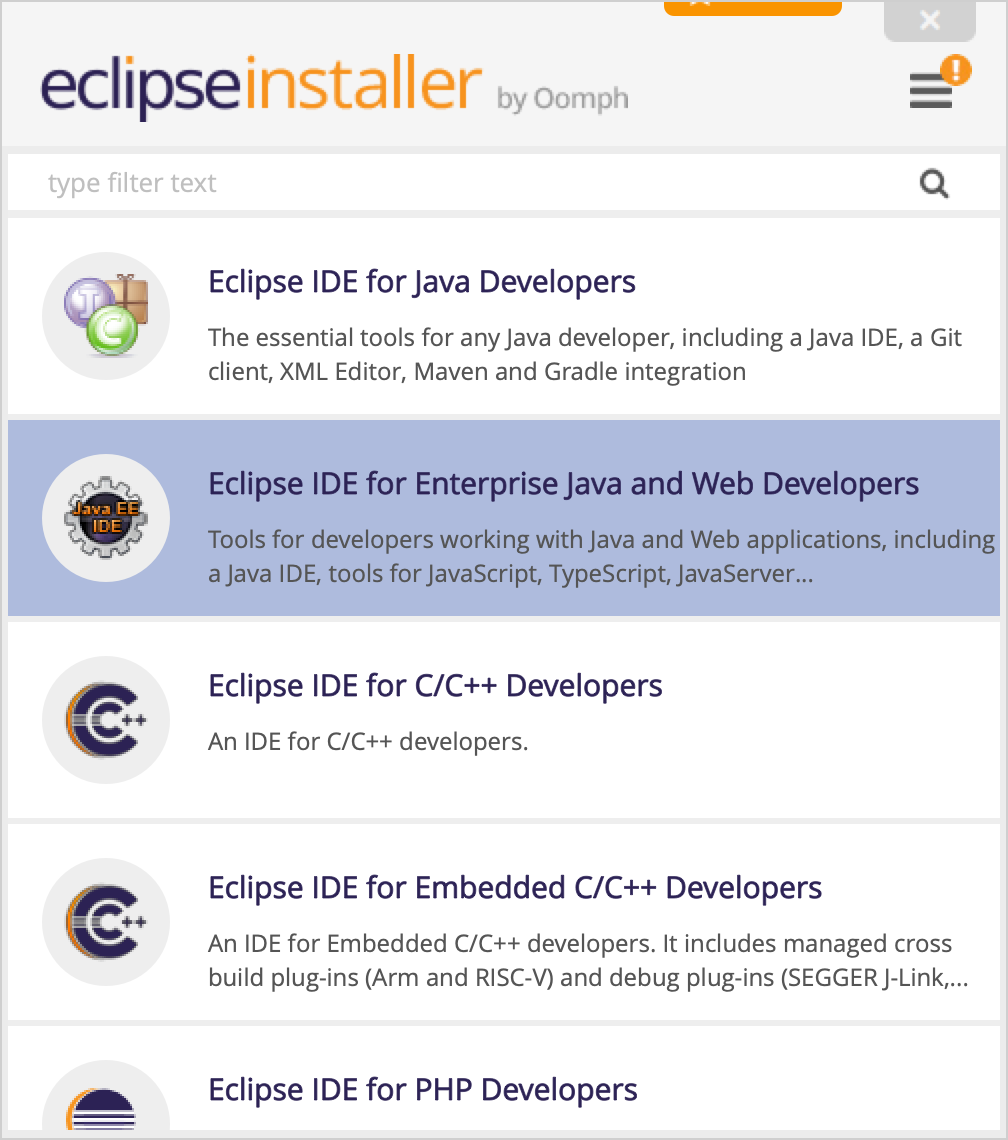
Download and install Eclipse IDE for Enterprise Java and Web Developers (Eclipse IDE 2026-06), e.g., from eclipse.org/downloads/packages using the Eclipse Installer
Create UniTime project
If you plan to make changes, you should consider forking the UniTime project first. See Fork A Repo for more details.
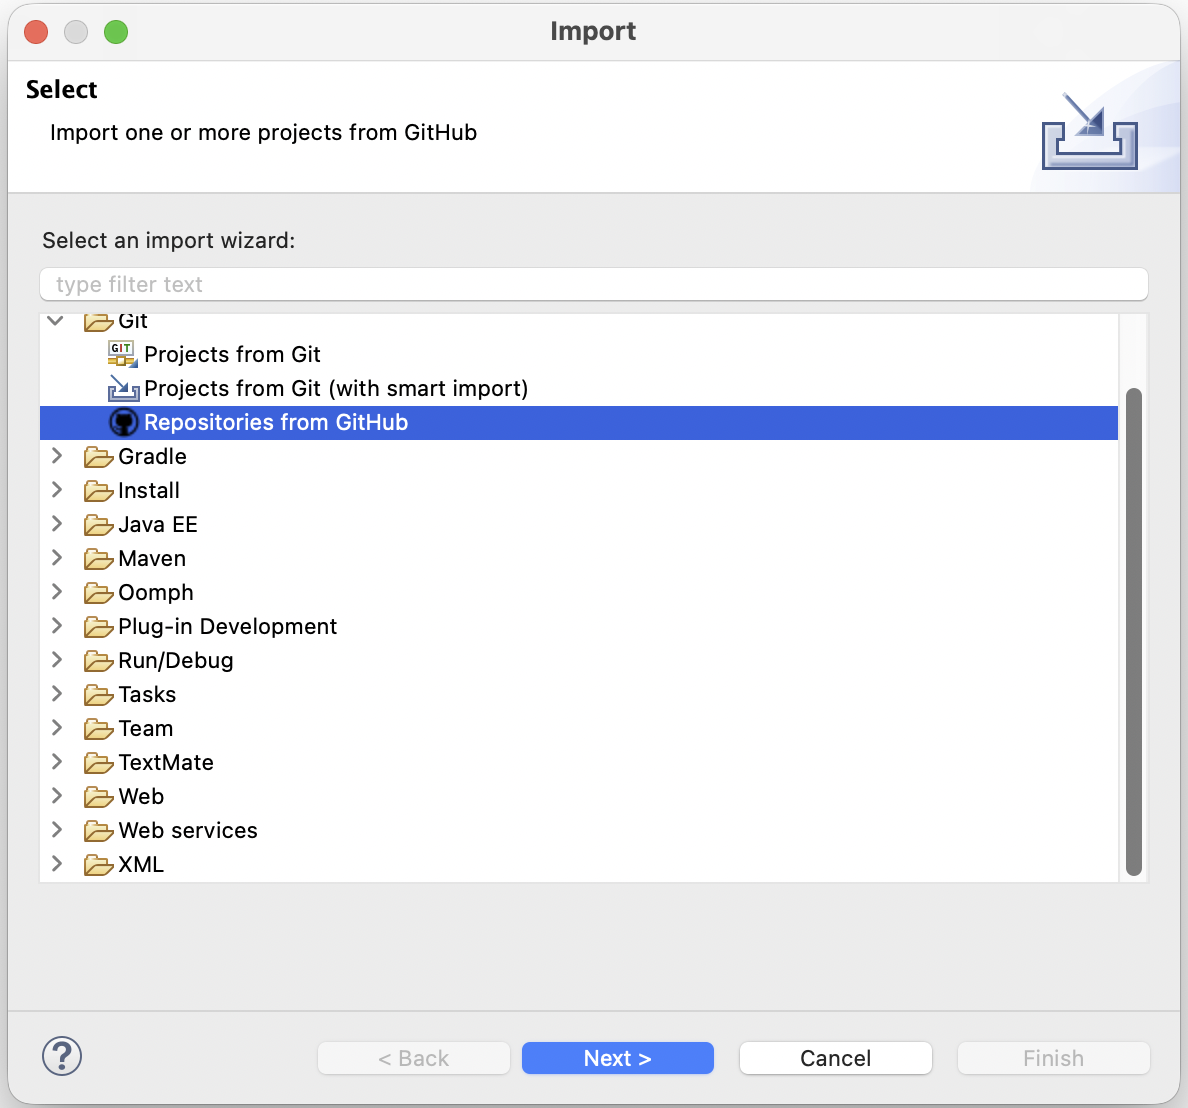
- File > Import, select Git > Repositories from GitHub
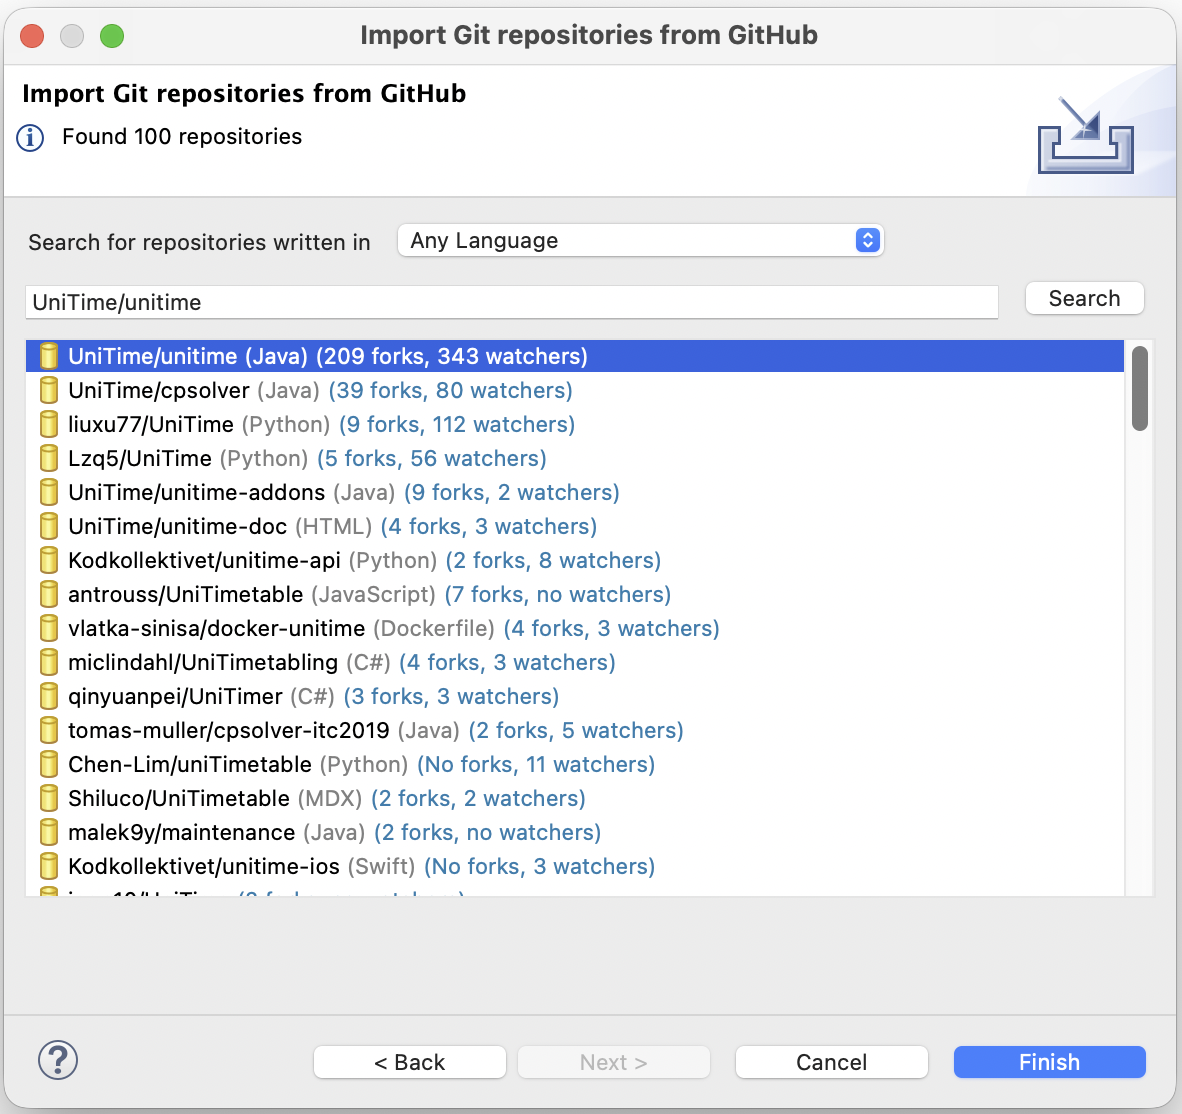
- Type in UniTime/unitime (or your fork of UniTime), hit Search
- Select UniTime/unitime (or your fork of UniTime), hit Finish
More general way (alternative)
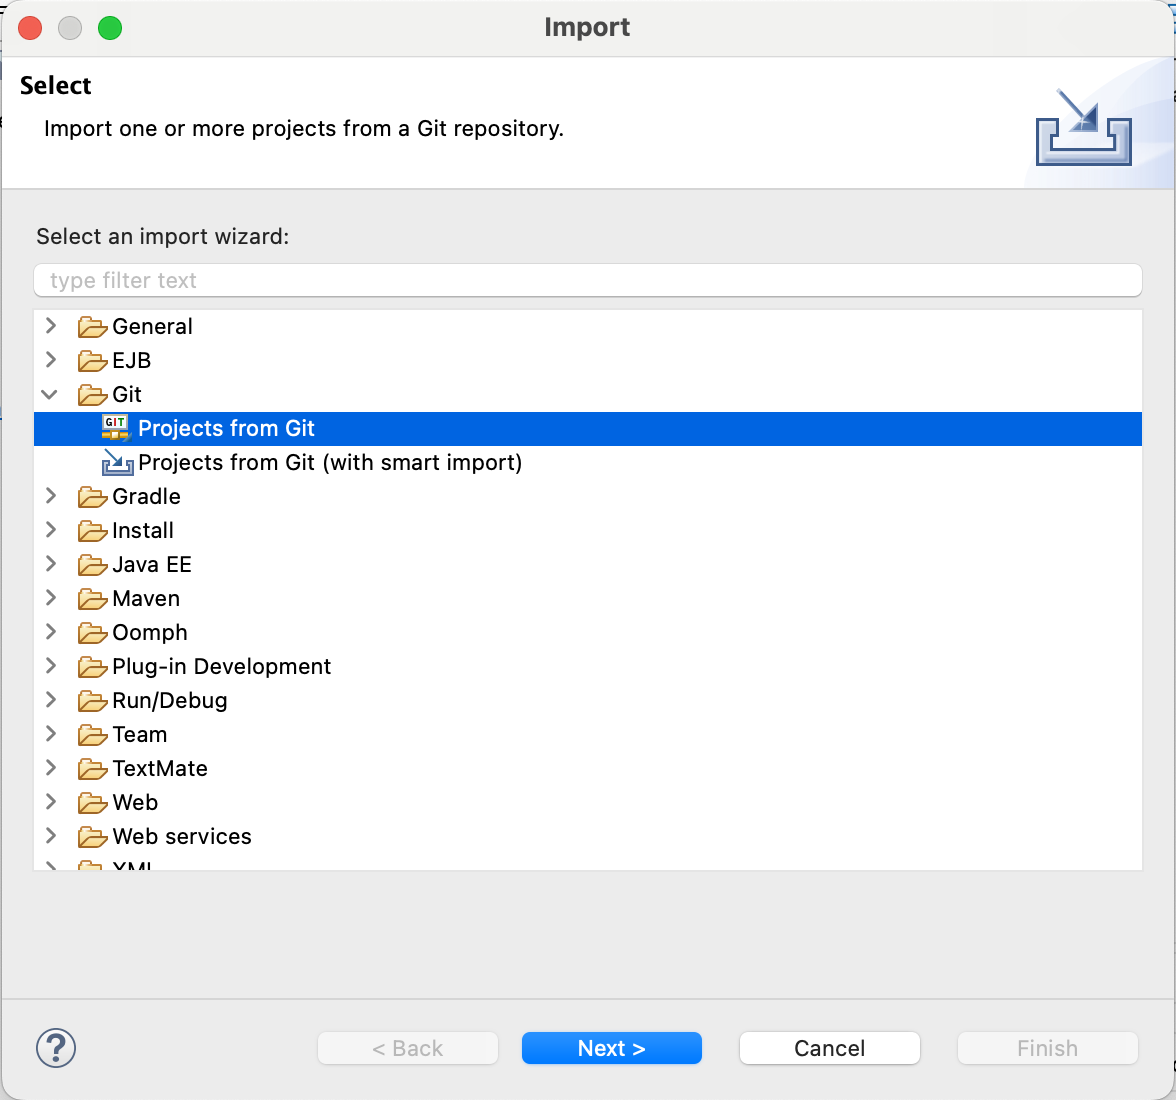
- File > Import, select Git > Project from Git, Next
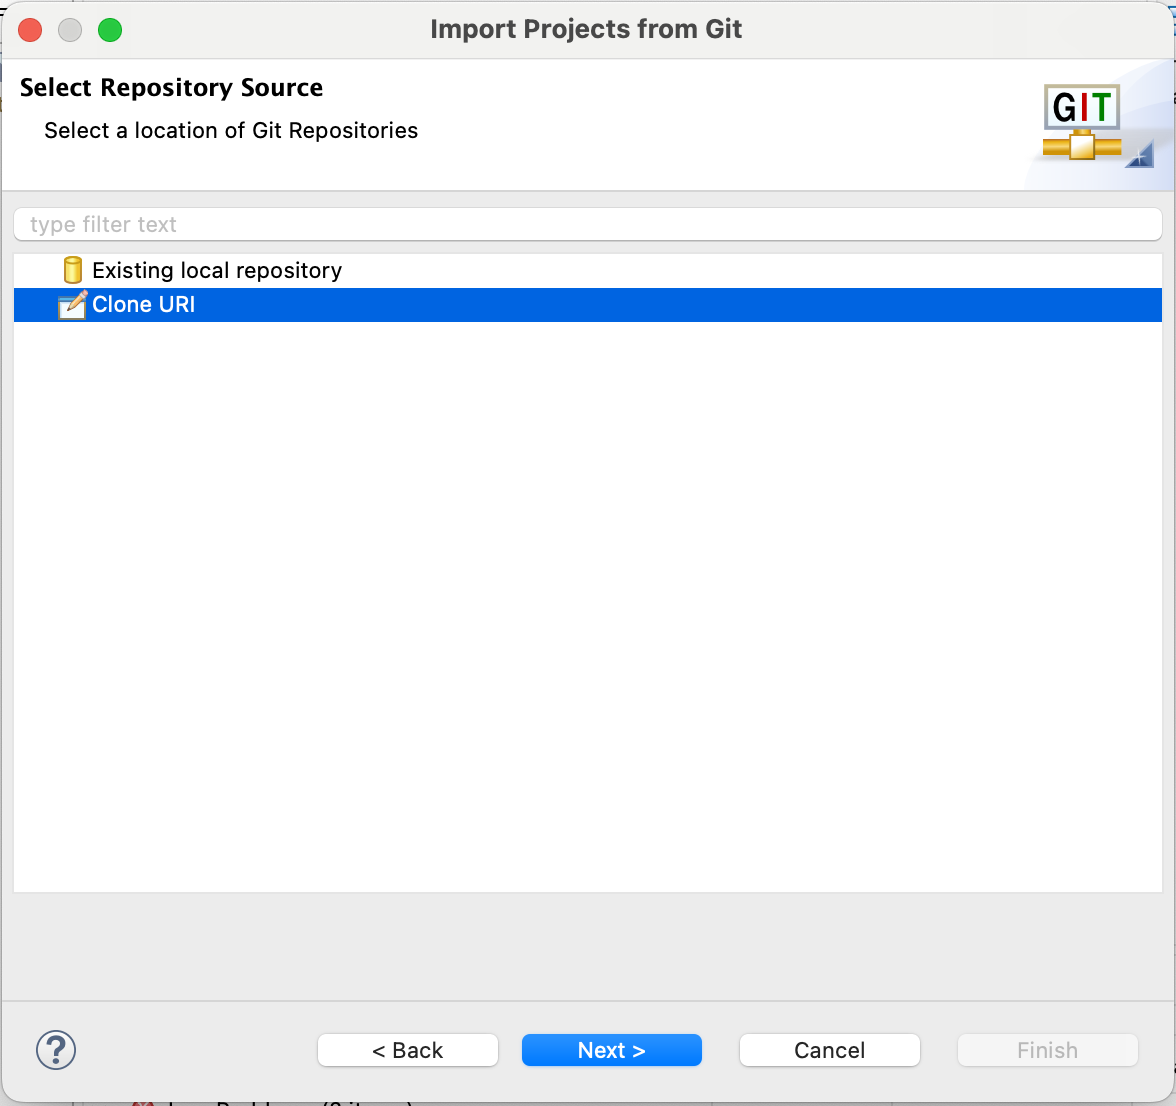
- Select “Clone URI” and click Next
- Note: Use “Existing local repository” if you already have the UniTime project cloned somewhere, e.g., using the GitHub Desktop app or the git command line tool
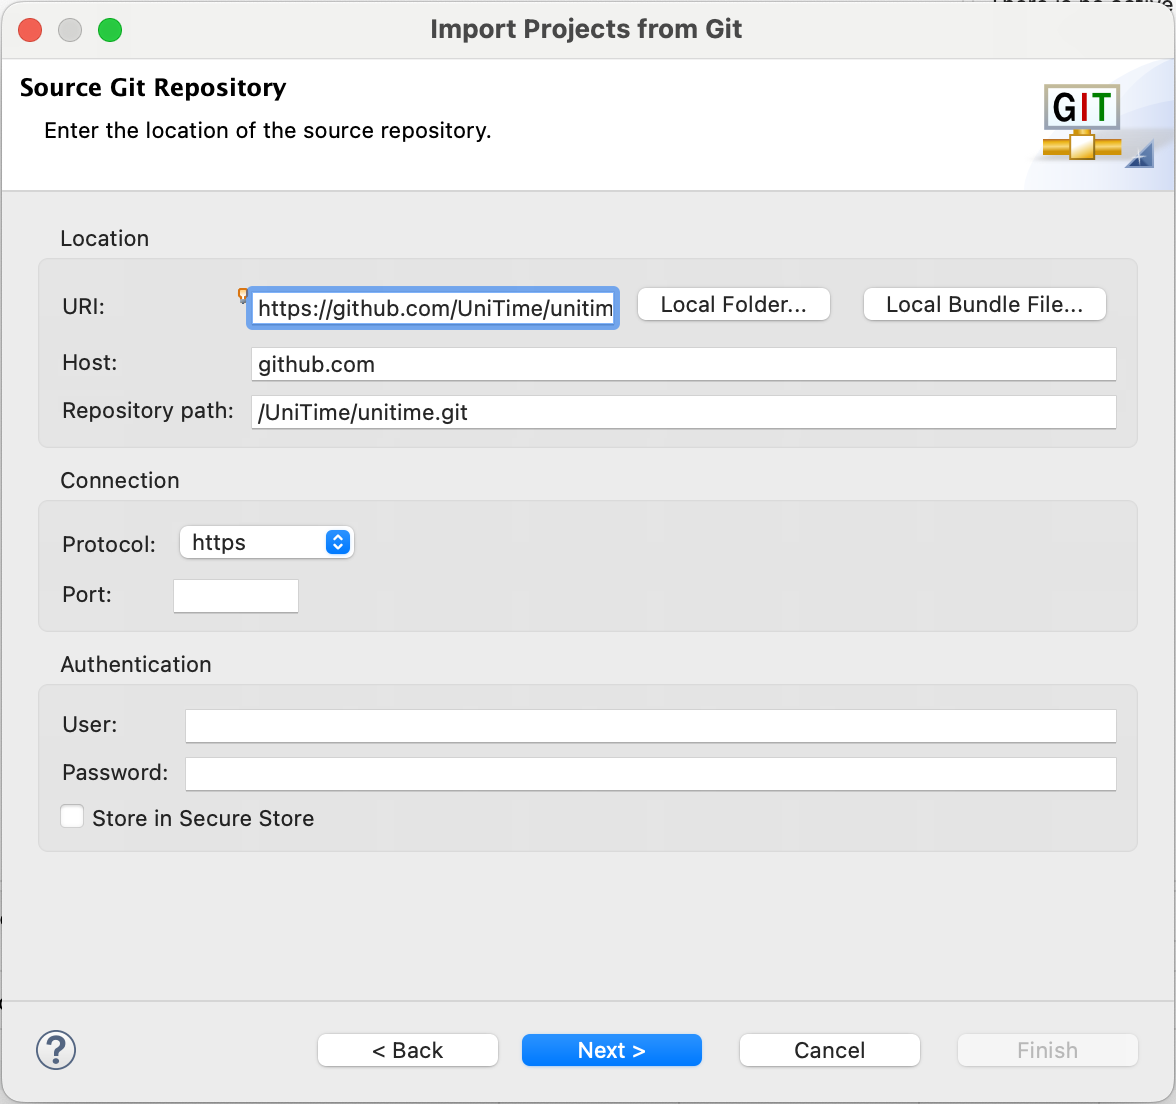
- Enter “https://github.com/UniTime/unitime.git” as URI; the rest should auto-populate from the URL, click Next
- Or, you can use “git@github.com:UniTime/unitime.git” as URI and generate an SSH key (see Generating SSH keys for more details)
- If you have forked the unitime repository, the URI will be different
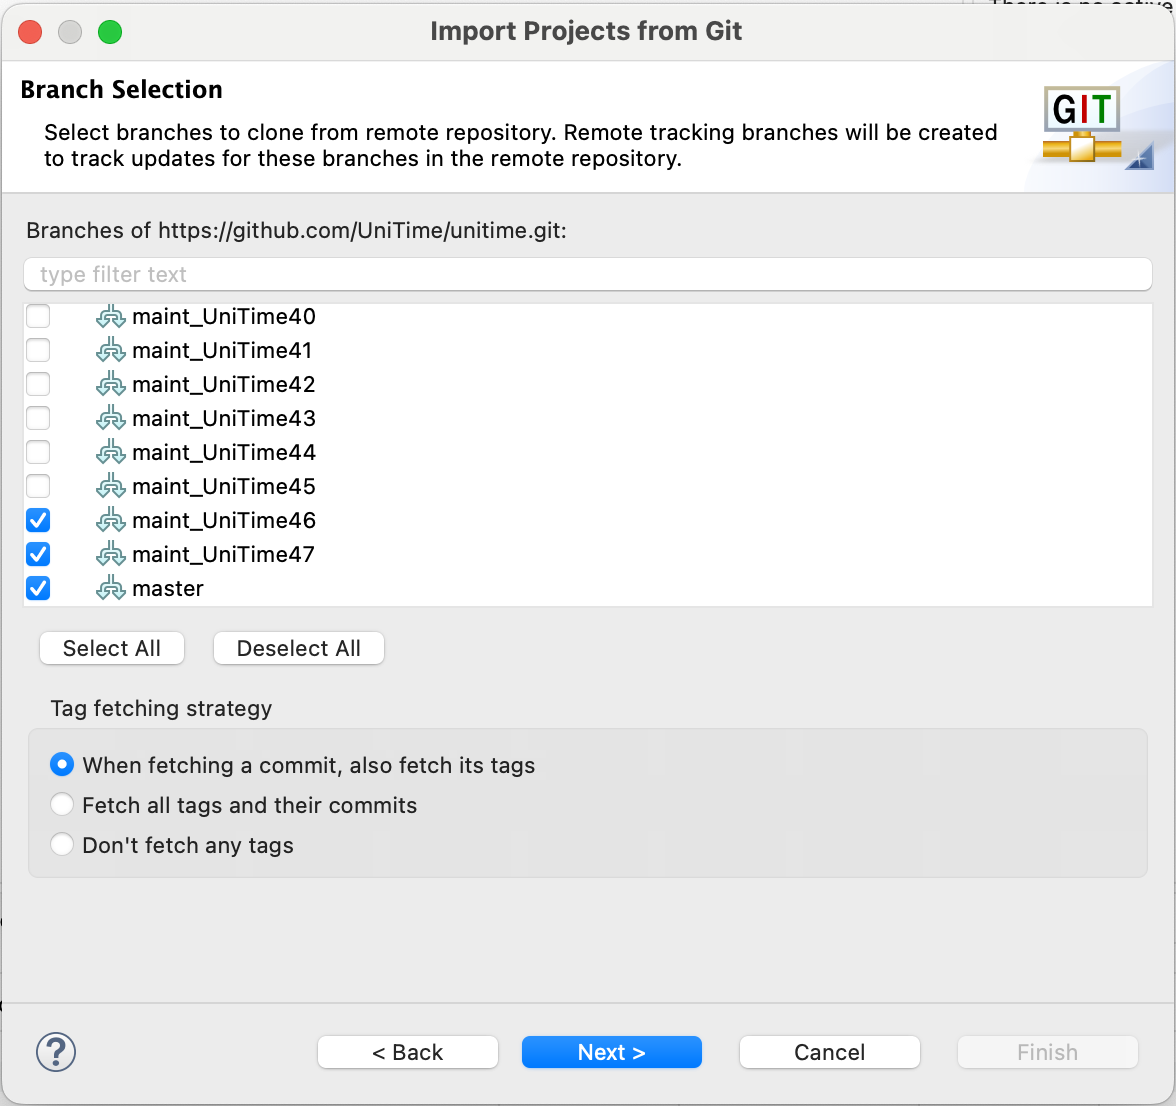
- Click Deselect All and select the master and the maintenance branches you want/need (if any).
- Click Next
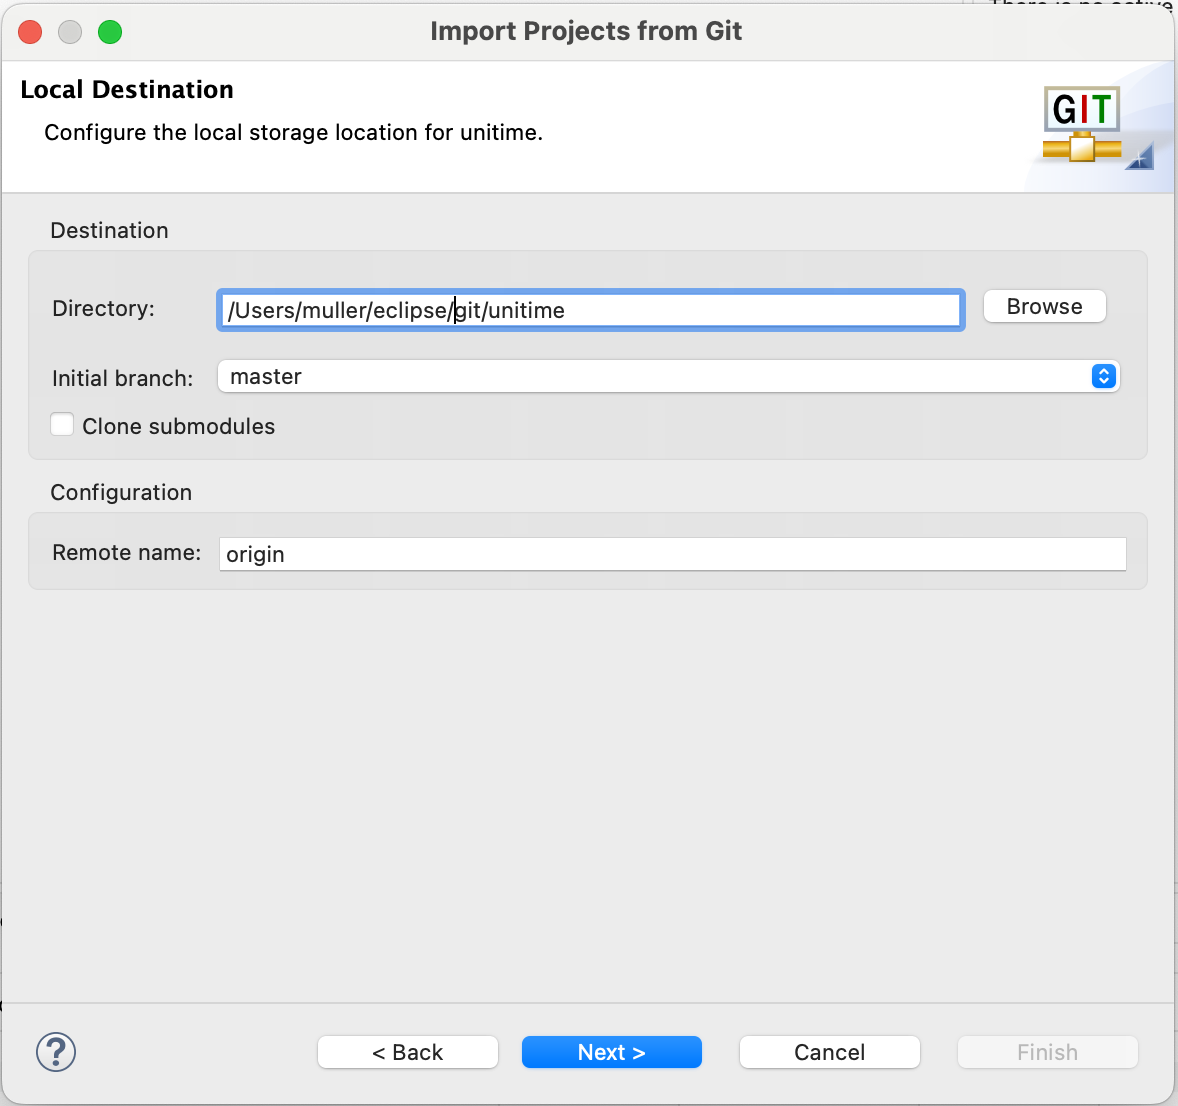
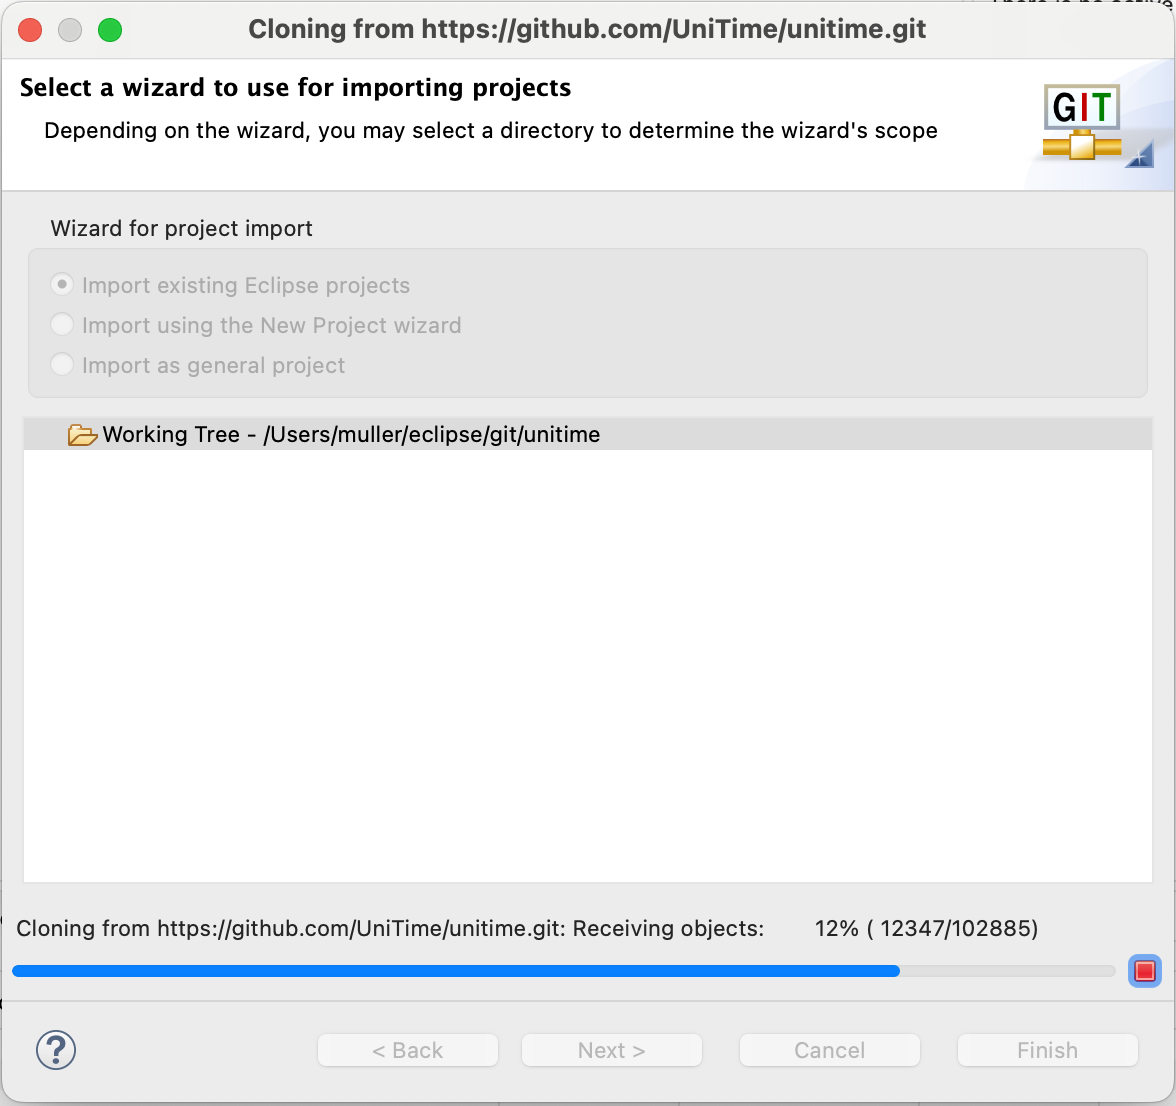
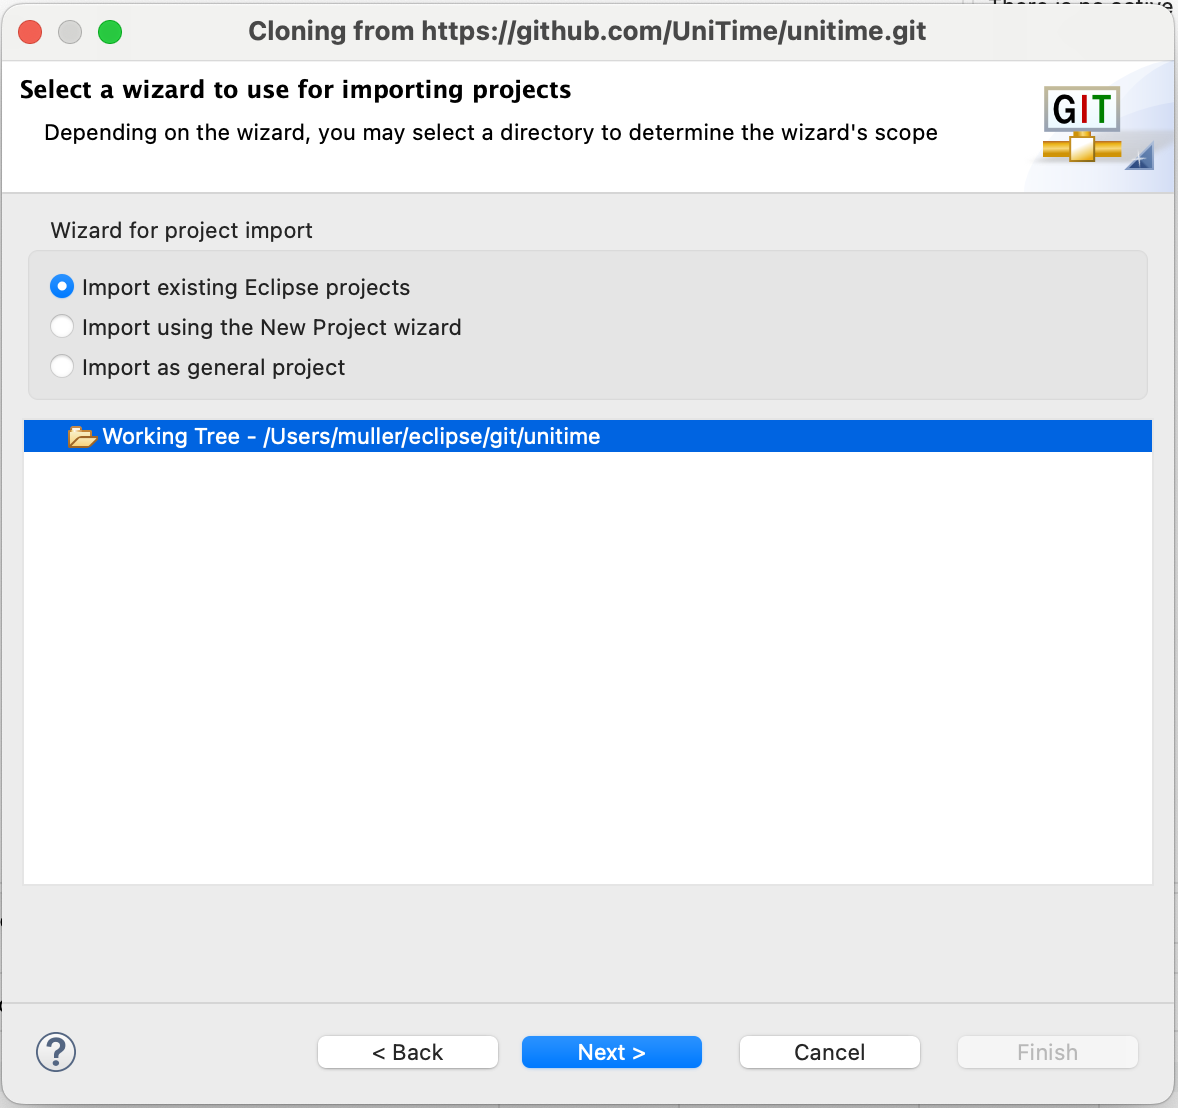
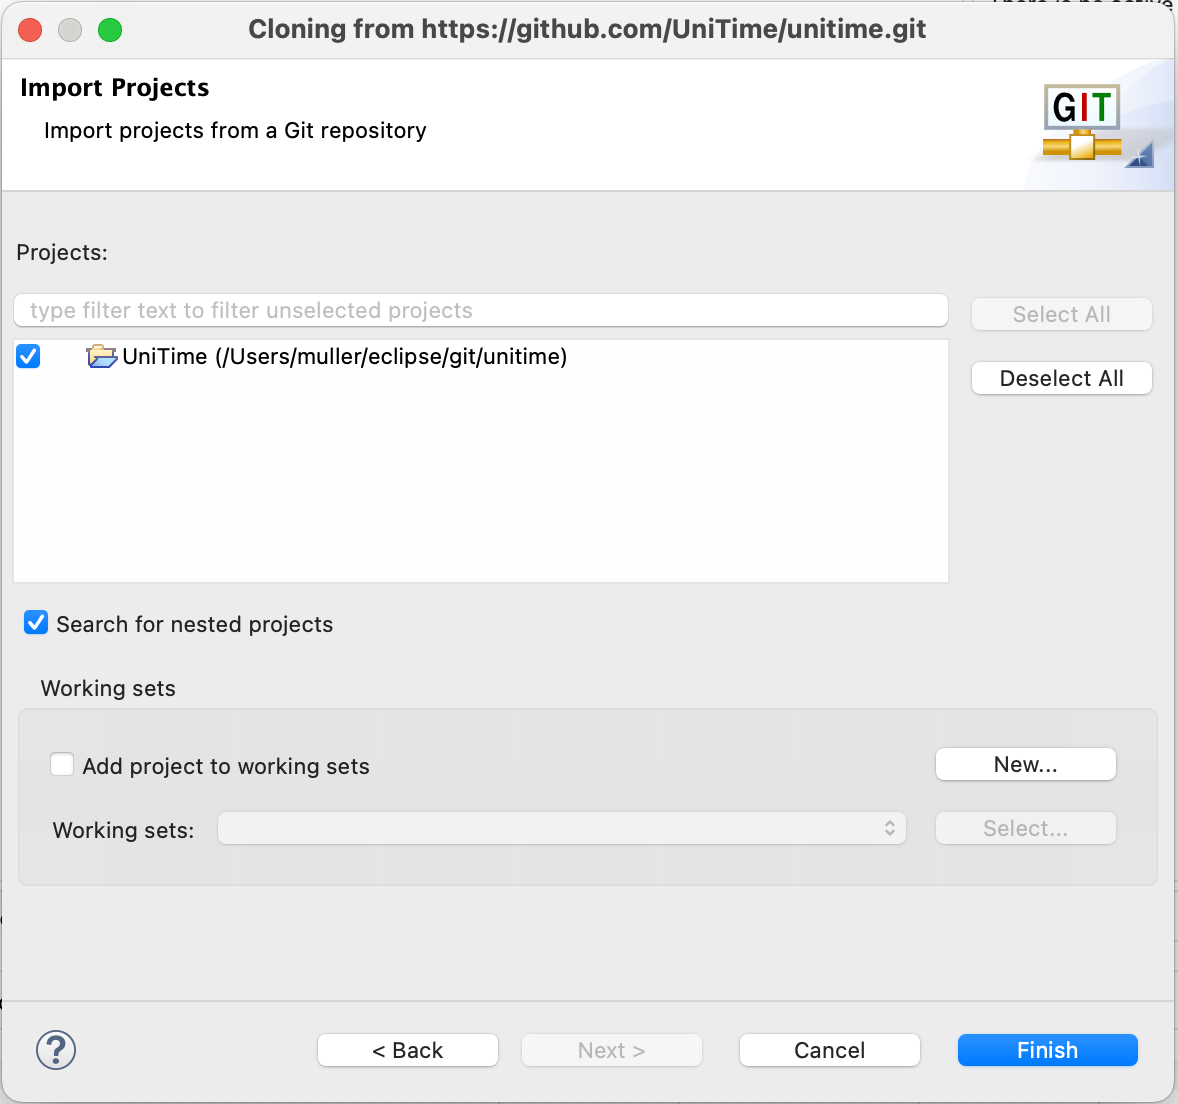
- Once cloned, hit Next (import existing Eclipse projects) and Finish
Install GWT Eclipse Plugin
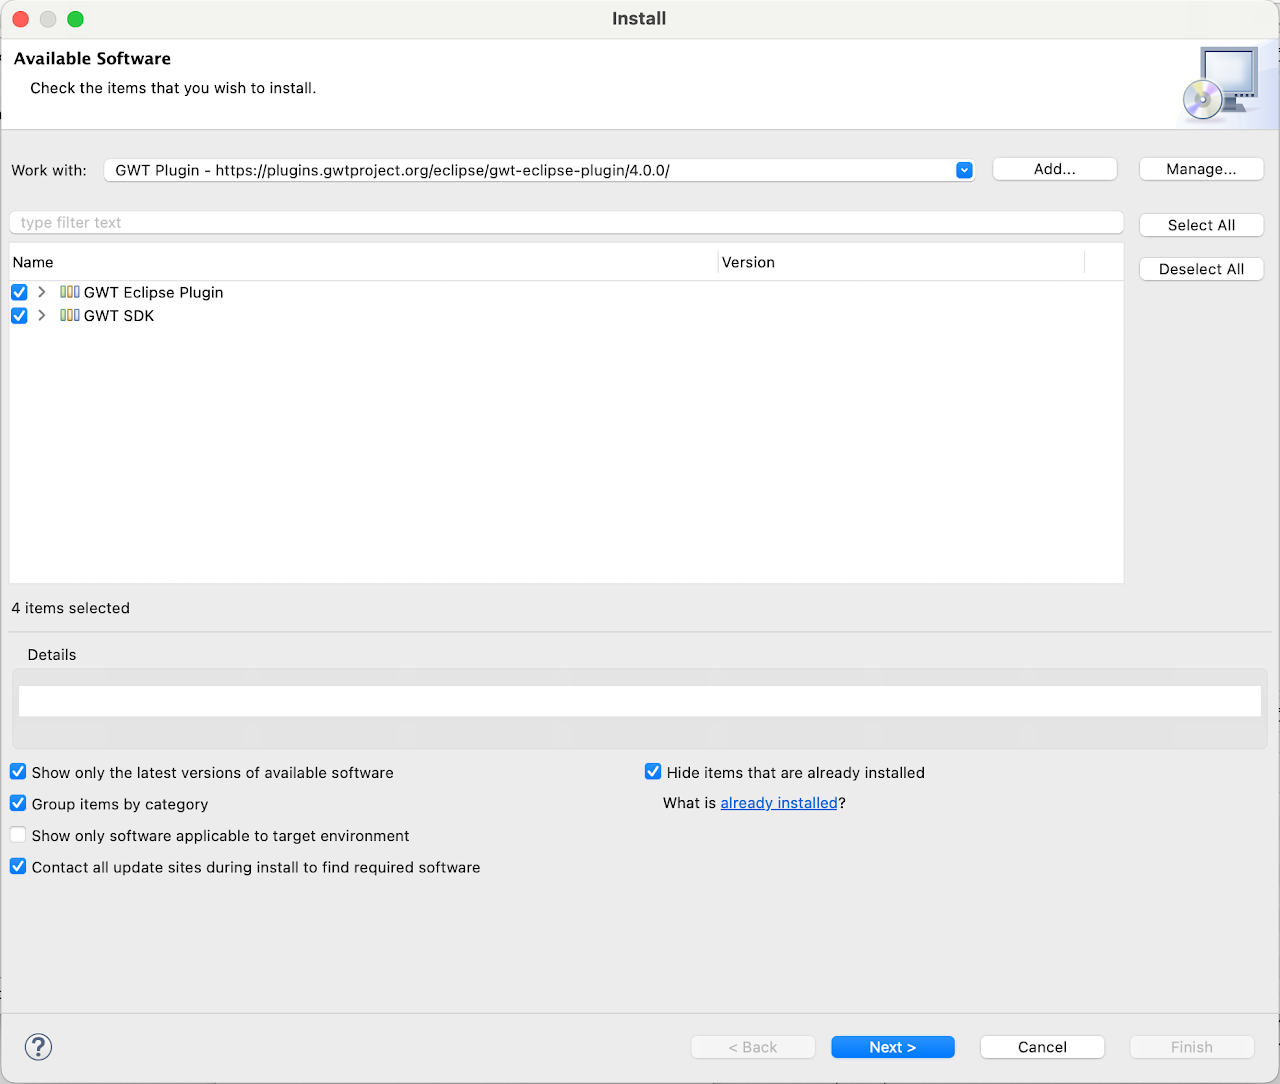
- Help > Install New Software…
- Click Add, Name: GWT Plugin, Location: https://plugins.gwtproject.org/eclipse/gwt-eclipse-plugin/4.2.0, OK
- Select GWT Eclipse Plugin
- Follow the installation instructions, accept the license, and at the end, click Restart Eclipse
- If there is a warning about installing software that contains unsigned content, click OK
- Download the GWT (e.g., GWT 2.13.0) from gwtproject.org/download.html and unzip it.
- Important: The version should match the version used in UniTime (see the version of the gwt-dev-xxx.jar under the 3rd_party, e.g., gwt-dev-2.13.0.jar)
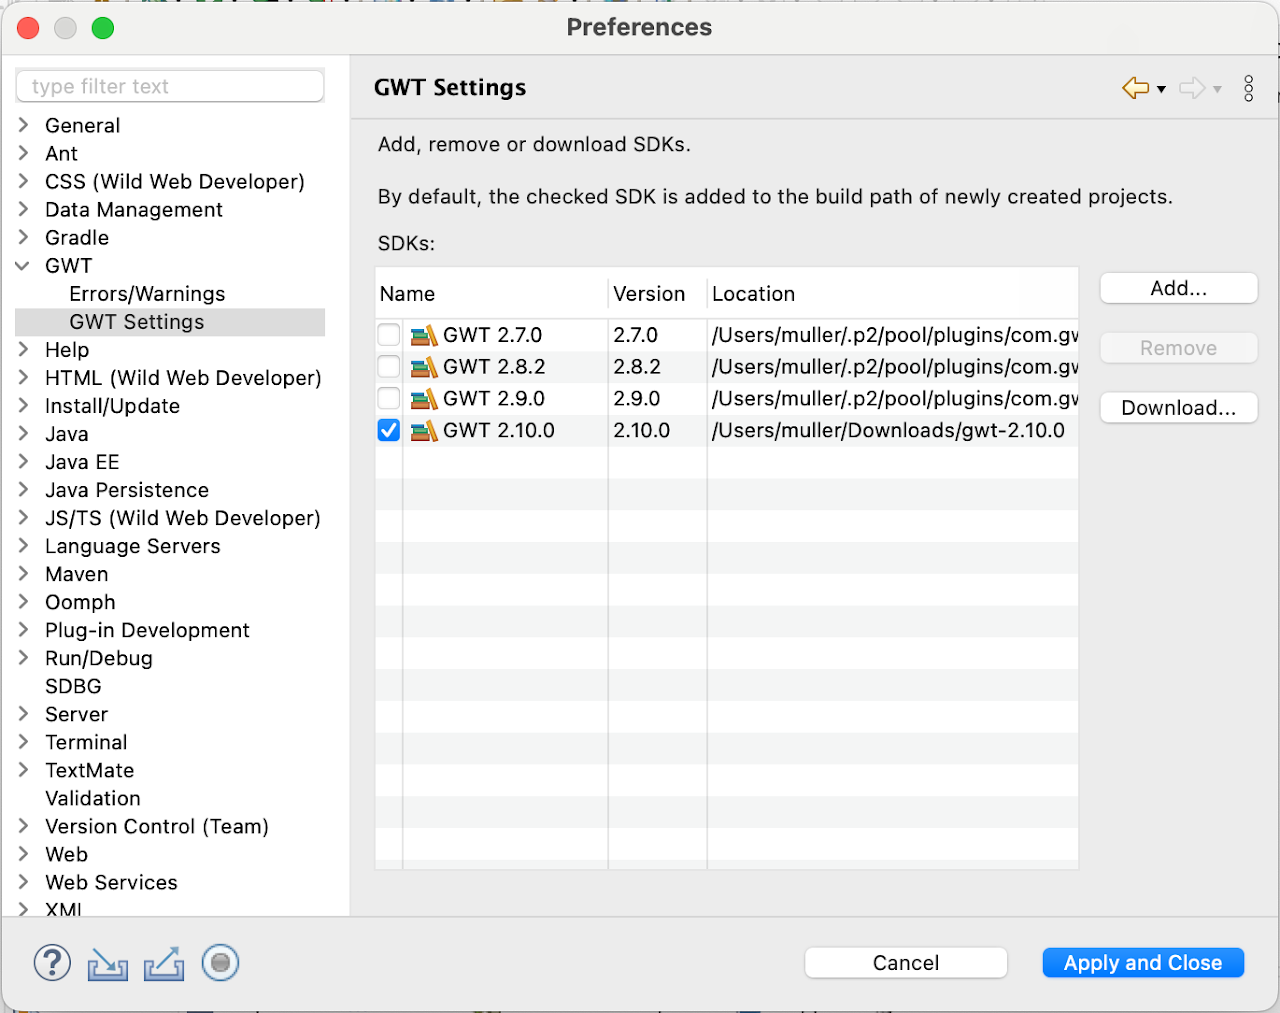
- In Eclipse, open File > Properties, select GWT > GWT Settings, click Add
- Select a directory that has an unzipped distribution of GWT 2.13.0, hit OK
- Select the newly added GWT 2.13.0 as the default, click OK
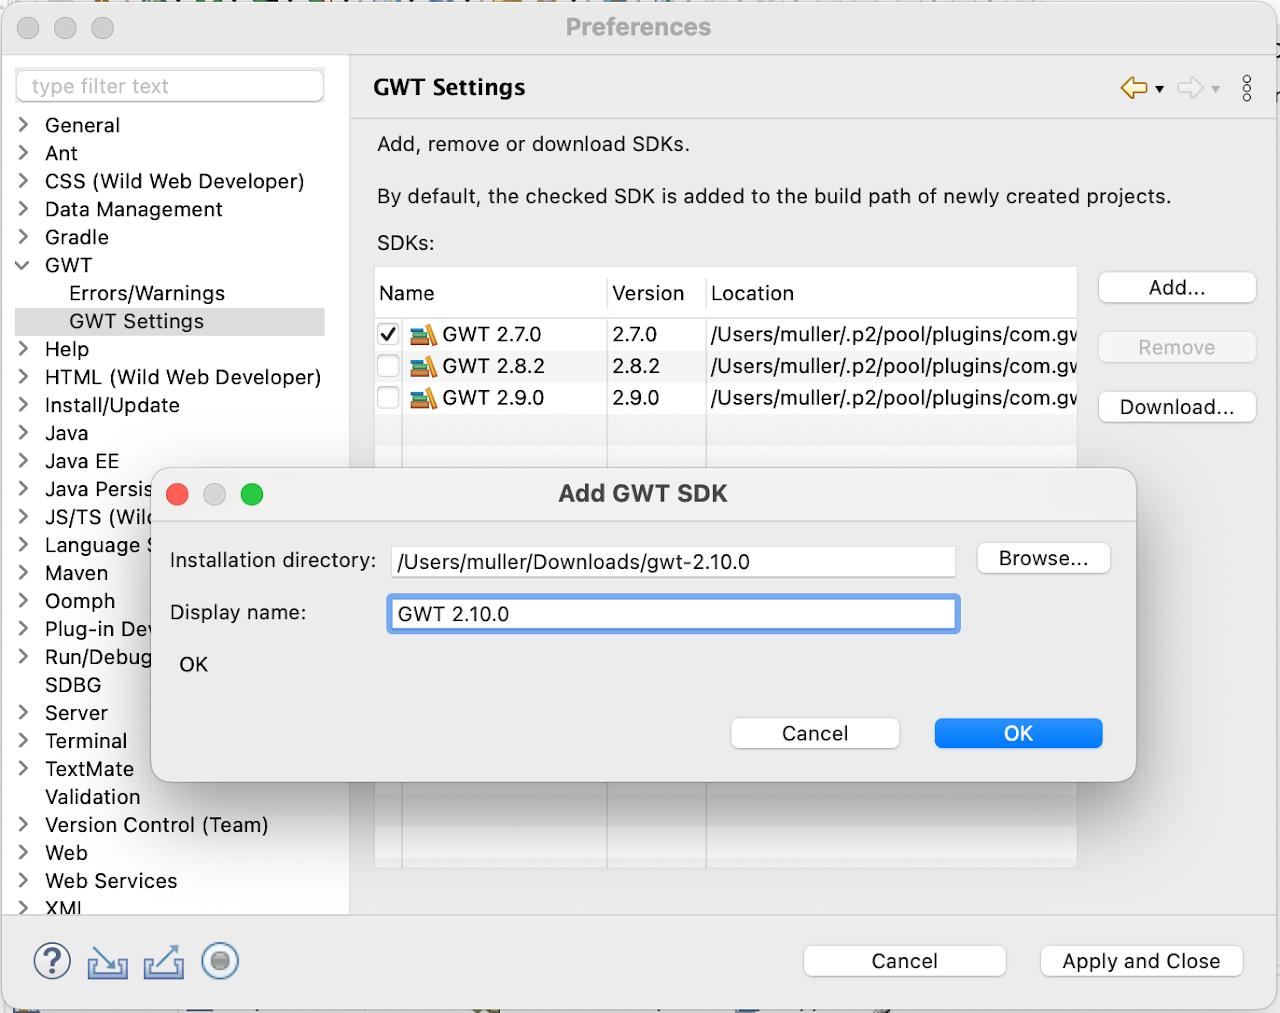
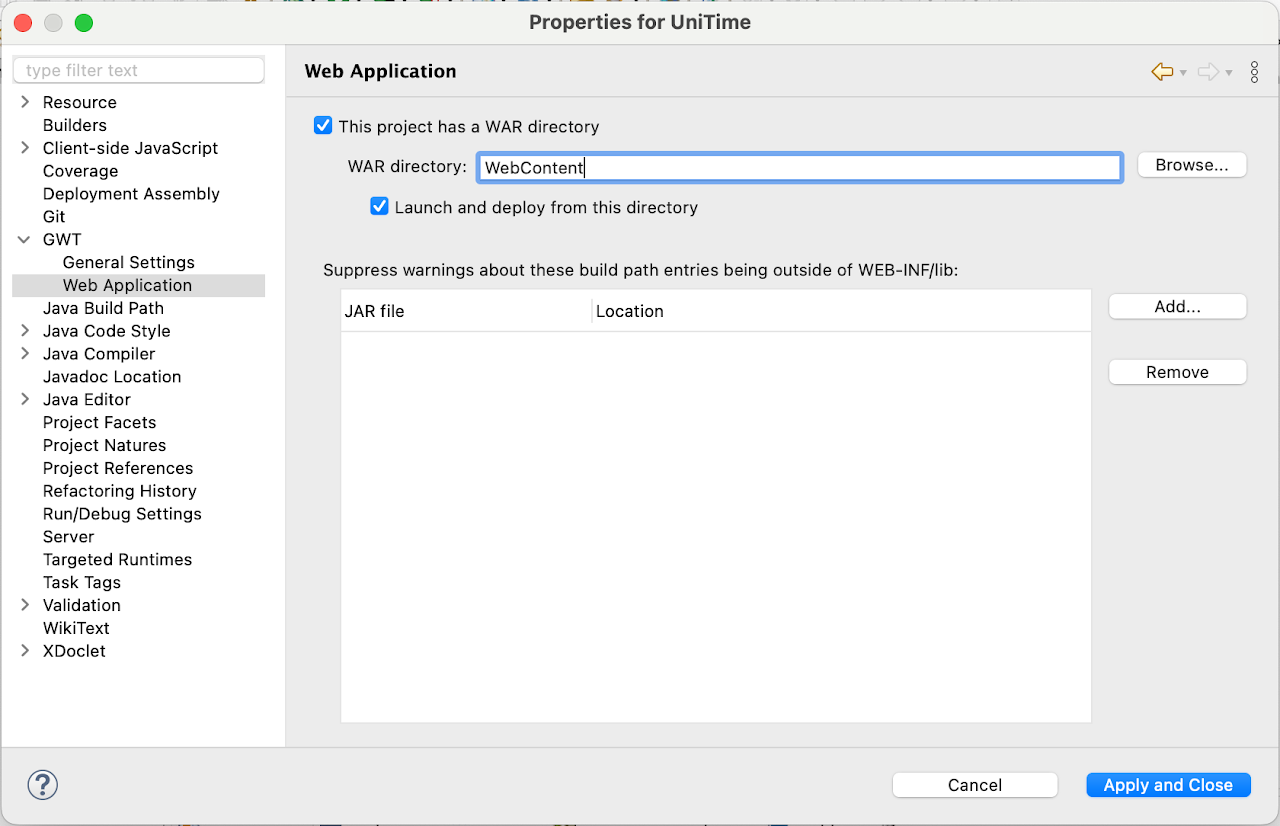
- Right-click on the UniTime project, click Properties, select GWT > Web Application, toggle “This project has a WAR directory”, set WAR directory to “WebContent” and click OK
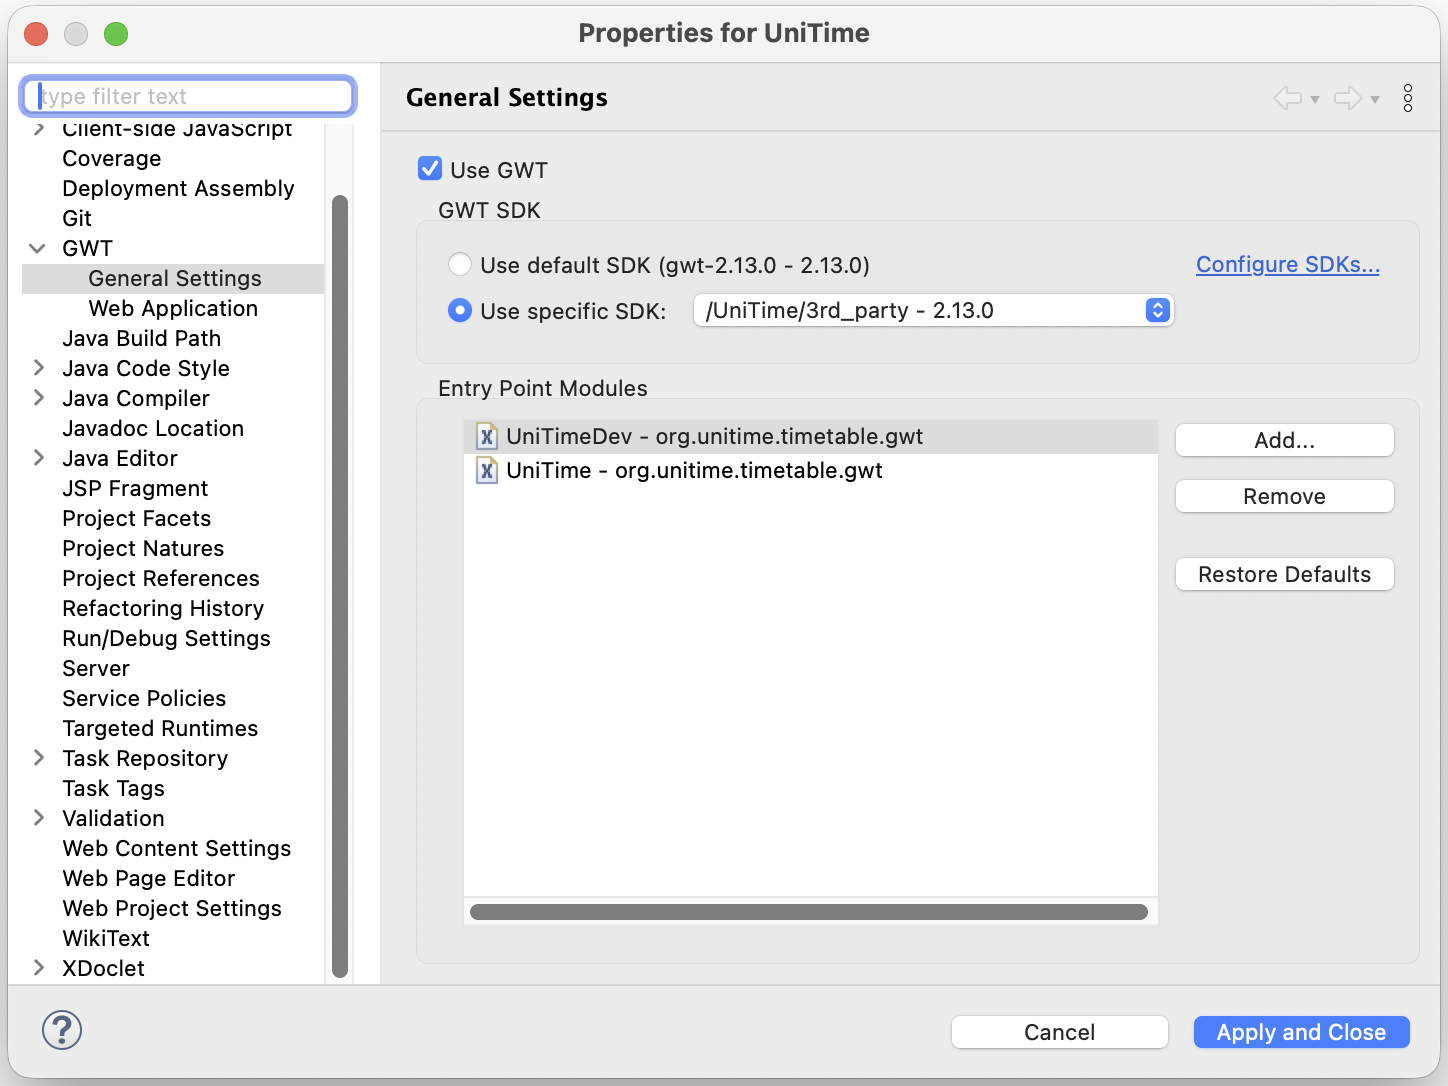
- Under the GWT > General Settings, make sure that the installed GWT SDK is being used (Use specific SDK option).
Additional Eclipse Configuration
- Right-click on the UniTime project, click Properties
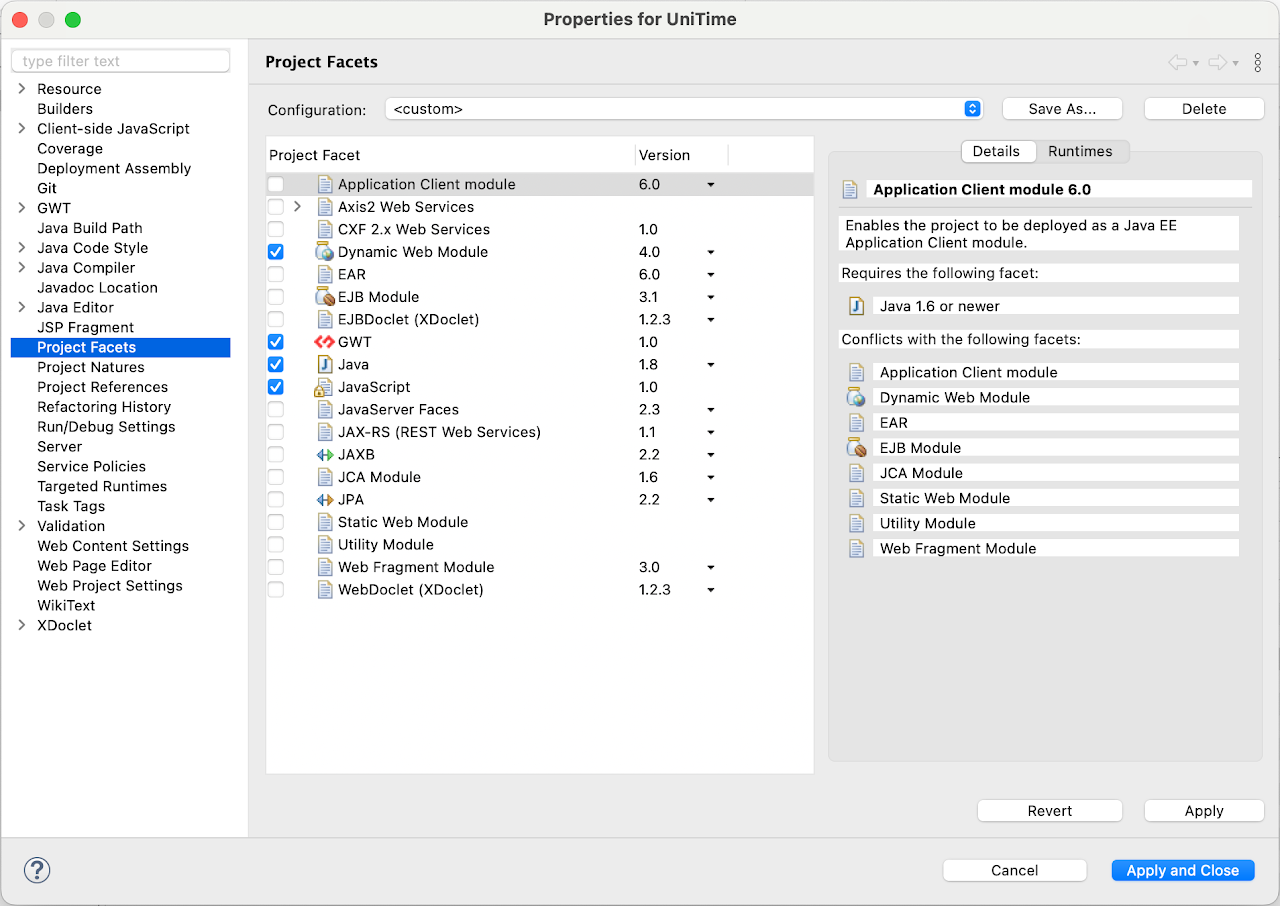
- Select Project Facets, make sure that Dynamic Web Module (version 4.0), GWT, and Java (version 17) are selected, click Apply
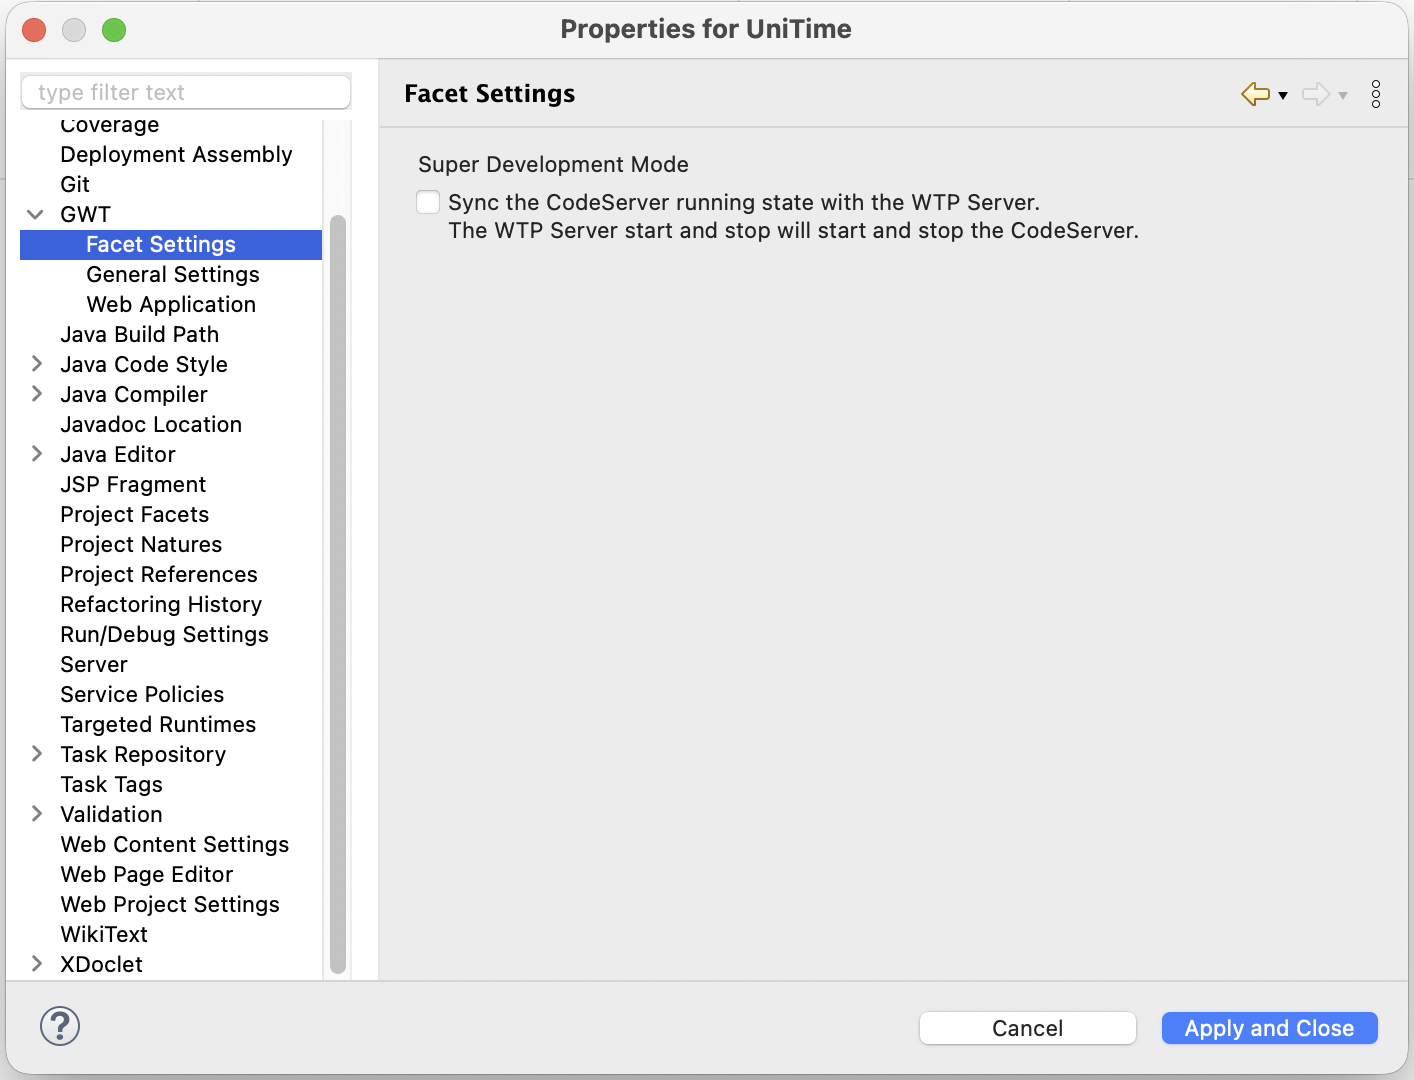
- Under the GWT > Facet Settings, make sure that the Super Development Mode is not checked.
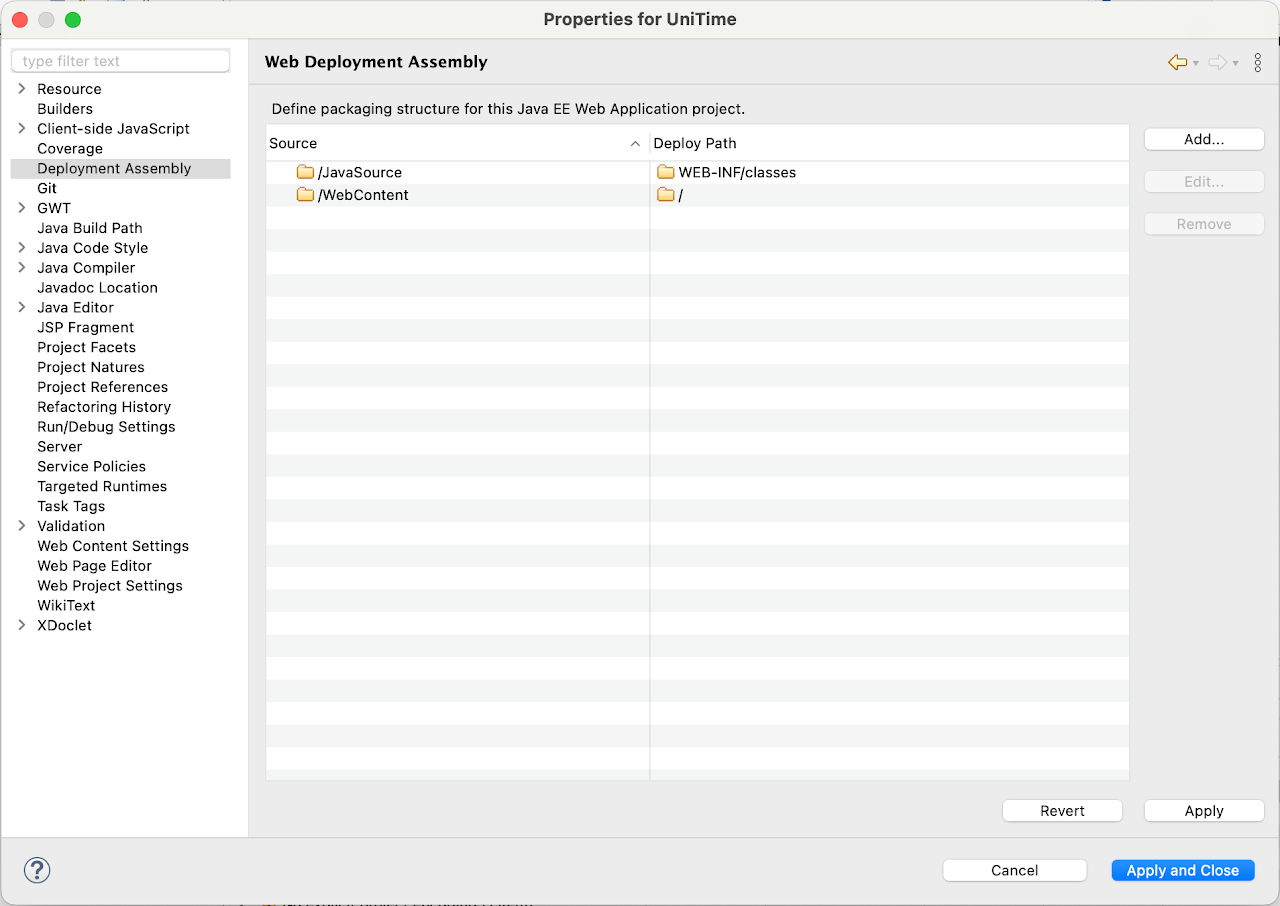
- Select Deployment Assembly, and update the screen to look like this, hit Apply
- /JavaSouce deploys as WEB-INF/classes
- /WebContent deploys as /
Setup Apache Tomcat
This guide expects that you already have the Apache Tomcat downloaded and installed somewhere.
Setup JRE and its parameters
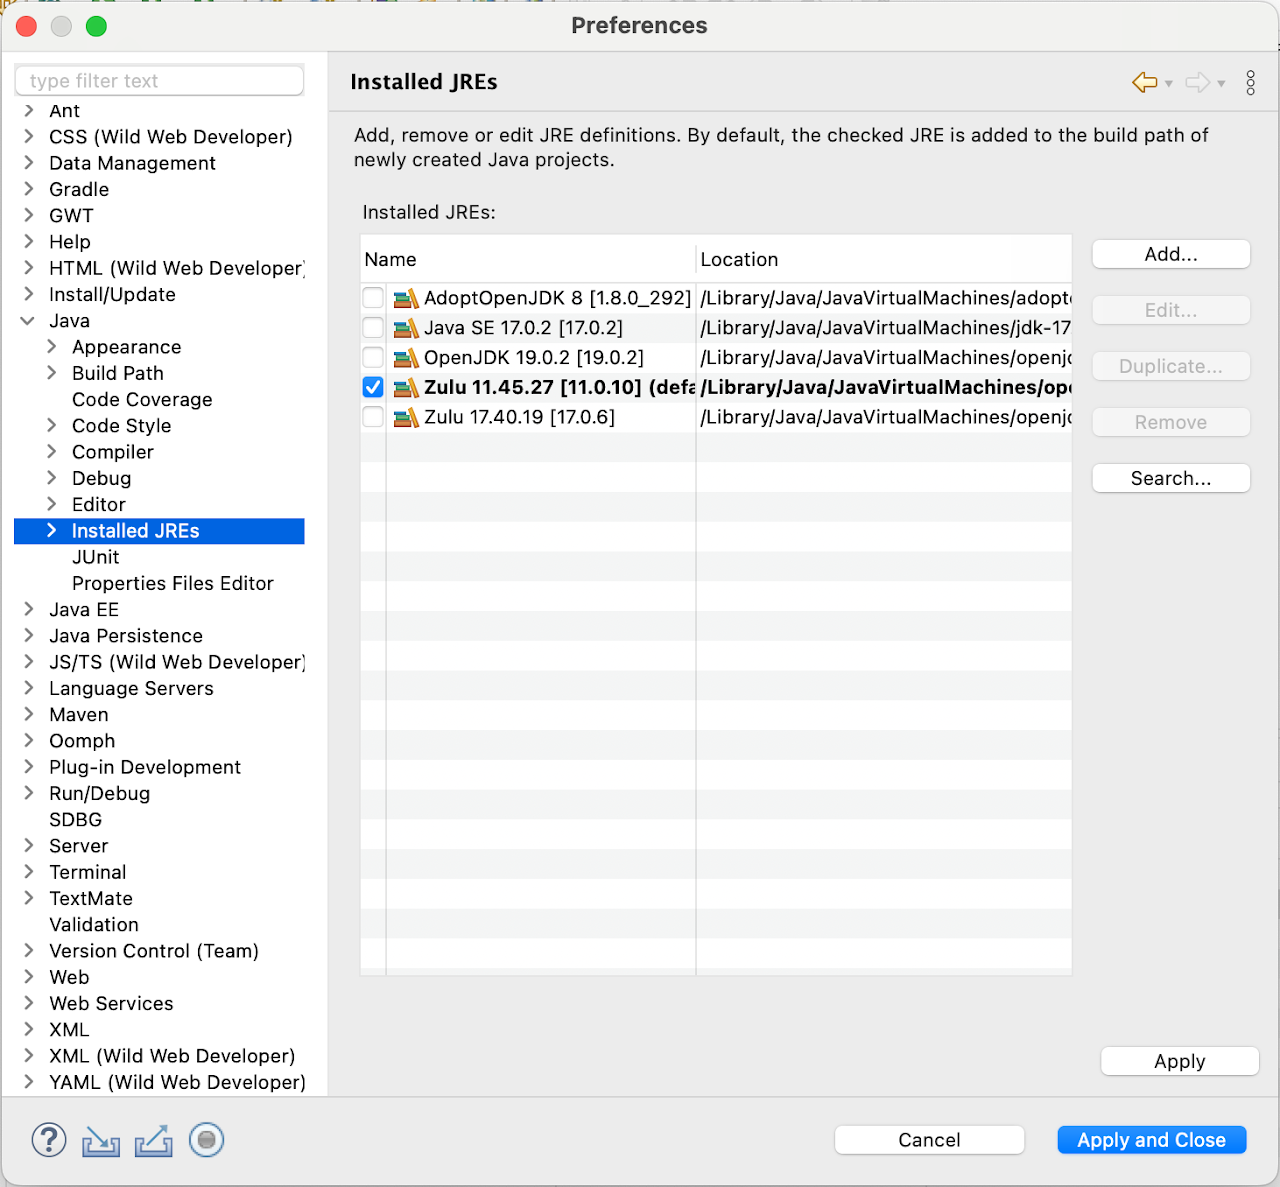
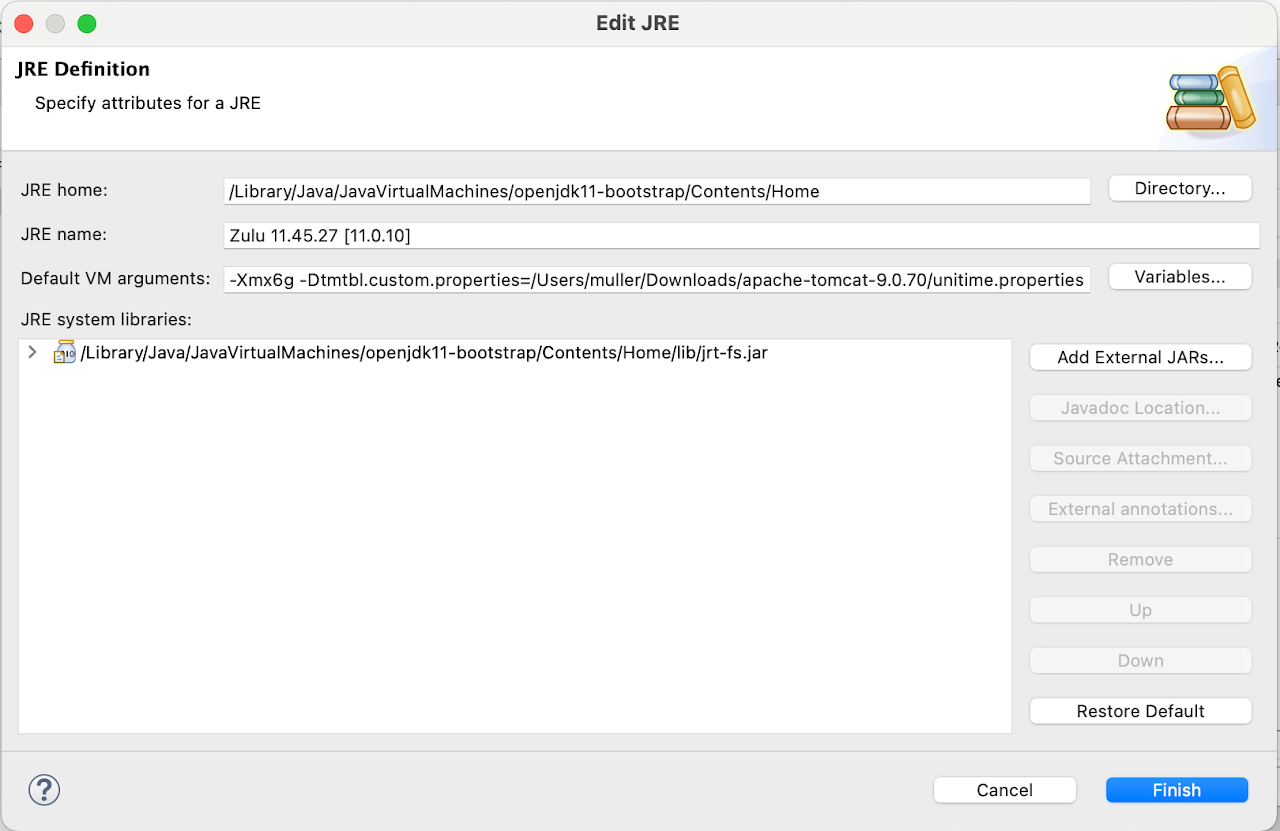
- Open File > Properties, select Java > Installed JREs, click Edit
-
Put in the following Default VM arguments, hit Finish
-Xmx2g
-
You can also include a path to the UniTime custom.properties file if needed
-Dtmtbl.custom.properties=/path/to/custom.properties
Create Apache Tomcat v10.1 server configuration
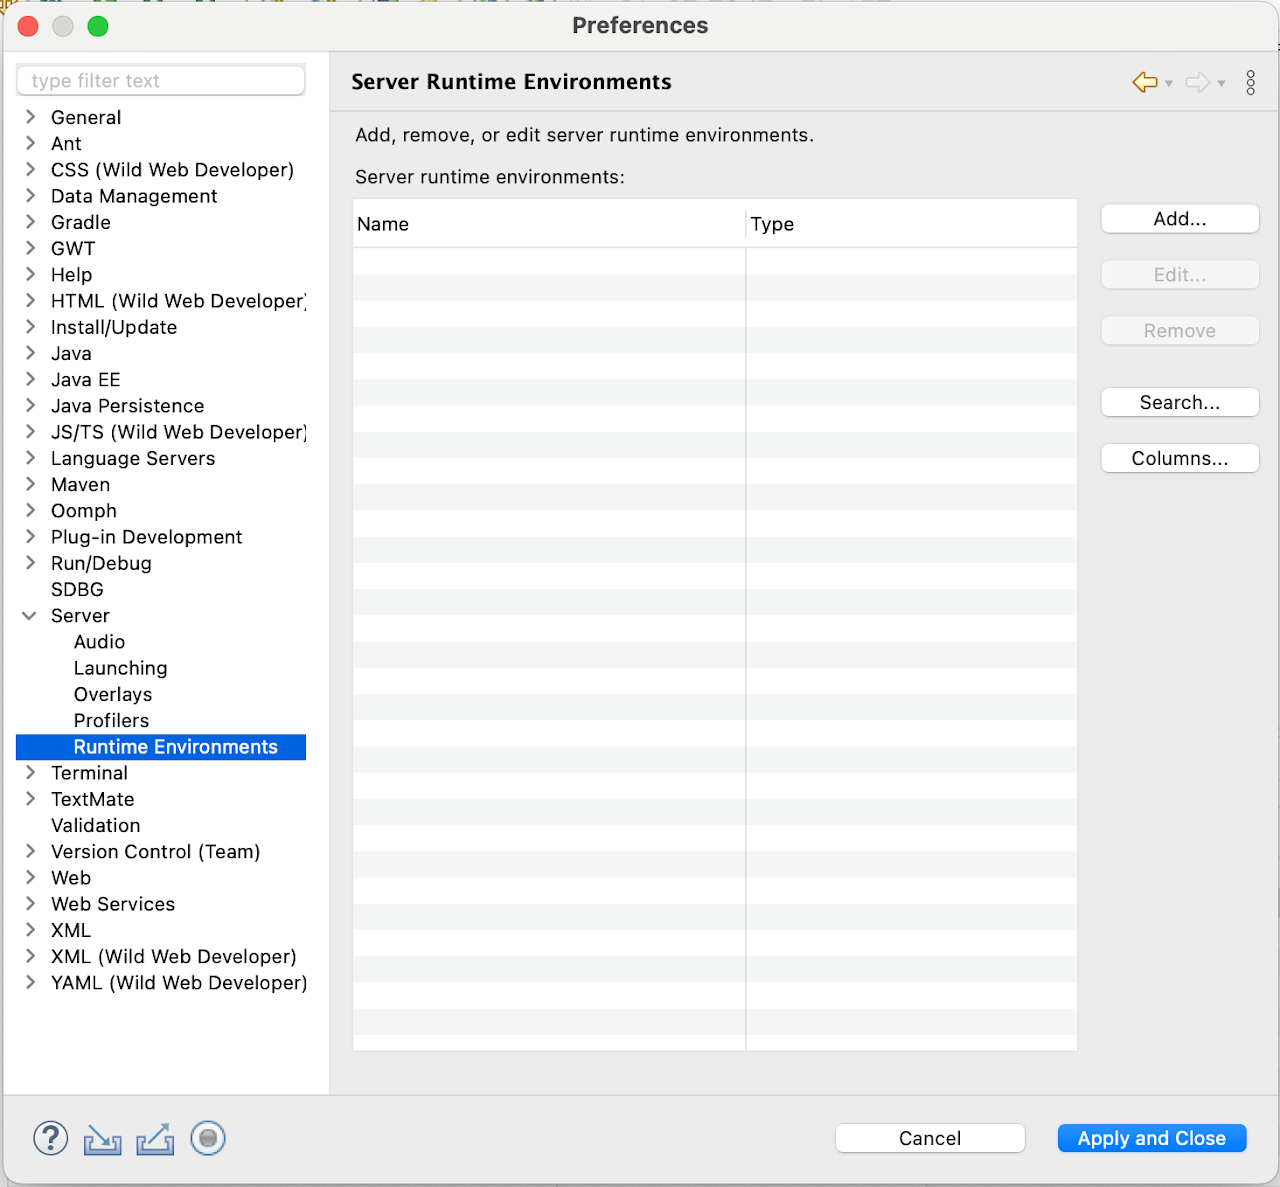
- Open File > Properties, select Server > Runtime Environments, click Add
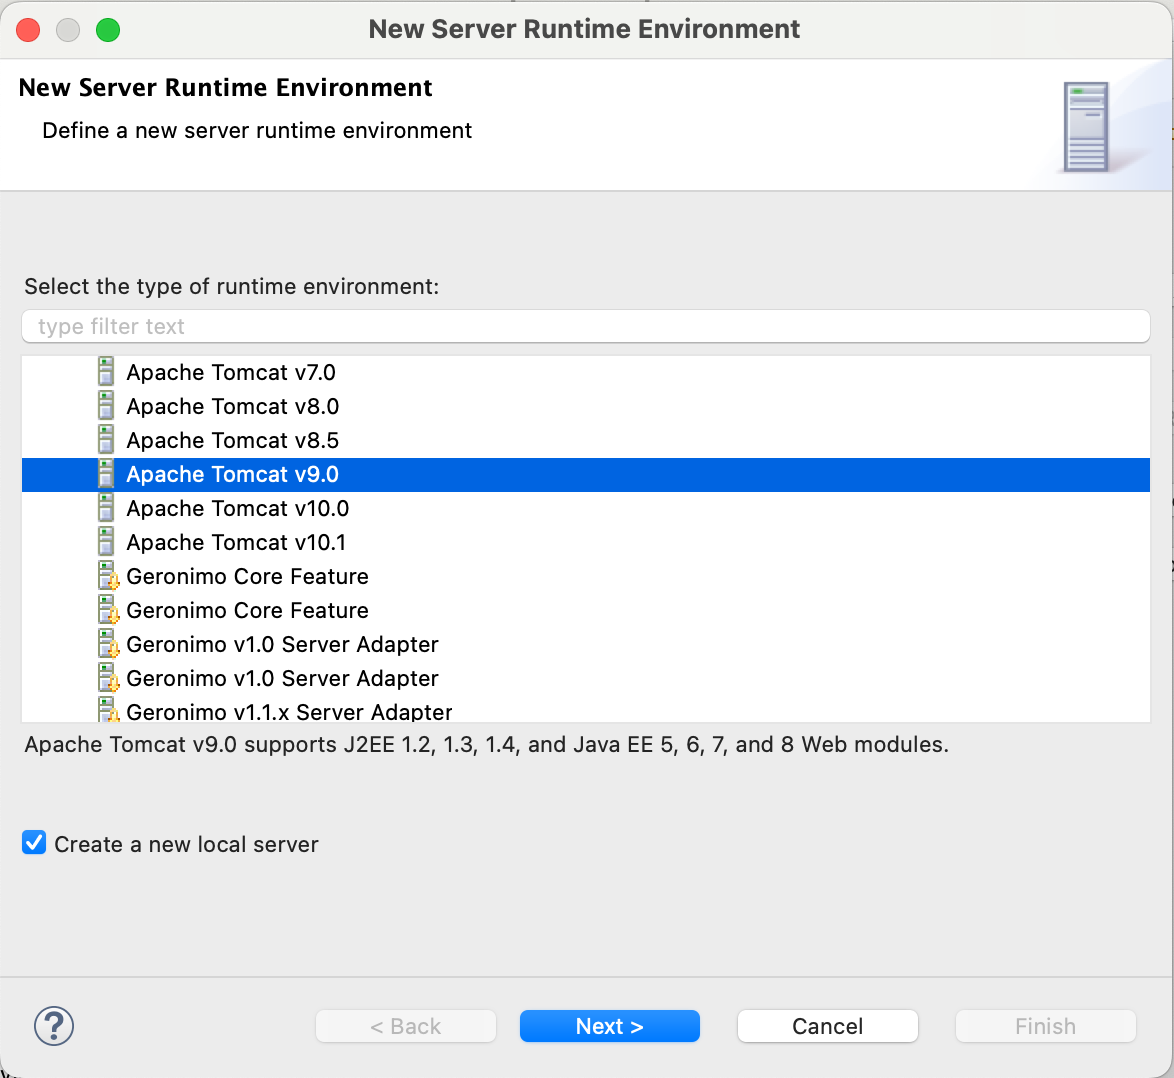
- Select Apache Tomcat v10.1, check the “Create a new local server”, click Next
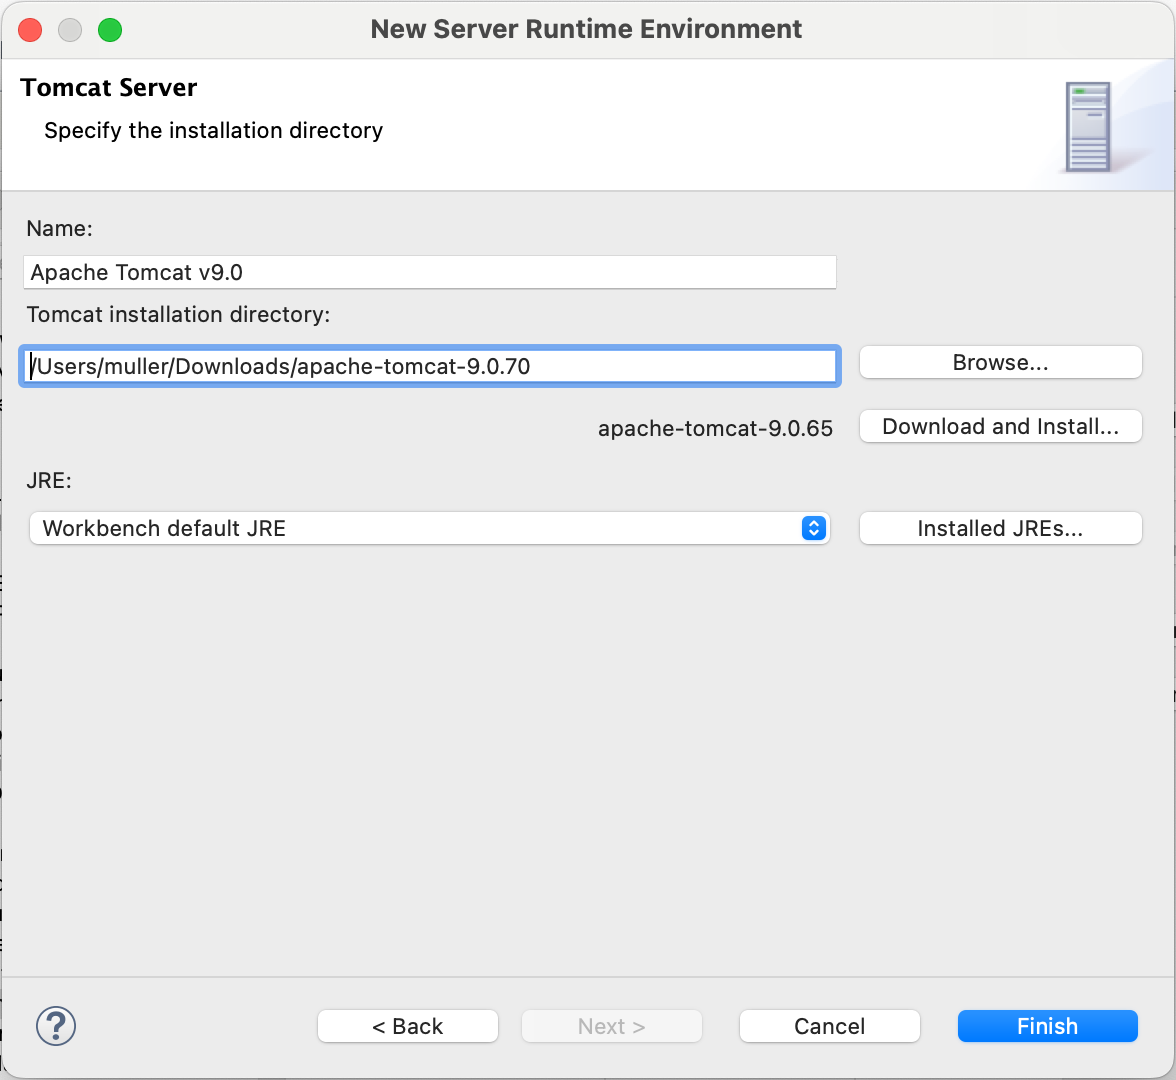
- Select Tomcat installation directory, hit Finish
Compile GWT
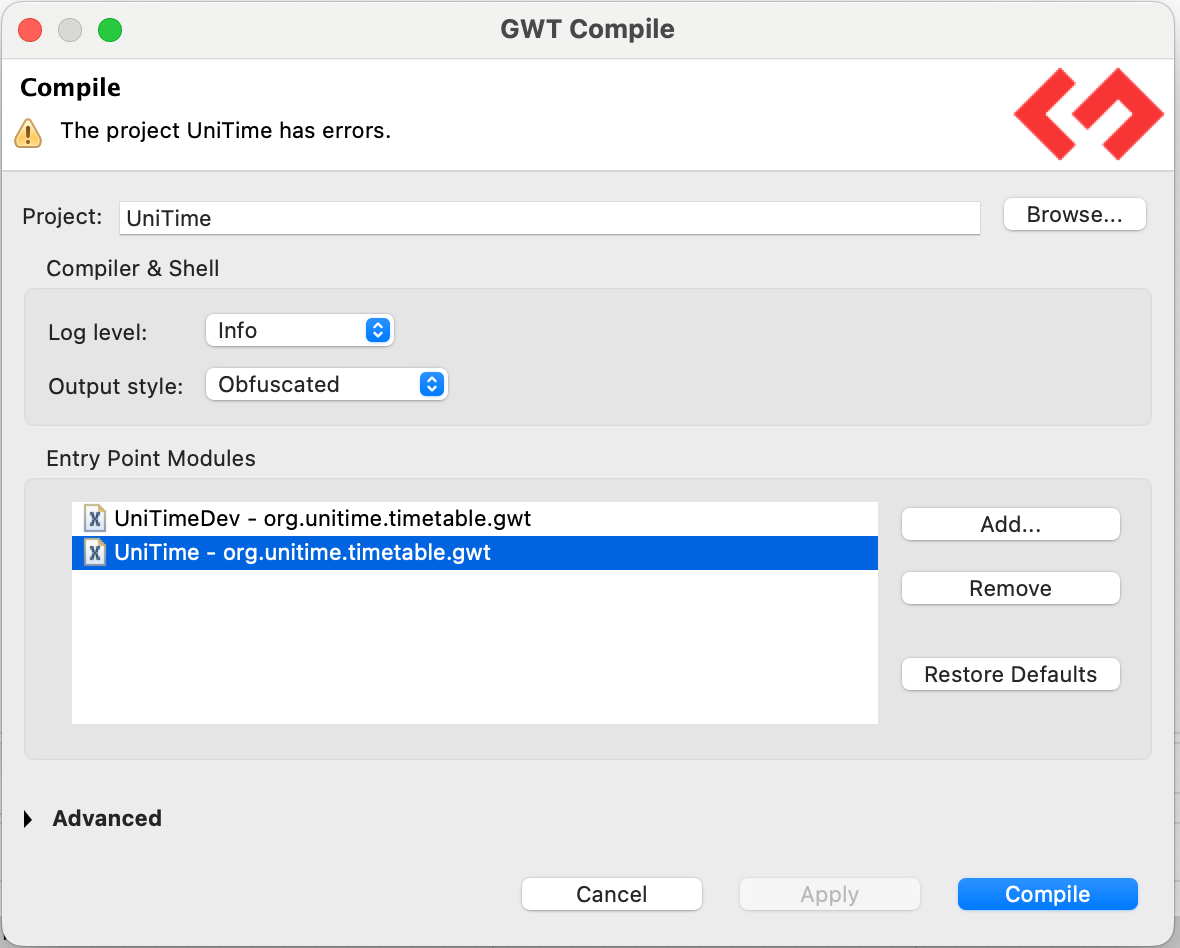
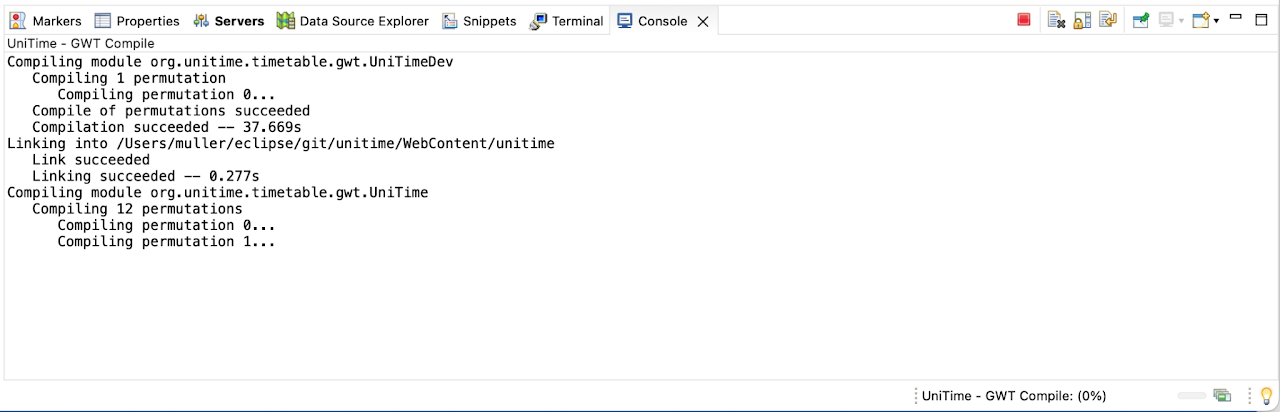
- Right click on the UniTime project, select GWT, click on Compile
- Make sure that either UniTimeDev (fewer permutations) or UniTime (all permutations) but not both is on the Entry Point Modules list, click Compile
- If asked, select WebContent as the WAR directory
Deploy UniTime
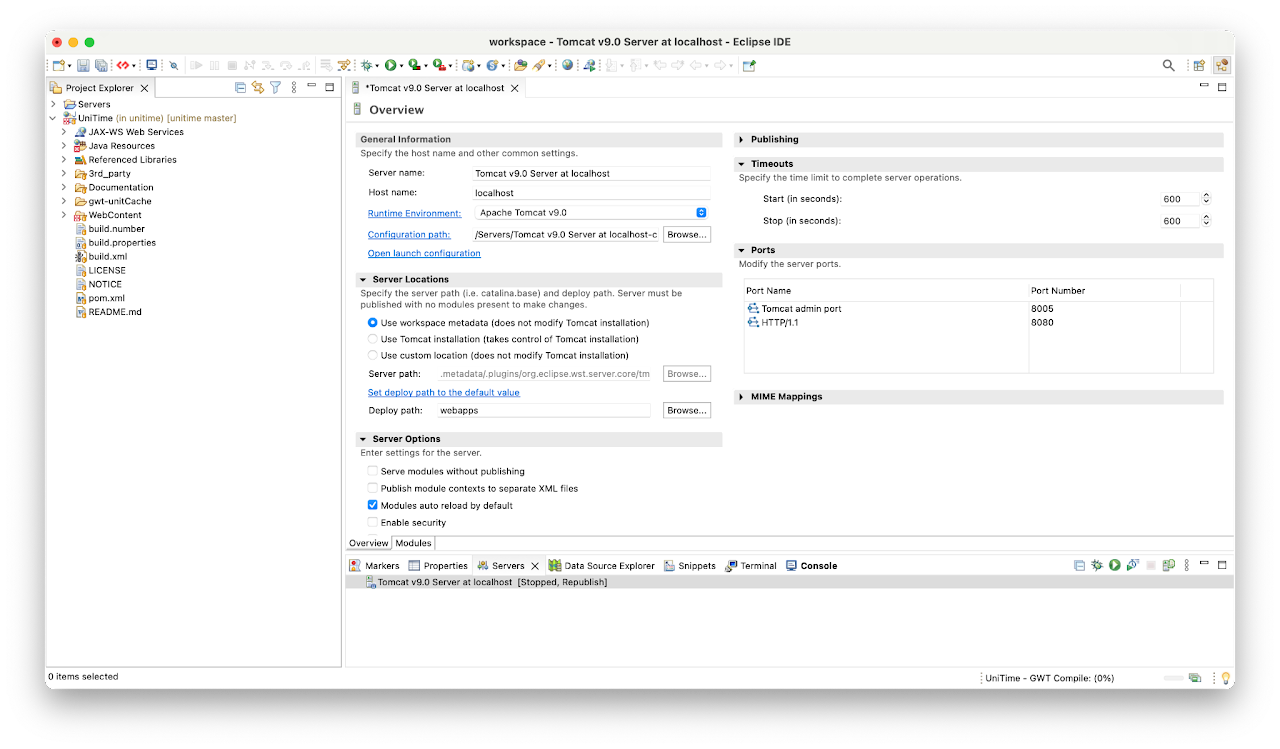
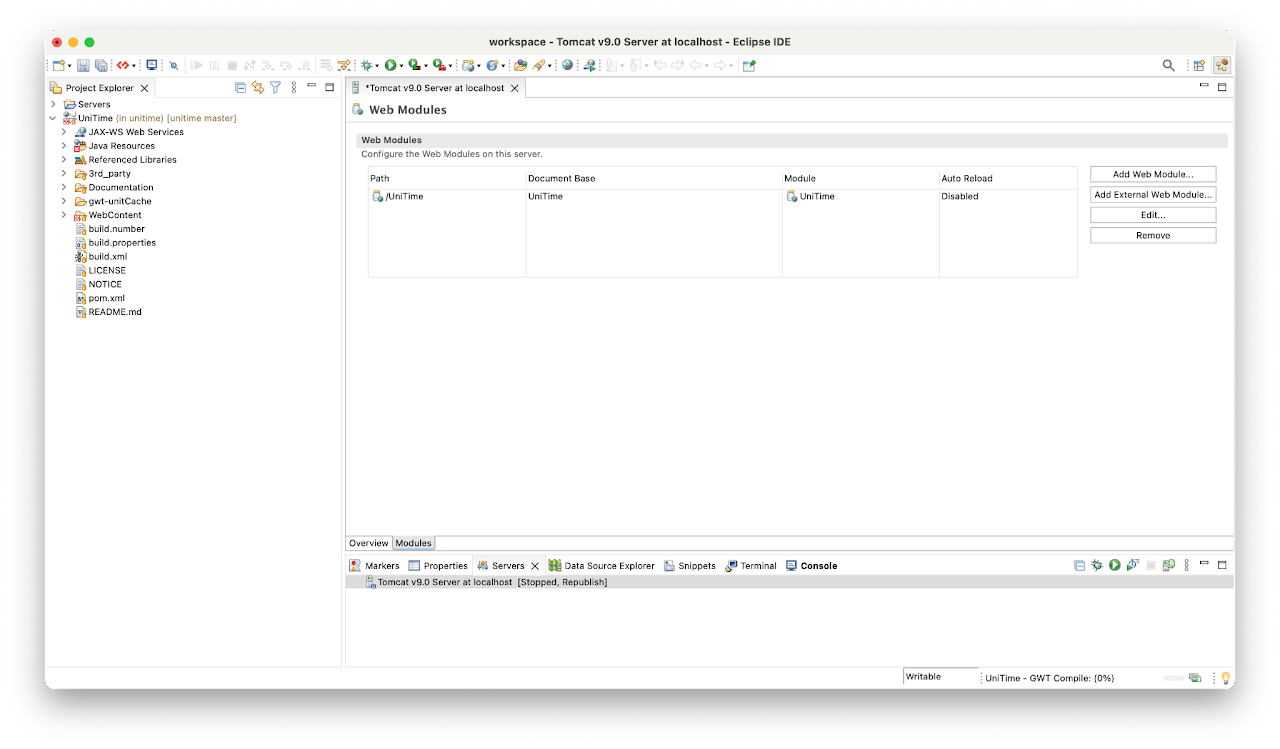
- On the Servers tab, double-click Tomcat v10.1 Server at localhost
- On the Overview tab, set Deploy path to webapps and increase the start and stop Timeouts
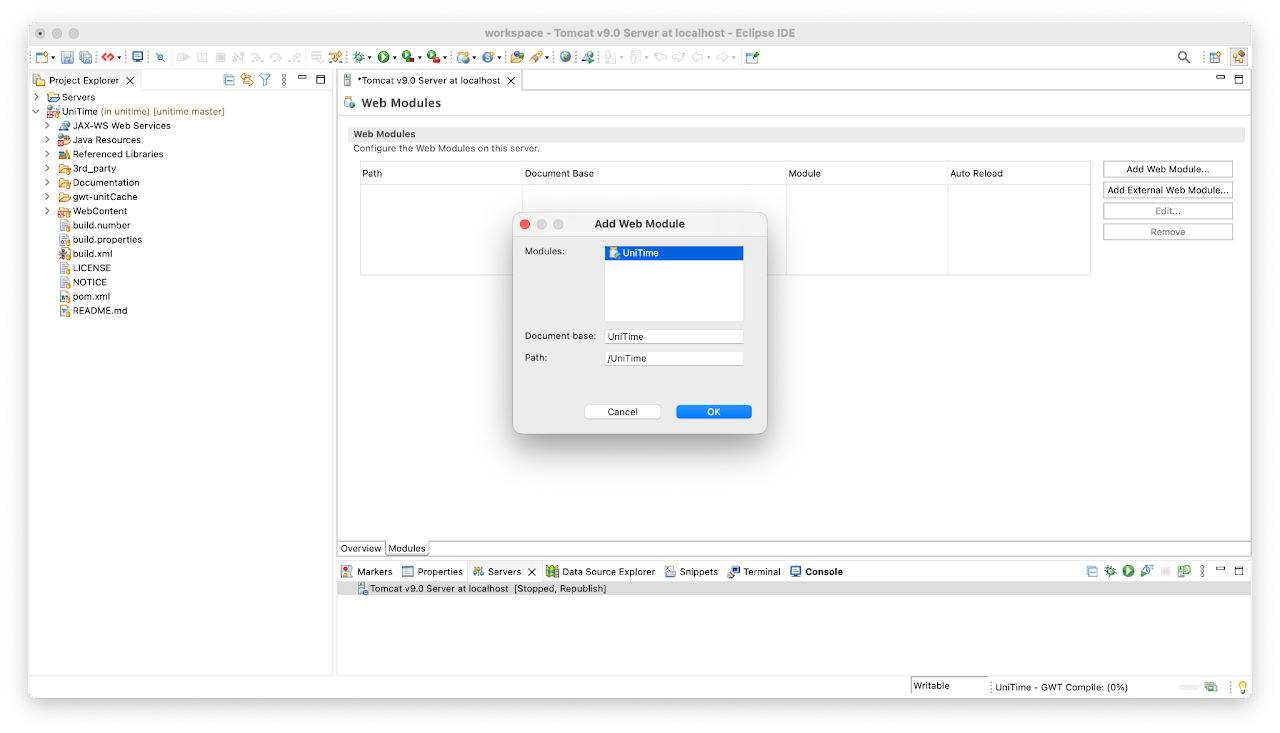
- On the Modules tab, hit Add Web Module, select UniTime and hit OK
- Save changes
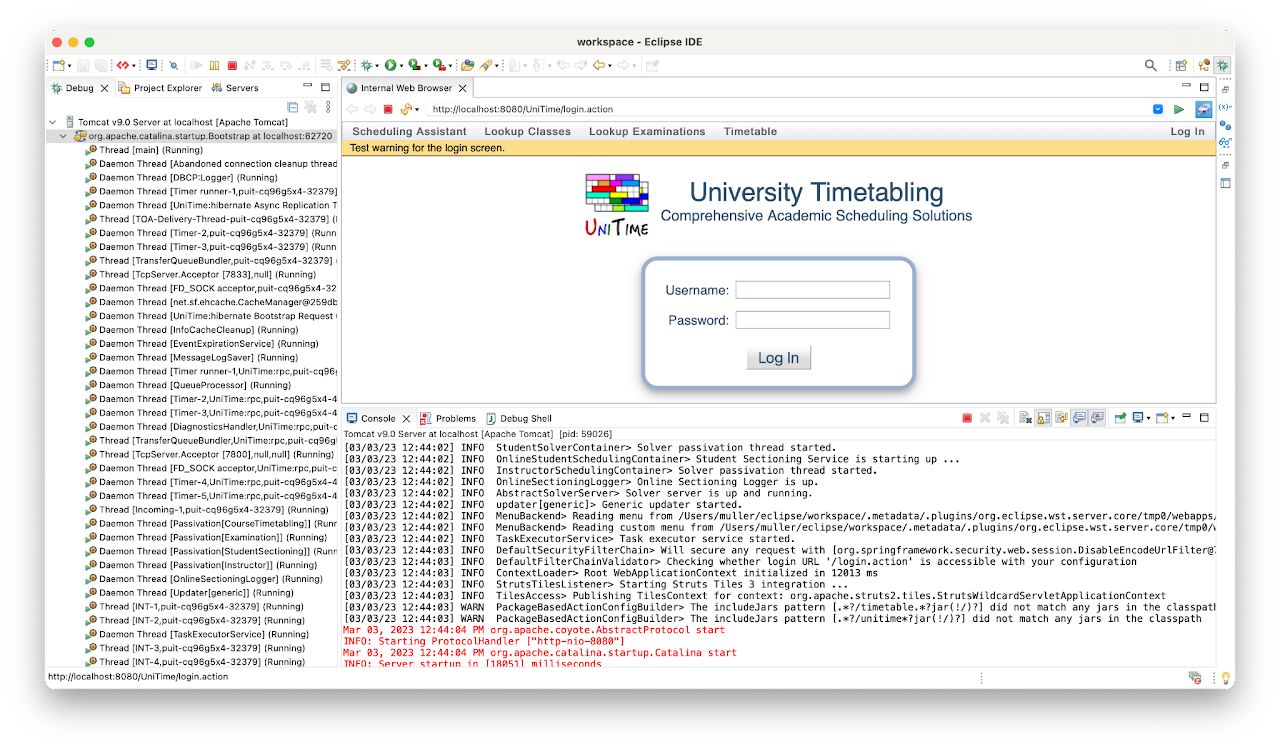
Start the Tomcat
- On the Servers tab, select Tomcat v10.1 and click the debug (little green bug) or start (green round icon with a triangle in it)
- Check the Console tab for any errors
 UniTime Help