 |
Managing Student Group Reservations |
| Last Updated: Janury 2026 | |
Student group reservations are used to ensure a specific set of students are scheduled in a specific course section. This document describes the process of creating student group reservations.
Student group types can be created to organize student groups and assign additional meaning to a student group. To create a student group type go to the Administration > Other > Student Group Types page.

Press the Add button to go to the Add Student Group Types page.
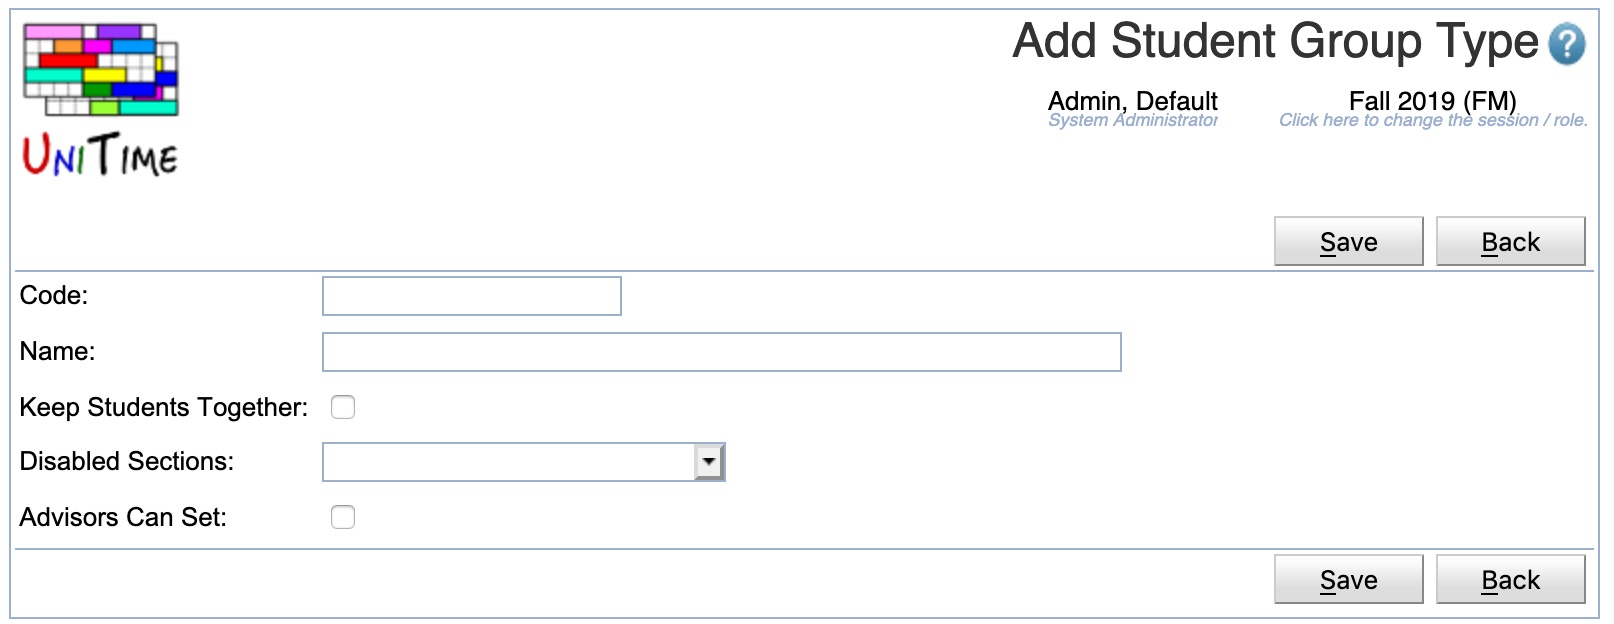
The following fields may be populated for a student group:
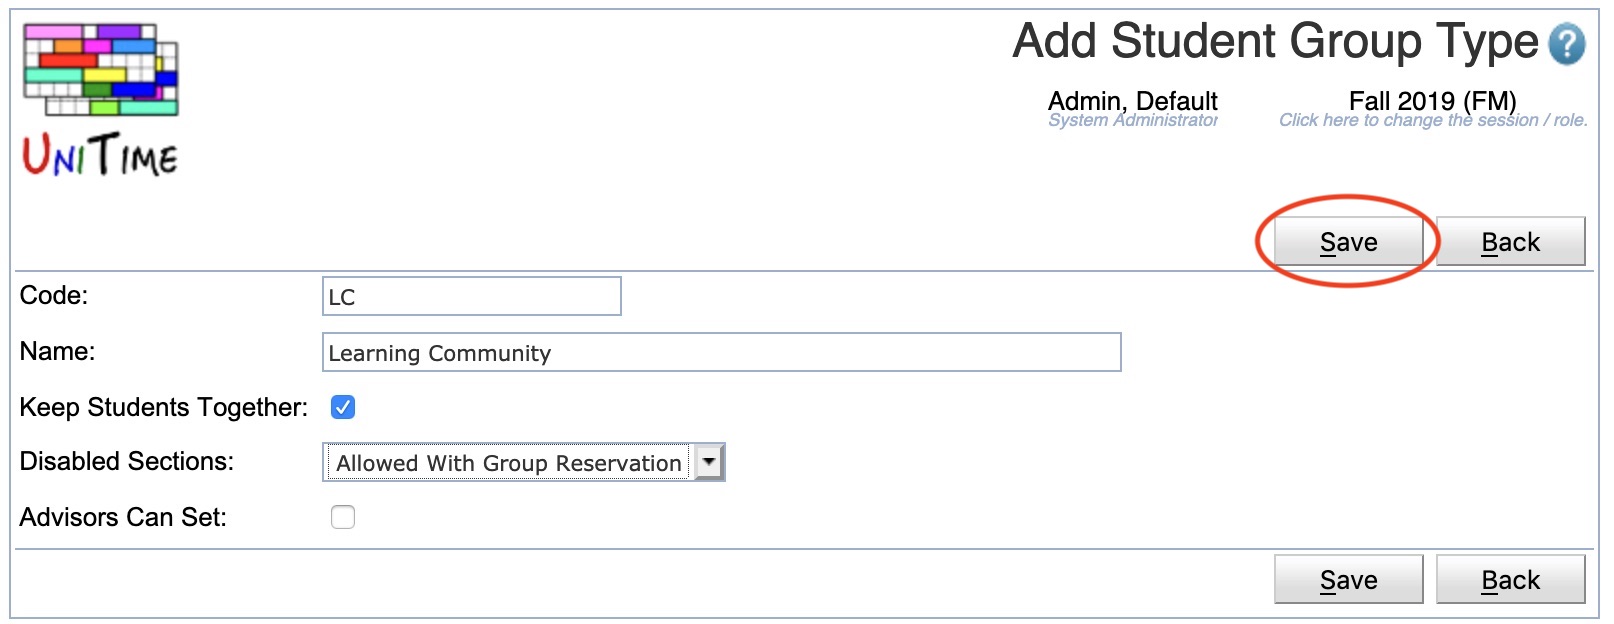
Once the data for the student group type is entered, press the Save button to save the group and return to the Student Group Types page.

The student group type is visible on the Student Group Types page and available to be used for student group reservations. Clicking on the student group will take you to the Edit Student Group Types page.
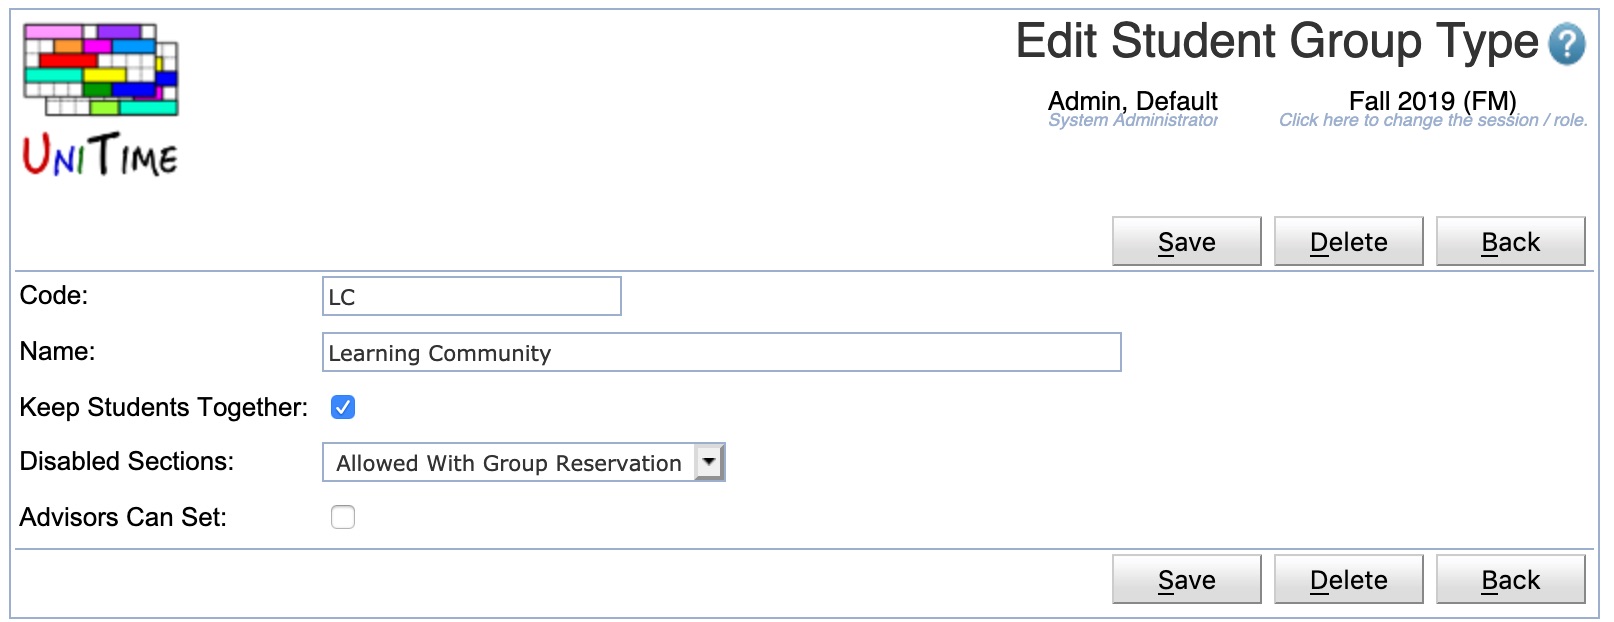
This Edit Student Group Types page can be used to edit the data associated with the group type.
Student groups are used to represent a set of students who for any number of reasons need to be grouped together.
To create a student group go to the Administration > Academic Sessions > Student Groups page.

Press the Add button to go to the Add Student Group page.
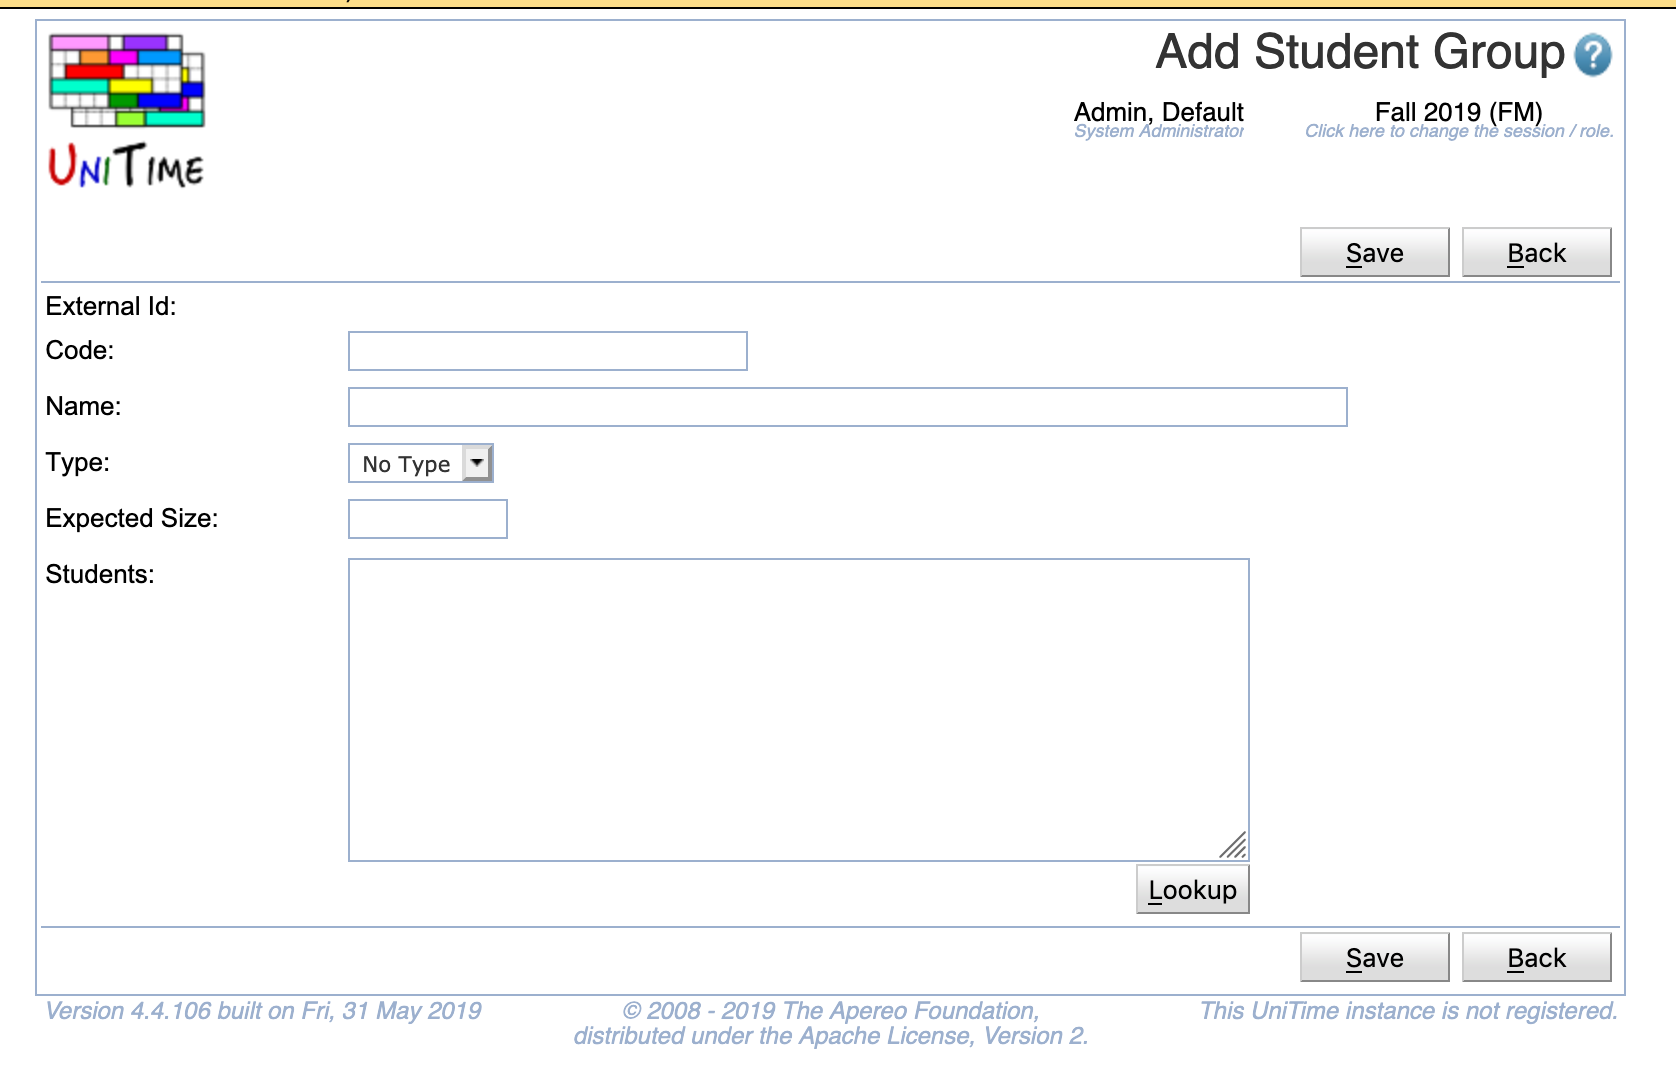
The following fields may be populated for a student group:
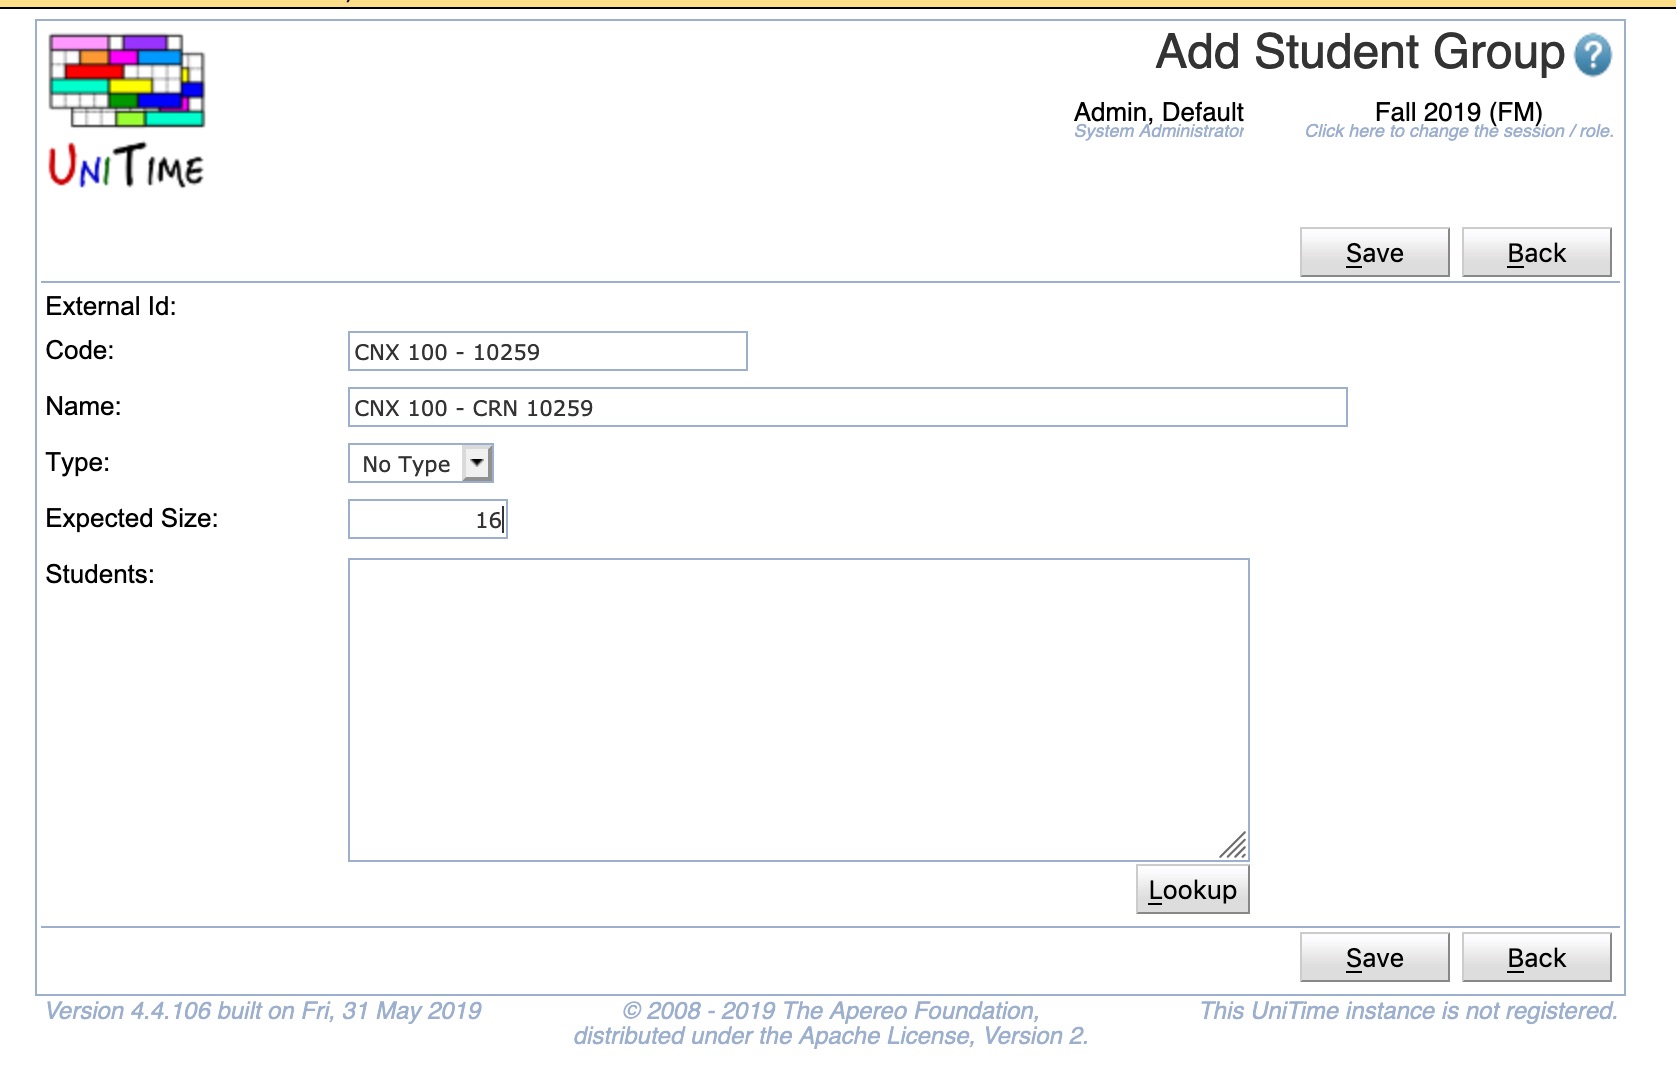
Note: It is possible to paste a long list of students into the Students text box rather than typing them individually.
The Lookup button at the lower right hand side of the Students text box can be used to search for students to add to the group.

Typing in the name field at the top of the dialog search the students table for matches. When a student name is double clicked, the student id is added to the student list on the Add Student Group page.
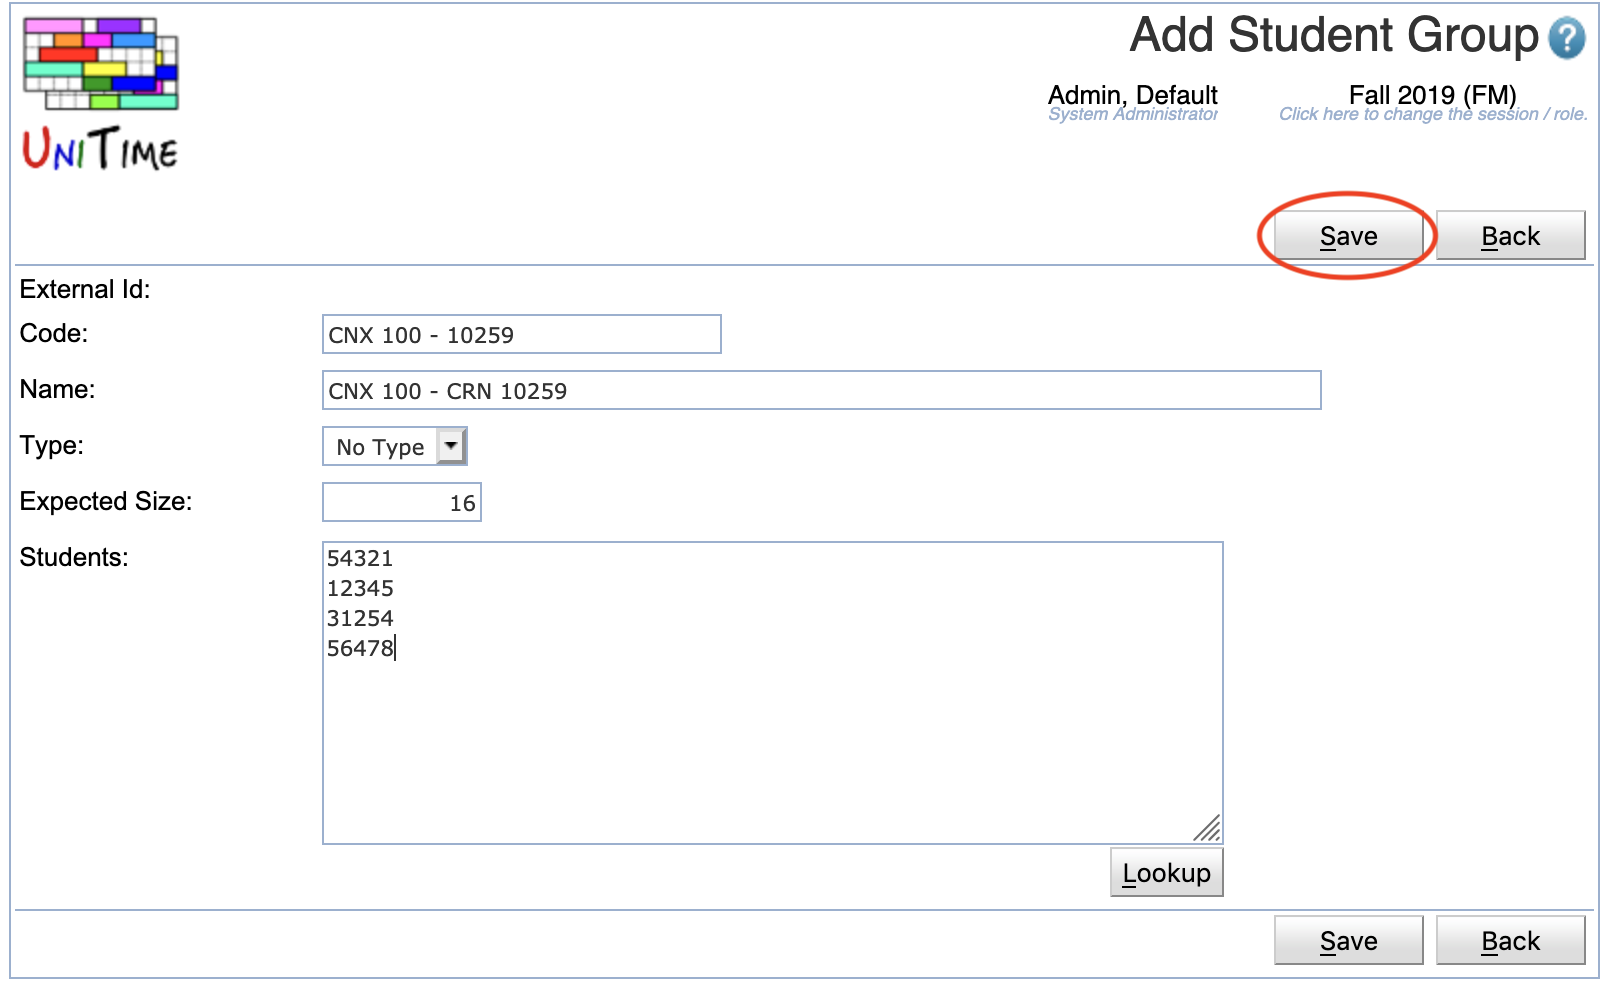
Once the data for the student group is entered, press the Save button to save the group and return to the Student Groups page.

The student group is visible on the Student Groups page and available to be used for student group reservations. Clicking on the student group will take you to the Edit Student Group page.
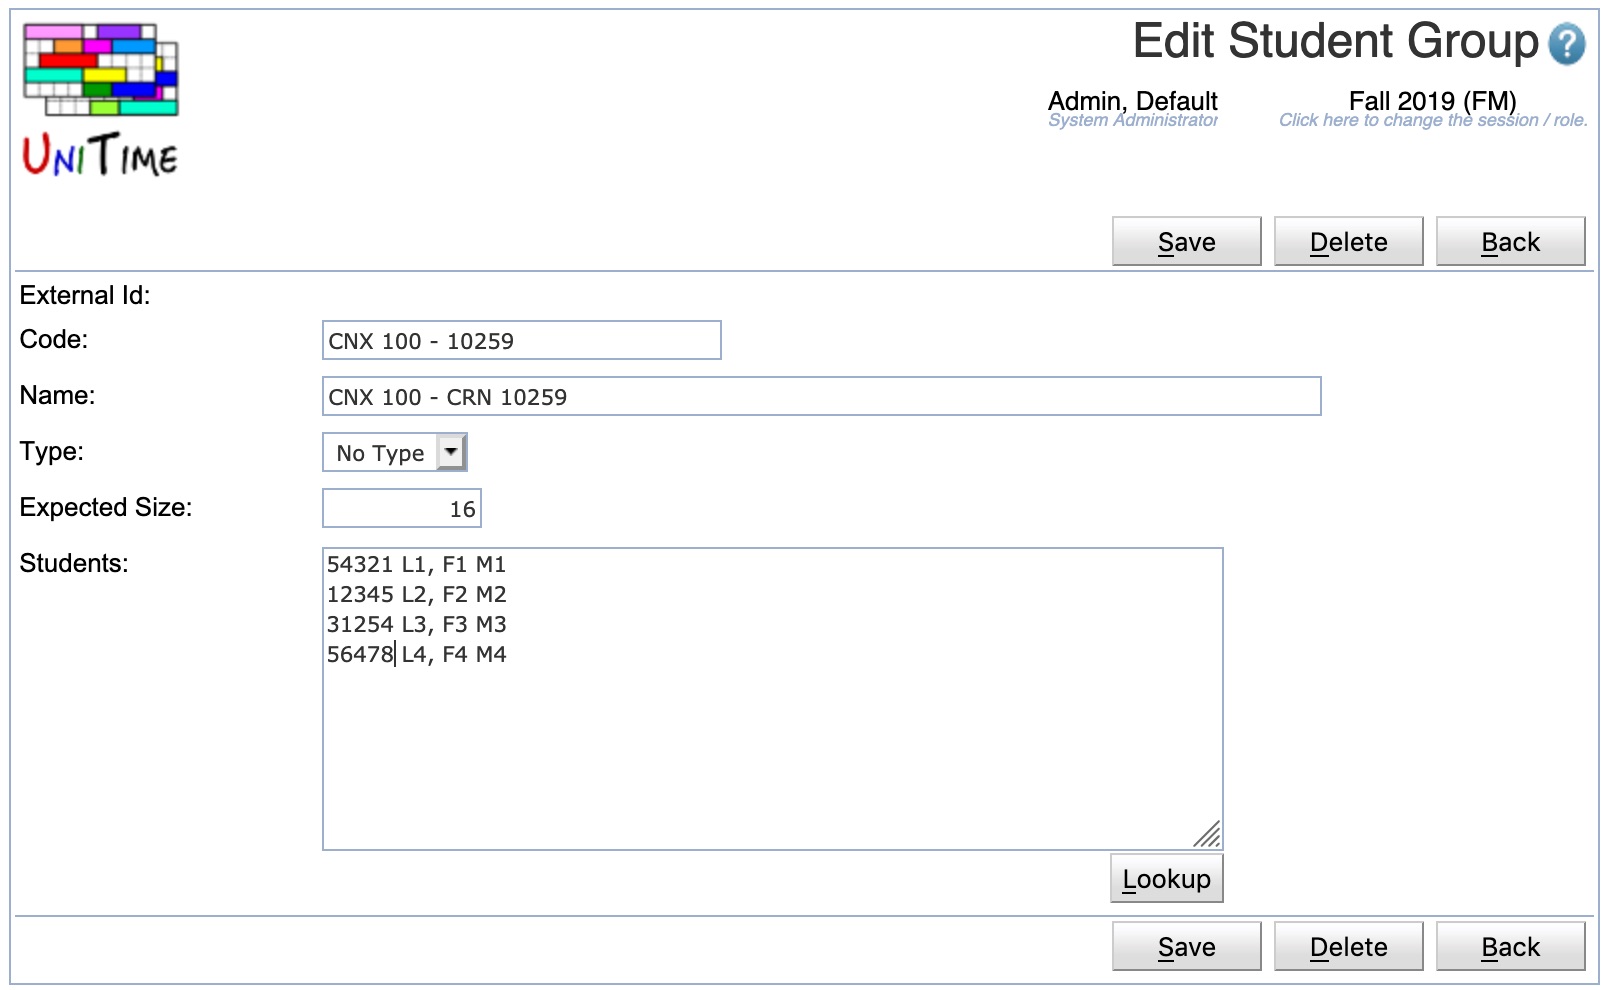
This Edit Student Group page can be used to edit the list of students associated with the group.
Student Group Reservations are used to reserve space for students belong to a Student Group to a particular course. The reservations can be set at the course level, the configuration level, or the individual class level.
To create a student group reservation go to the Courses > Input Data > Instructional Offerings page.
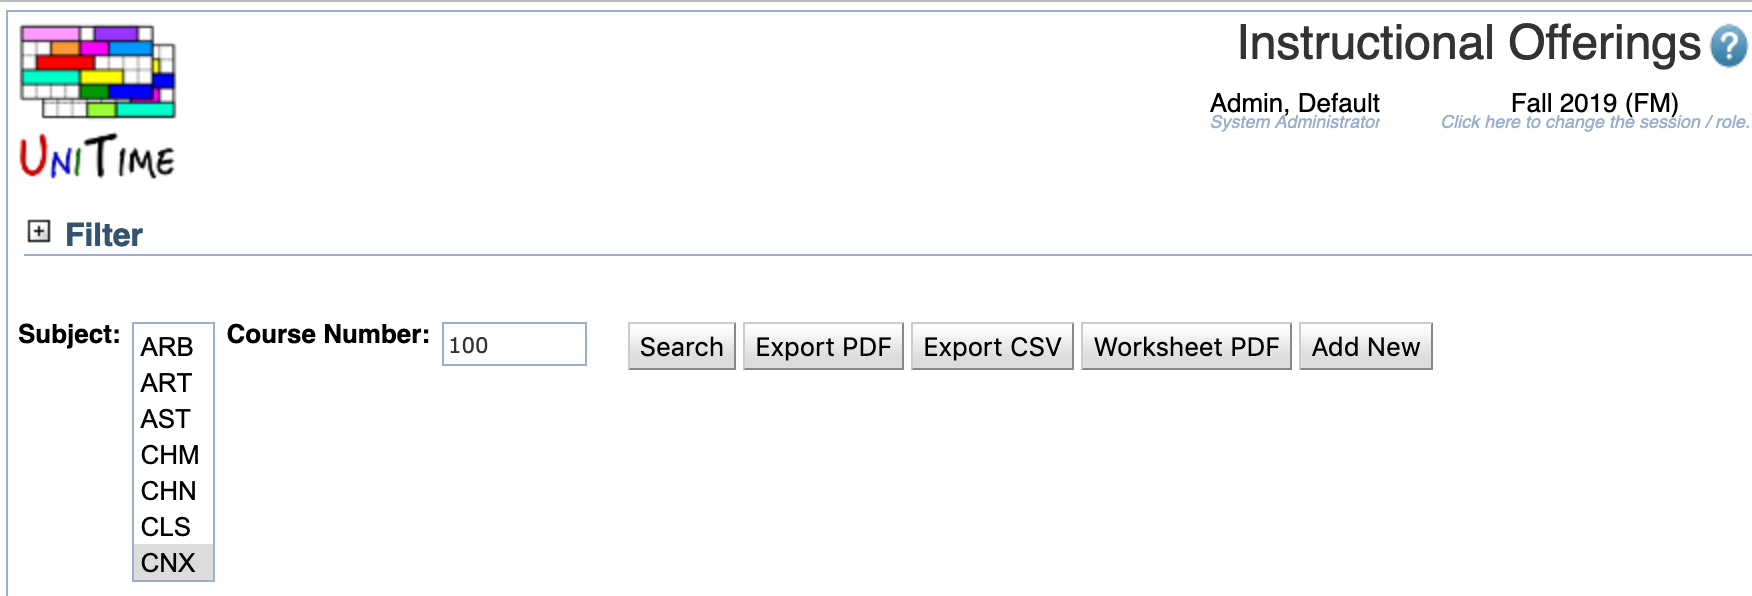
Select the Subject Area and enter the Course Number for the course to which to add the reservation and press the Search button. This will take you to the Instructional Offering Detail page for that course.
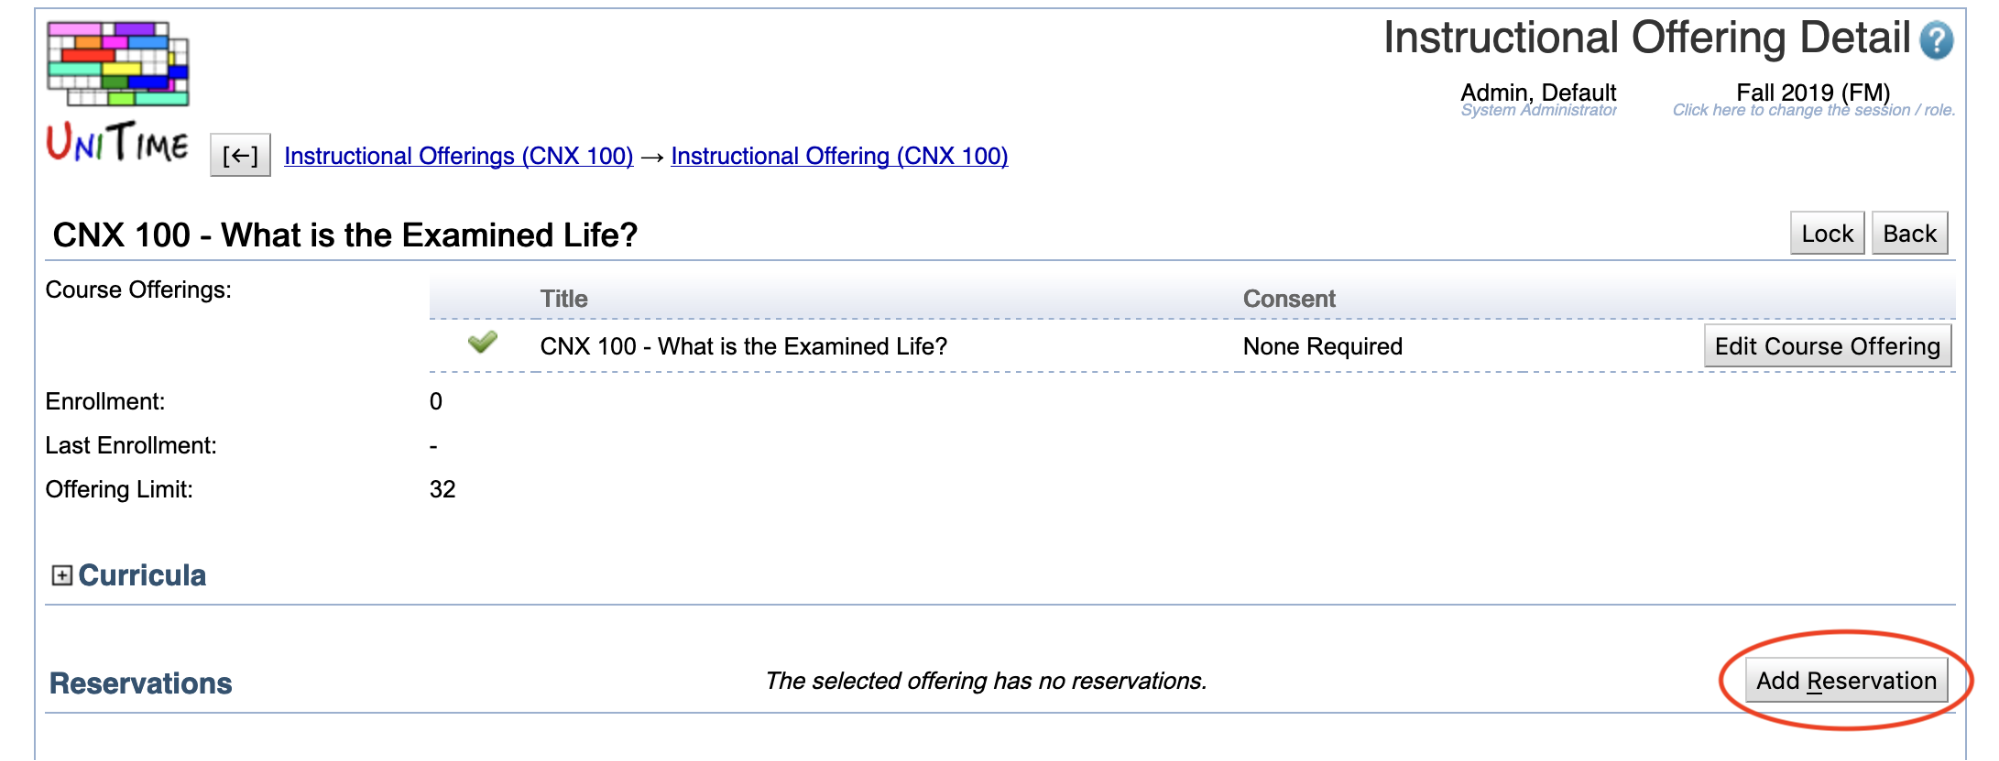
Press the Add Reservation button to go to the Add Reservation page.
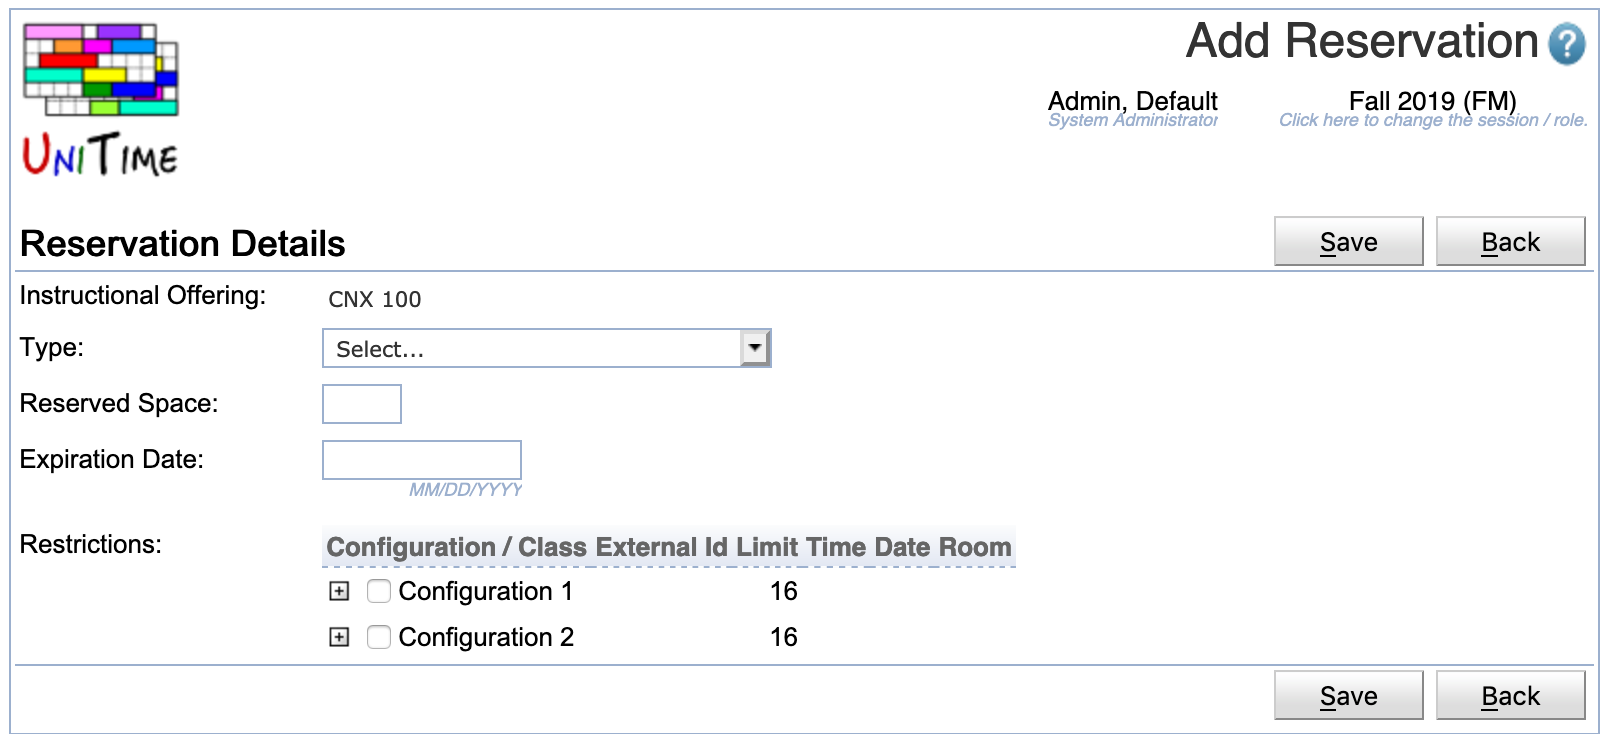
The following fields may be populated for a student group:
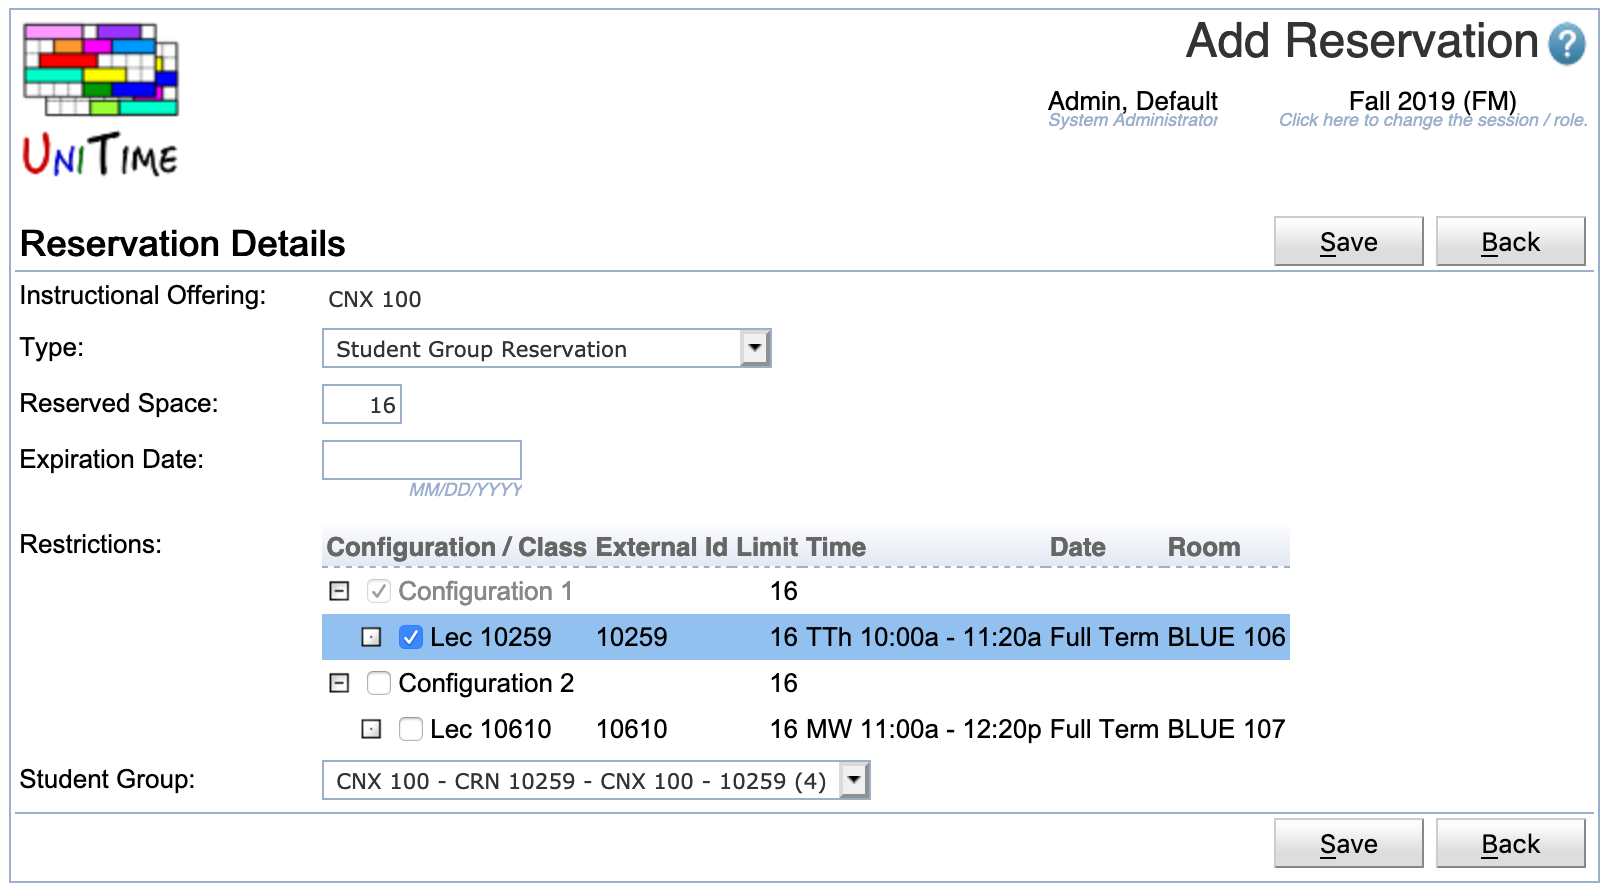
Once the reservation is configured press the Save button to save it and return to the Instructional Offering Detail page.
The student group reservation is visible on the Instructional Offering Detail page and will be used by the student sectioning solver in determining where to place the students associated with the student group.
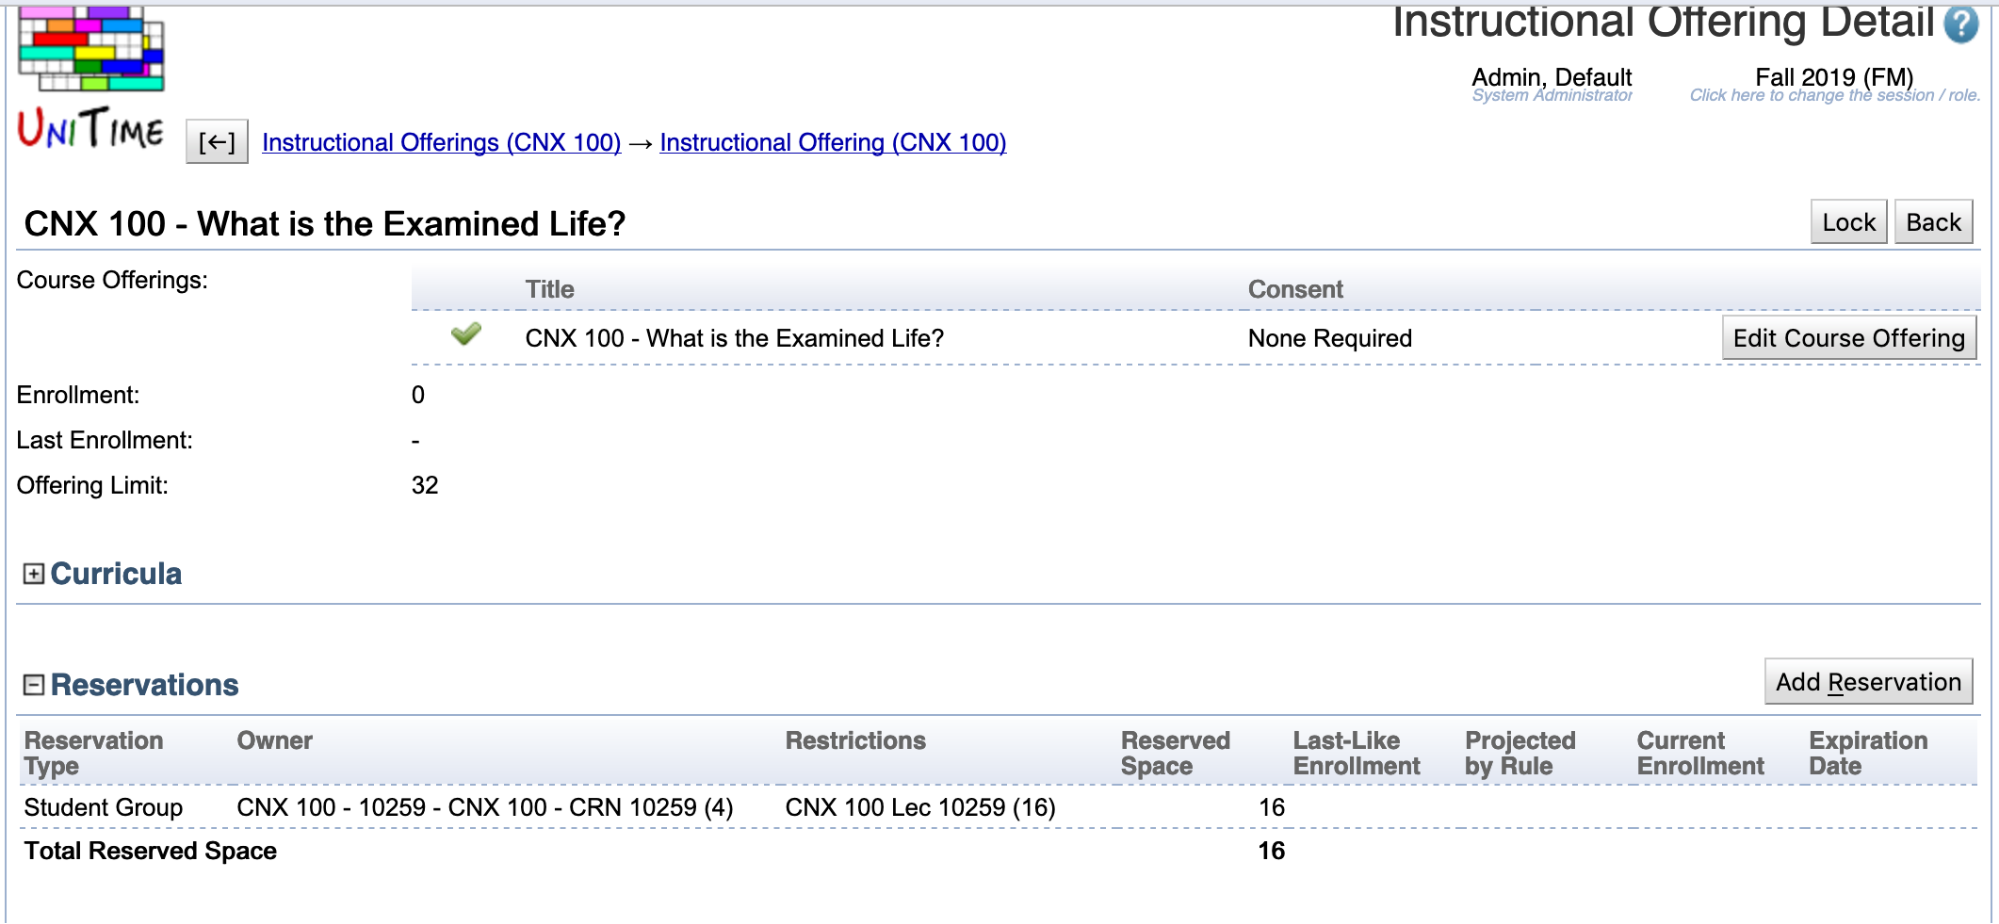
Clicking on the student group reservation will take you to the Edit Reservation page.
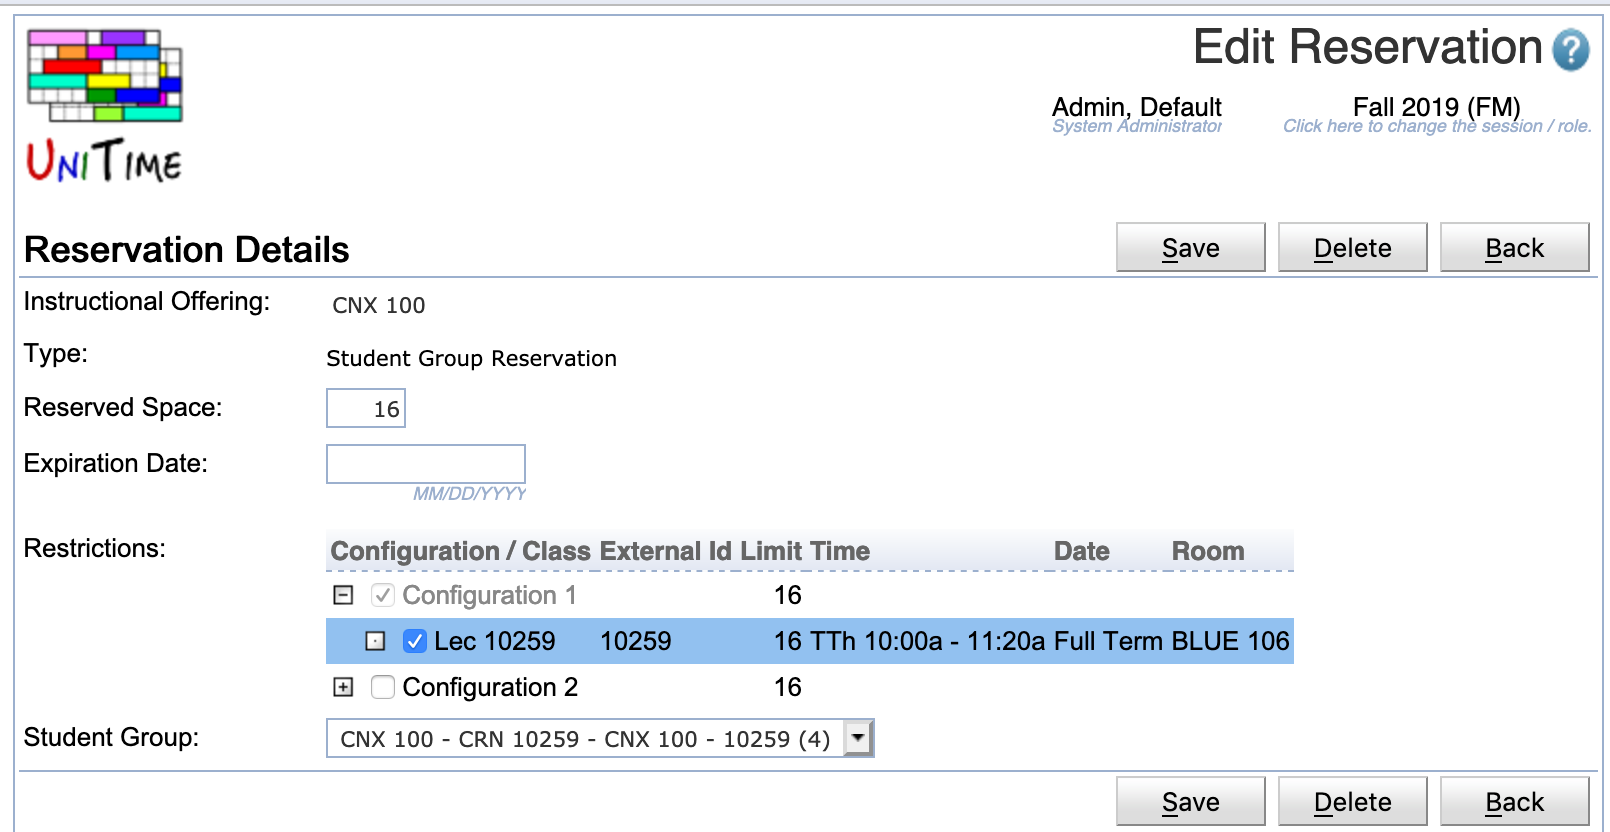
This Edit Reservation page can be used to edit the details of the reservation.
| Back to UniTime Online Documentation | © UniTime 2026 | Content available under GNU Free Documentation License 1.3 |